
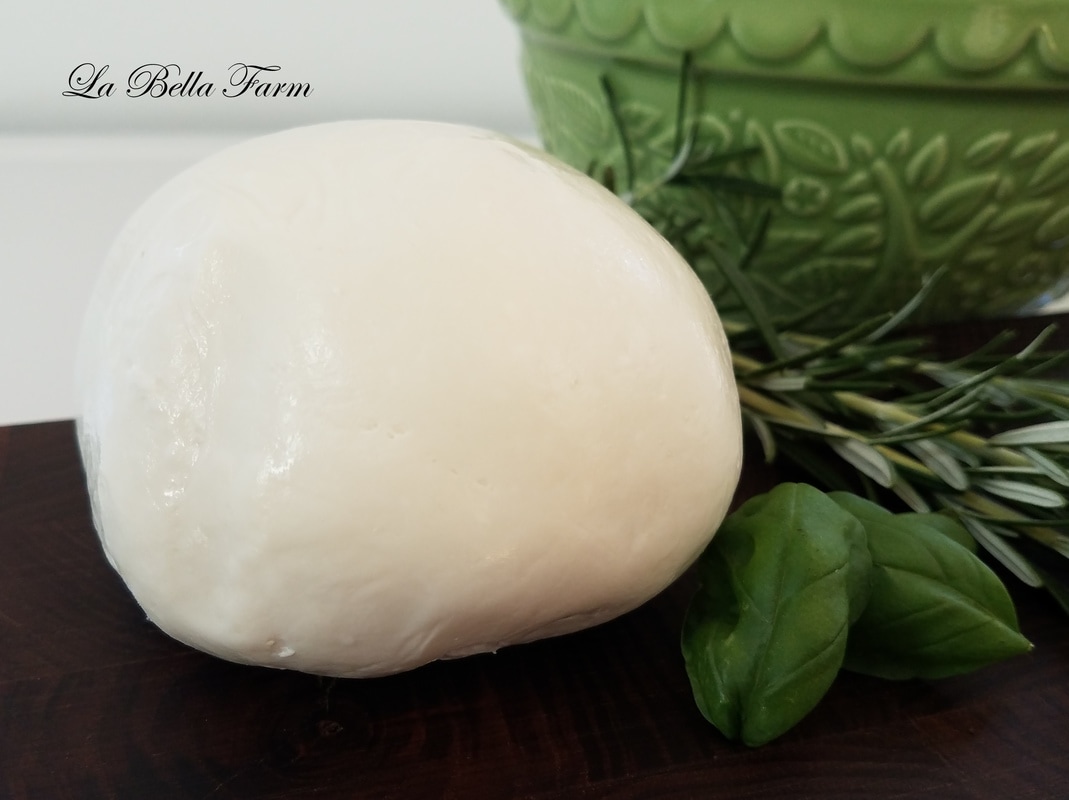
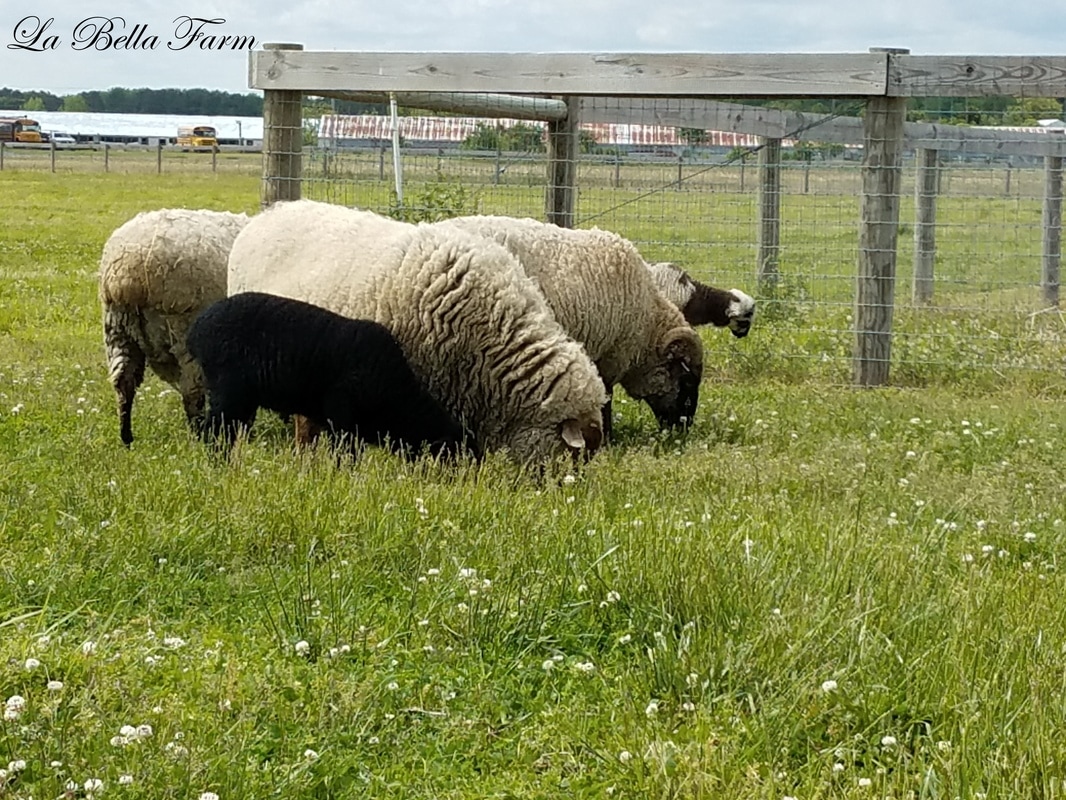
| During my early twenties I spent time in Italy milking on different dairy farms. One of the farms I milked on was a Water Buffalo farm and after milking we would make batch after batch of the very best 'Mozzarella di Bufala' or Buffalo Mozzarella. I fell in love with Water Buffalo that summer and dreamed of one day having my own buffalo dairy. This recipe is made with cows milk that you can buy right at the grocery stores. Though its not as yummy as Mozzarella di Bufala its still very good. | 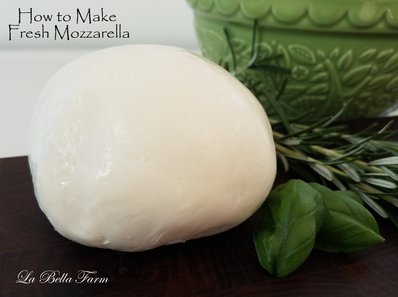 |
| Equipment:
| Ingredients:
Note- Ultra Pasteurized Milk has been heated to high temperatures and the cultures natural in milk has been killed by the high temps and the milk will not make cheese. |
Preparation:
Sterilize all equipment this can be done by running it through your dishwasher.
Mix 1/4 of a rennet tablet with 1/4 cup of cold water in a measuring cup
Mix 1 1/2 tsp of citric acid with 1 cup of cold water in your second measuring cup
Sterilize all equipment this can be done by running it through your dishwasher.
Mix 1/4 of a rennet tablet with 1/4 cup of cold water in a measuring cup
Mix 1 1/2 tsp of citric acid with 1 cup of cold water in your second measuring cup
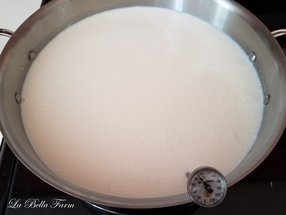 Heating the Milk to 85 Degrees 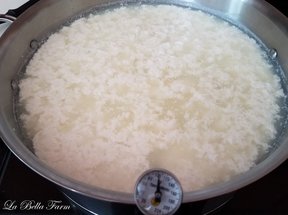 After the Addition of Rennet
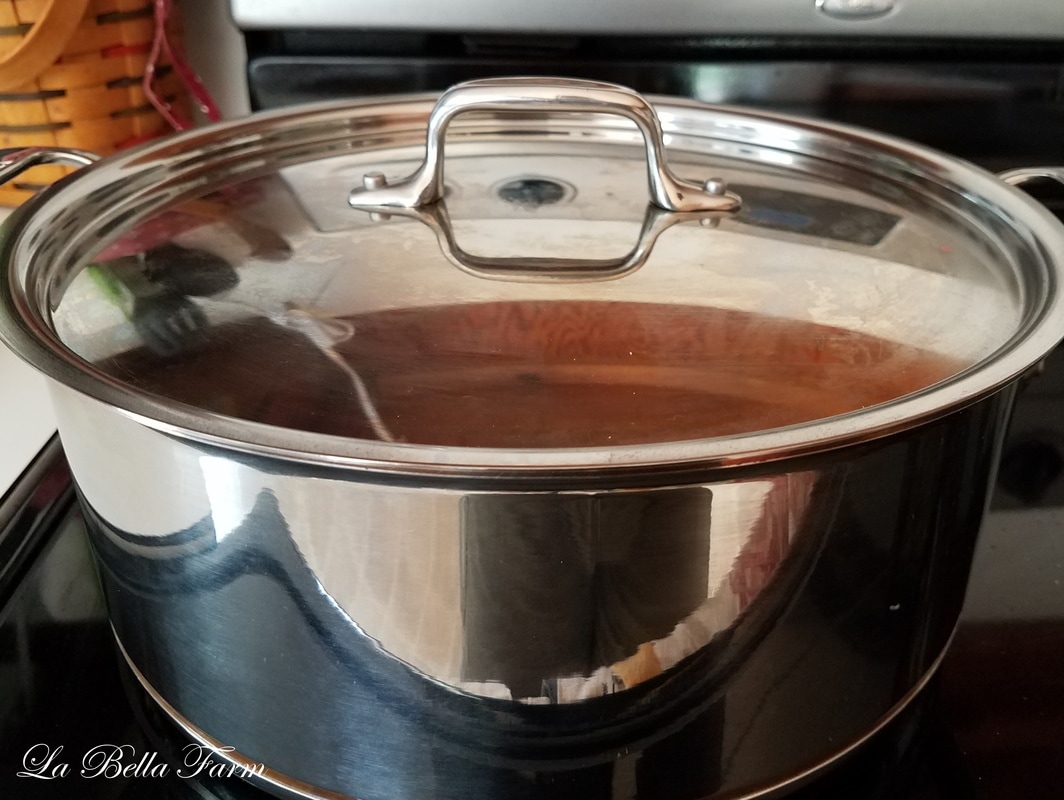
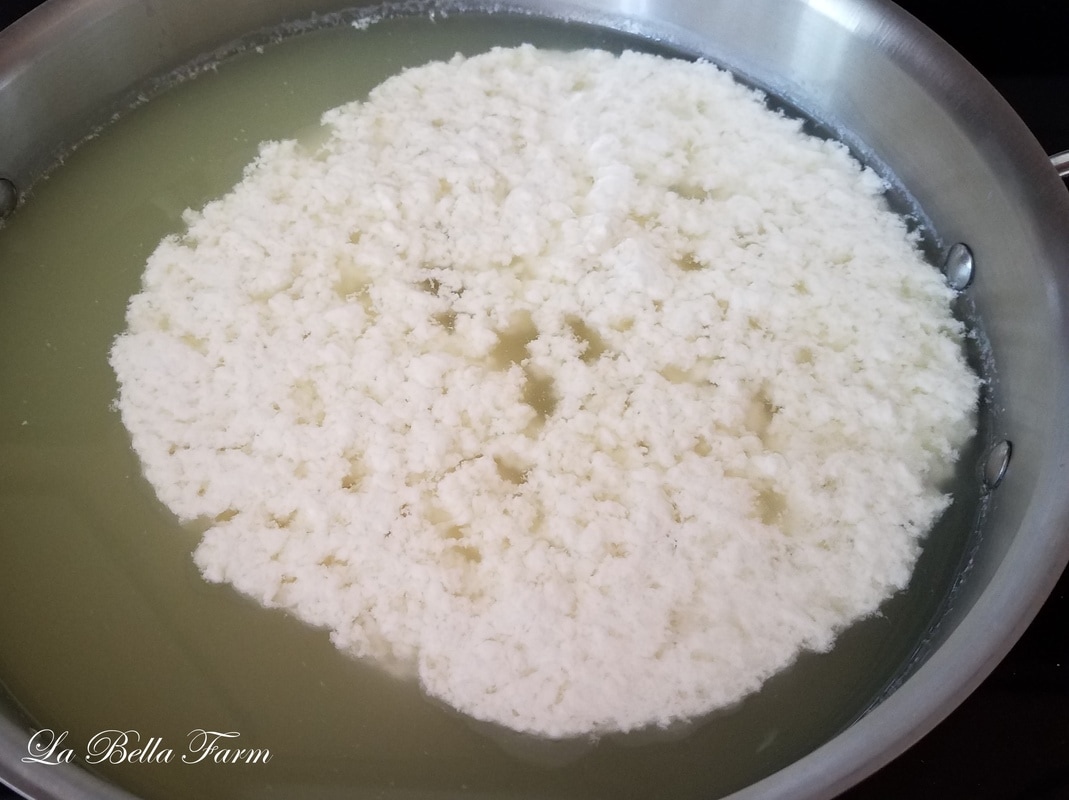
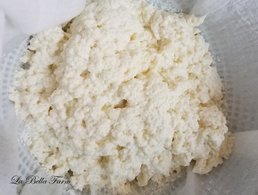 Drained Curds 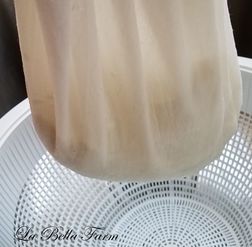 Lifting the Curds to Drain Whey 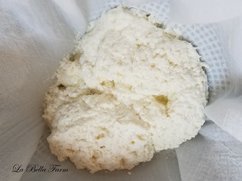 Curds after Whey has been Drained 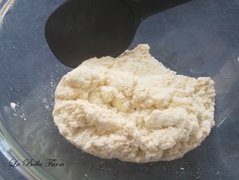 Folding and Kneading the Curds 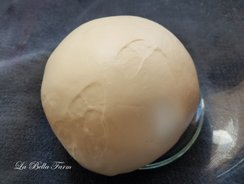 Formed Ball 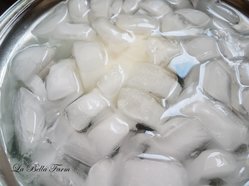 Ice Bath | Heating the Milk and Developing the CurdsStep 1- Pour the Milk into your pot and slowly over a medium low heat, heat the milk to 85 degrees. This will take about 10 minutes. Step 2- When the Milk has reached 85 degrees pour in the citric acid water mix. With your slotted spoon slowly stir the milk for 20 seconds Step 3- When the milk reaches 100 degrees (this will take about 5 minutes) stir in the rennet water mix. Using your slotted spoon gently stir for 30 seconds. Step 4- Continue to heat the milk until you reach 105 degrees. Then turn off the heat and cover. Let the milk sit for 10 minutes. Draining the CurdsStep 1- Line your colander with your cheese cloth and pour your curds and whey into the cheese cloth lined colander Step 2- Lift up the cheese cloth and allow the whey to drain from the curds. This may take a few minutes. You can gently press the curds to remove excess whey. Kneading the CurdsStep 1- Transfer the curds to a microwave safe bowl. Microwave for 1 minutes. Step 2- With a pair of rubber gloves to protect your hands from the heat gently fold the curds. If whey comes out of the curds simply drain the whey from the bowl. Continue to fold and kneaded the curds. You can use a large spoon if the curds are to hot to handle. Microwave the curds for 30 seconds at a time folding a kneading each time you microwave the cheese. The goal is to reach 135 degrees and for the cheese to start to look smooth, shiny and start to firm up. Stretching and Forming the cheeseStep 1- The cheese must be at 135 degrees to stretch. If its not hot enough microwave it for another 30 seconds. Add 1 1/2 tsp of cheese salt to the cheese and work it into the cheese by folding and stretching the cheese. Step 2- Holding the cheese up letting it fall and then pulling the bottom back up to join the top. Like stretching salt water taffy. The more you stretch the cheese the firmer it will be. Step 3- Form a ball by pulling the edges of the cheese and tucking underneath to form a smooth top and sides. Step 4- Place the cheese ball into an ice water bath for 15 minutes. Remove pat dry and wrap tightly with plastic wrap. Refrigerate. |


 RSS Feed