La Bella Farm
  • Home
  • The Farm
    • The Crops
    • The Ladies
    • The Sheep
    • The Kitchen
  • Find Us
  • Blog

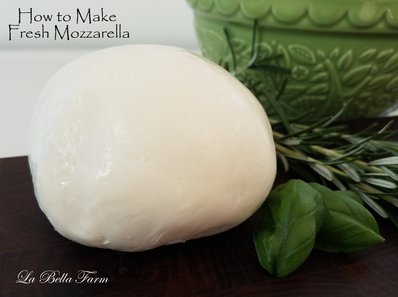
Homemade Mozzarella

5/31/2017

2 Comments

 
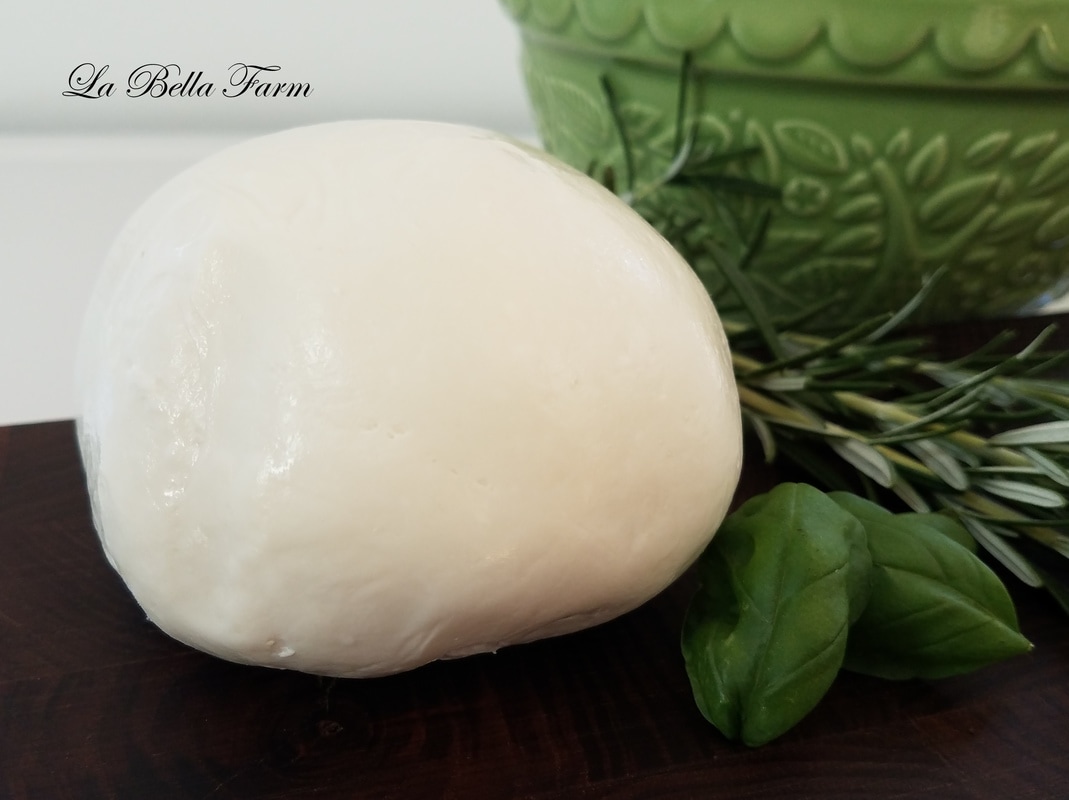
During my early twenties I spent time in Italy milking on different dairy farms.  One of the farms I milked on was a Water Buffalo farm and after milking we would make batch after batch of the very best 'Mozzarella di Bufala' or Buffalo Mozzarella.  I fell in love with Water Buffalo that summer and dreamed of one day having my own buffalo dairy.  This recipe is made with cows milk that you can buy right at the grocery stores. Though its not as yummy as Mozzarella di Bufala its still very good. 
Picture
Equipment:
  • Thermometer
  • Rubber Gloves
  • Measuring Spoons
  • 2-1 Cup Measuring Cups
  • Slotted Spoon
  • Large Spoon
  • 1 quart Microwavable Bowl
  • Colander
  • Cheese Cloth
  • 6 quart Stainless Steel Stock Pot
Ingredients:
  • 1 Gallon Whole Milk as fresh as possible (at least 10 days out from its expiration date and Not Ultra Pasteurized)
  • 1 1/2 tsp Citric Acid
  • 1/4 Rennet Tablet
  • 1 1/2 tsp Cheese Salt
  • Water ( Not Chlorinated)
Note- Ultra Pasteurized Milk has been heated to high temperatures and the cultures natural in milk has been killed by the high temps and the milk will not make cheese.
Preparation:
Sterilize all equipment this can be done by running it through your dishwasher.  
Mix 1/4 of a rennet tablet with 1/4 cup of cold water in a measuring cup
Mix 1 1/2 tsp of citric acid with 1 cup of cold water in your second measuring cup
Picture
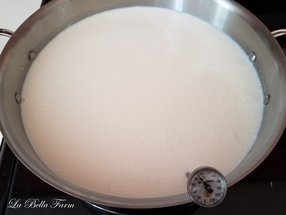
Heating the Milk to 85 Degrees
Picture
After the Addition of Rennet
Picture
Resting
Picture
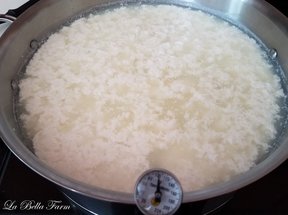
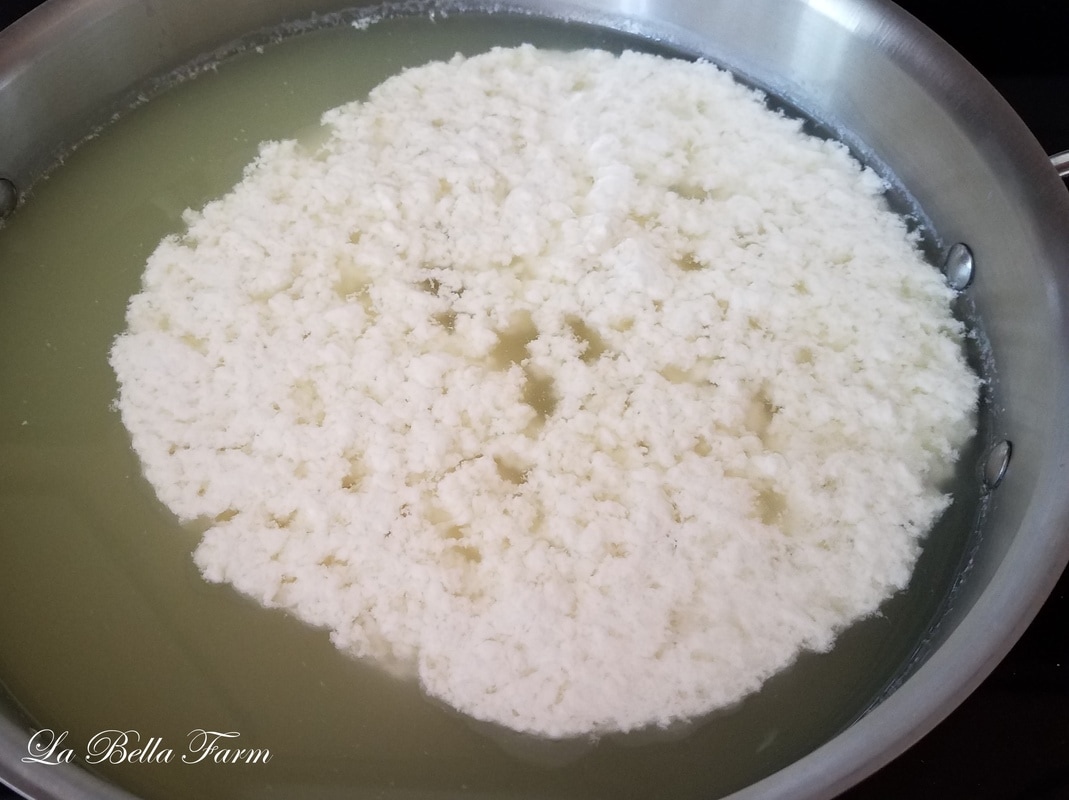
Post Rest
Picture
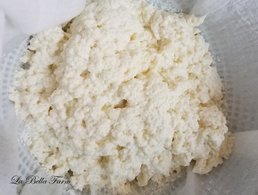
Drained Curds
Picture
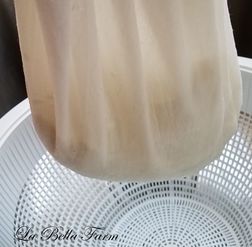
Lifting the Curds to Drain Whey
Picture
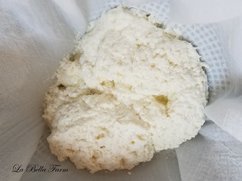
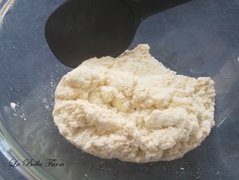
Curds after Whey has been Drained
Picture
Folding and Kneading the Curds
Picture
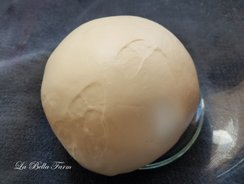
Formed Ball
Picture
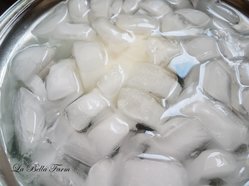
Ice Bath

Heating the Milk and Developing the Curds

Step 1- Pour the Milk into your pot and slowly over a medium low heat, heat the milk to 85 degrees.  This will take about 10 minutes.
Step 2- When the Milk has reached 85 degrees pour in the citric acid water mix.  With your slotted spoon slowly stir the milk for 20 seconds
Step 3- When the milk reaches 100 degrees (this will take about 5 minutes) stir in the rennet water mix.  Using your slotted spoon gently stir for 30 seconds.
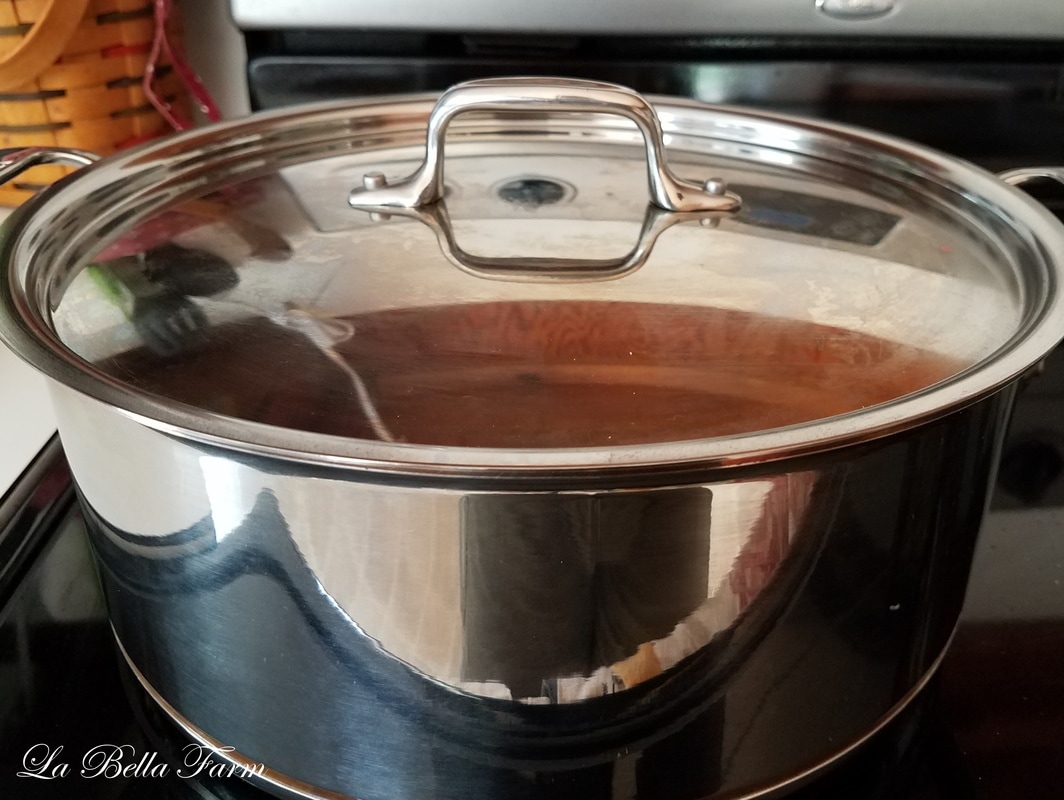
Step 4- Continue to heat the milk until you reach 105 degrees.  Then turn off the heat and cover.  Let the milk sit for 10 minutes. 

Draining the Curds

Step 1- Line your colander with your cheese cloth and pour your curds and whey into the cheese cloth lined colander
Step 2- Lift up the cheese cloth and allow the whey to drain from the curds.  This may take a few minutes.  You can gently press the curds to remove excess whey.  

Kneading the Curds

Step 1- Transfer the curds to a microwave safe bowl.  Microwave for 1 minutes.
Step 2- With a pair of rubber gloves to protect your hands from the heat gently fold the curds.  If whey comes out of the curds simply drain the whey from the bowl. Continue to fold and kneaded the curds.  You can use a large spoon if the curds are to hot to handle.  Microwave the curds for 30 seconds at a time folding a kneading each time you microwave the cheese.  The goal is to reach 135 degrees and for the cheese to start to look smooth, shiny and start to firm up.   

Stretching and Forming the cheese

Step 1- The cheese must be at 135 degrees to stretch.  If its not hot enough microwave it for another 30 seconds.  Add 1 1/2 tsp of cheese salt to the cheese and work it into the cheese by folding and stretching the cheese.  
Step 2- Holding the cheese up letting it fall and then pulling the bottom back up to join the top.  Like stretching salt water taffy.  The more you stretch the cheese the firmer it will be.  
Step 3- Form a ball by pulling the edges of the cheese and tucking underneath to form a smooth top and sides.
Step 4- Place the cheese ball into an ice water bath for 15 minutes.  Remove pat dry and wrap tightly with plastic wrap.  Refrigerate.
Picture
2 Comments

Strawberry Harvest

5/30/2017

3 Comments

 
PictureWith my Brother
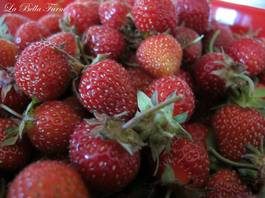
Few things in life can truly compare to the taste of the first ripe strawberries of the season.  Strawberries were the first crop I ever grew and sold on my own.  They own a special place in my heart, I'm sure that's what makes them taste that much sweeter to me.  When I was 6 years old with the help of my father and brothers I planted my first patch of strawberries with the goal to sell enough strawberries to take a family vacation to Disney.  I used my little brothers red wagon to set up a produce stand at the end of our farm lane to market my berries to the neighbors.  I could be found on the weekends peddling strawberries at my brother little league ball games much like the Beer Man at the O's games.  When I think of Disney I will always think of the Strawberries that got us there.

Picture
Earliglow Strawberries were my favorite berry when I was 6 and they still are today.  They are a June bearing variety meaning they produce one large crop of berries in the spring.  I find in Delaware mine are ready to pick mid May.  The berries are smaller then the varieties that you find in the grocery store but packed with so much flavor they are well worth the smaller size.  This variety is normally ending its harvest about the same time other June bearing varieties start to ripen, you can extend your harvest by planting a second June bearing variety.  I like to use Jewel as my second variety.  I personally have never had luck with Day Neutral Strawberries (they produce all summer) so I stick with June bearing.


​Strawberry  Jam

Picture
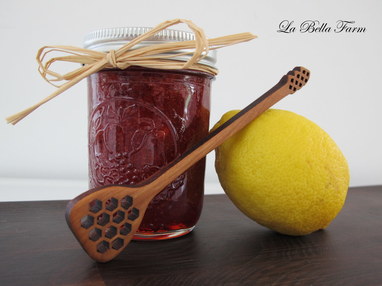
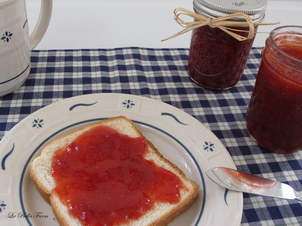
This is an old Strawberry Jam recipe my father made that was taught to him by his Grandmother Anne.  My father swears that to make good jam you must make it in small batches.  I break this rule all the time and triple the recipe, so go ahead.  Back in Great Grandmothers day the peels of green apples were used instead of commercially produced pectin, I find store bought pectin to be easier to deal with and more consistent.  Strawberries must be picked ripe and have no white tips this is a must to make good jam.  Strawberries from the grocery store will not make the best jam so if you don't grow your own strawberries buy them from a local farm that picks them ripe.  The amount of sugar is a range. I find with my own Earliglow strawberries I can use a lot less sugar.  Slowly added the sugar and give it a few minutes to dissolve, taste and added more until you get the sweetness you prefer.  I added Balsamic Vinegar to brighten the flavor of the berries.  If your unsure about adding it, leave it out you will still have a great jam.  When I make jam to sell I make it both ways, with and without but I prefer the batches with.

Picture
  • 2 Quarts of Strawberries Rinsed and Hulled
  • 1/4 Cup Lemon Juice 
  • 6 Tablespoons Classic Pectin (I like Ball Brand)
  • 3.5 to 7 Cups Sugar
  • 1 Tablespoon high quality Balsamic Vinegar or Strawberry Balsamic Vinegar (optional)
Add the Strawberries to a heavy bottom 4 quart pot. Crush the berries with a potato masher.  Mix in lemon juice and bring to a simmer, stir constantly.  Add the pectin and bring to a boil, stir constantly.  Start adding the sugar slowly and taste after each addition until you have found your desired level of sweetness.  Bring to a rolling boil for 1 minute, continue to stir.  Check the gel on a cold plate.  Stir in the Balsamic Vinegar and remove from heat. Do a quick check to make sure you are still happy with the flavor of your jam, you can still place it back on the heat and add sugar if needed.  You will have foam and don't toss it out, skim it off the top and refrigerate for future use.  Ladle hot jam into hot jars leaving 1/4" head space and process for 10 minutes in a boiling-water canner.

Need ideas on what to do with the foam?  Toss in a blender with Ice, Rum and Strawberries for a Daiquiri.  Add it to a fruit smoothie or top plain yogurt with it.


Grandma Mary Jane's Strawberry Frosting

Picture
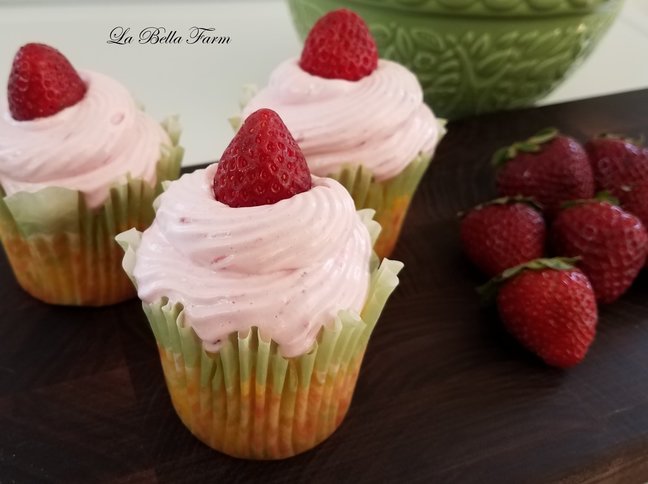
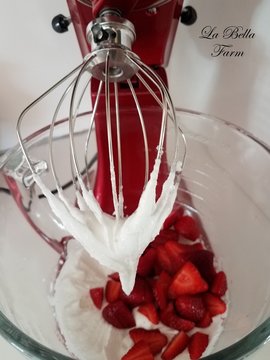
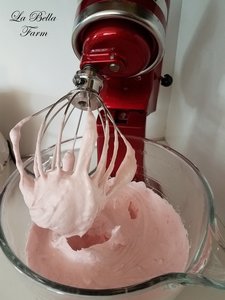
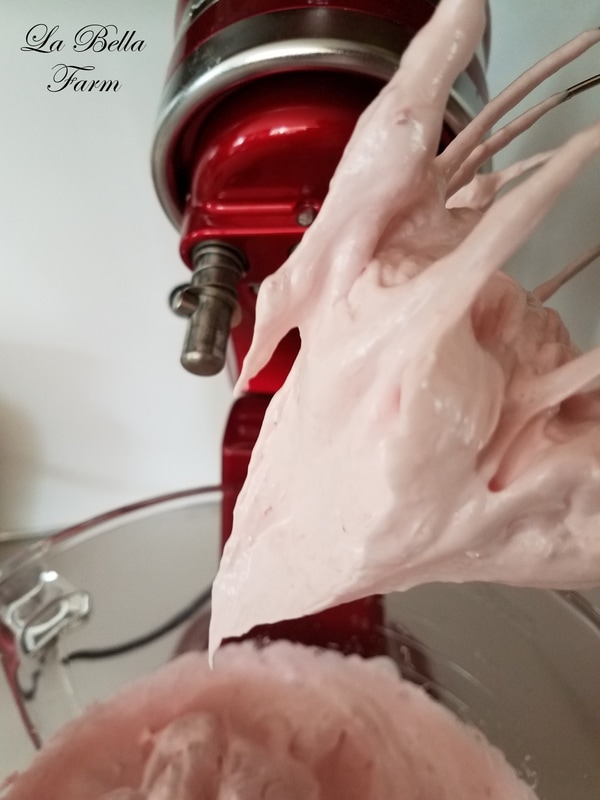
My Grandma Mary Jane always made this frosting during strawberry season with fresh picked strawberries from her garden.  The recipe was passed down to her from her Aunt Mame. Throughout May and June this cake could be found in my moms refrigerator in a metal 9 by 13" baking pan that had a metal lid that slid open and closed.  A butter knife was always left in with the cake so we could sneak into the fridge at anytime and cut off a piece.  My brothers birthday is right at the end of the strawberry season and my mother would make a white layer cake with this as the frosting for his birthday cake.  
​This is frosting great on white, yellow, chocolate or lemon cake.   
  • 1 Cup of Hulled and Sliced Strawberries
  • 1 Egg White
  • 1 Cup Sugar
  • 1 tsp Vanilla
I like to start by whipping the sugar and egg whites together for a few minutes, then tossing in the berries and vanilla.  You will need to beat for a very long time until stiff peaks form. At some point you will think this is not going to turn into a frosting but don't give up keep whipping it. Frost your cake and refrigerate.
A Note about Raw Egg Whites:  The FDA recommends only cooking foods containing eggs thoroughly to prevent illness from bacteria.  Pasteurized in shell eggs can be substituted for the raw egg white.   
Picture
Picture
Picture

3 Comments

Rain and Eggs?

5/7/2016

3 Comments

 
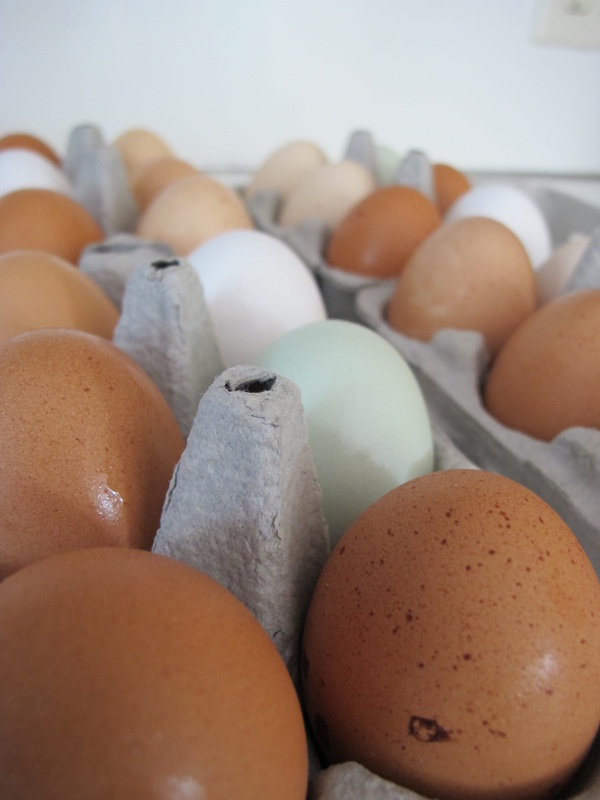
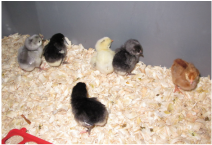
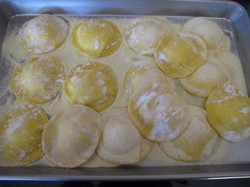
This week marks the third week of the Milton DE Farms Market and the third Friday in a row its rained.  This weeks market was canceled due to the rain leaving us with a fridge full of eggs and the question what to do with all the eggs. The ladies have been busy free ranging the farm and playing in all the puddles left from the rain.  They welcomed 6 new chicks to the flock on Wednesday.  This weeks eggs were hopefully going to end up in Mothers Day brunches all over Milton but with no market to sell them at and a full fridge I need to use them to make room for new eggs that will be laid this week.  Fresh pasta, an angel food cake and of course perfect French omelets for Mothers Day should make room.

Picture
Picture
Picture

Fresh Pasta

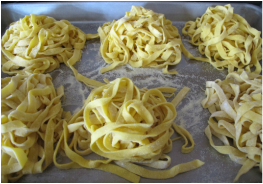
This recipe makes about 3 pounds of pasta.  Don't worry about the large amount just portion it after you cut it and freeze for up to a month.  
  • 3 cups "OO" flour, plus extra if needed for the dough and for dusting
  • 1 1/2 tsp kosher salt
  • 3 large eggs
  • 11 large egg yolks
  • 2 TBS extra-virgin olive oil
  • Semolina flour for dusting
Picture
Picture
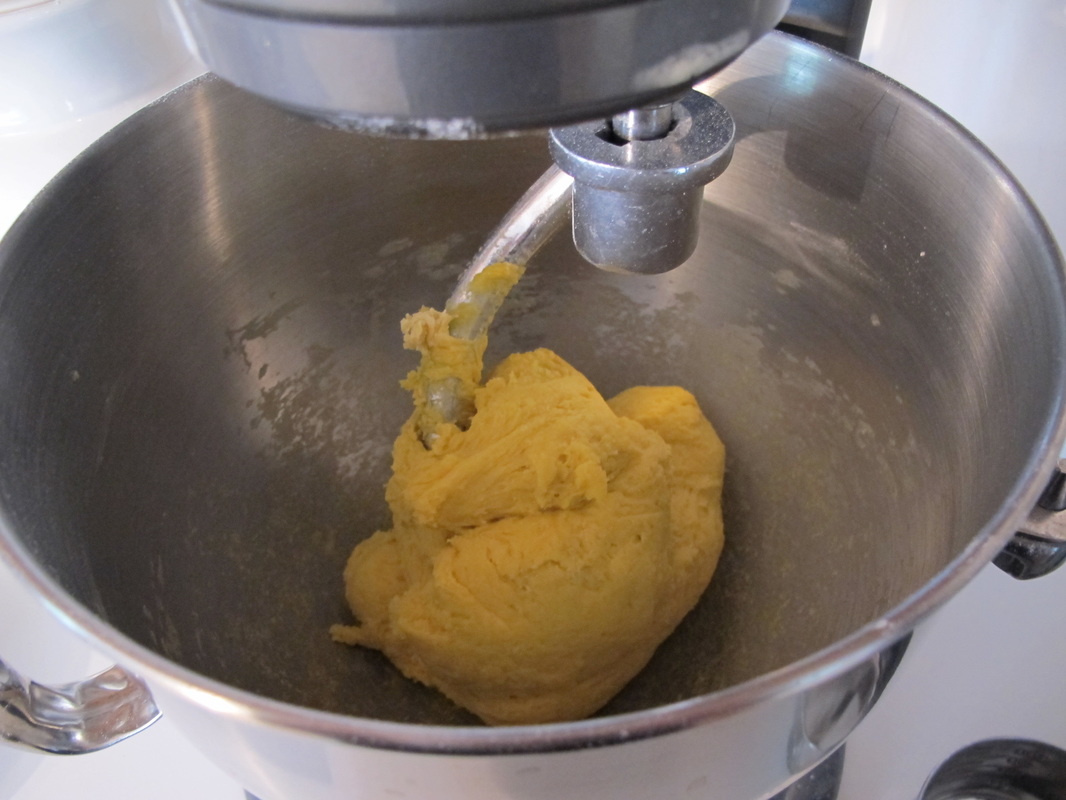
In a stand mixer with dough hook, combine the flour and salt on low speed.  Fold in the eggs, yolks and olive oil.  Kneed on medium-low speed for 5 minutes.  If the dough is sticking add additional flour until a dry dough has formed, depending on the time of year you may need to add as much as an additional cup.  If the dough is too dry and falling apart add another egg yolk.  Wrap the dough in plastic wrap and refrigerate for at least 1 hour or up to 24 hours.  This will allow the flour to fully hydrate and form a smooth tender dough.  
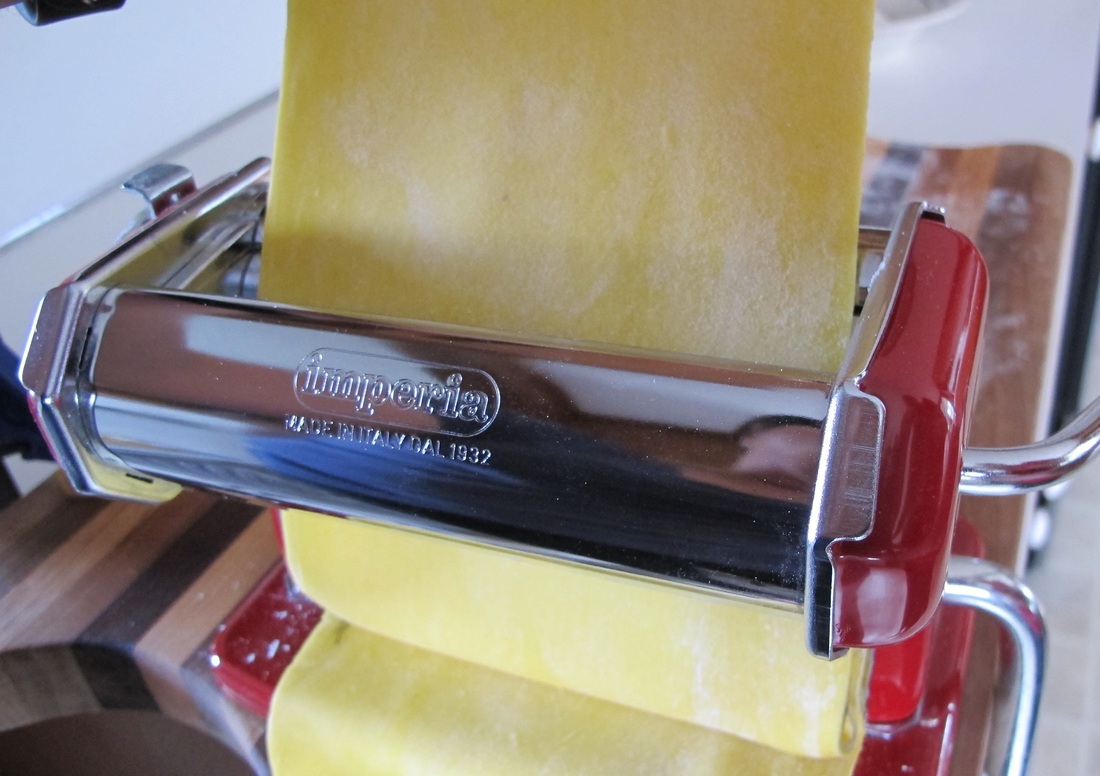
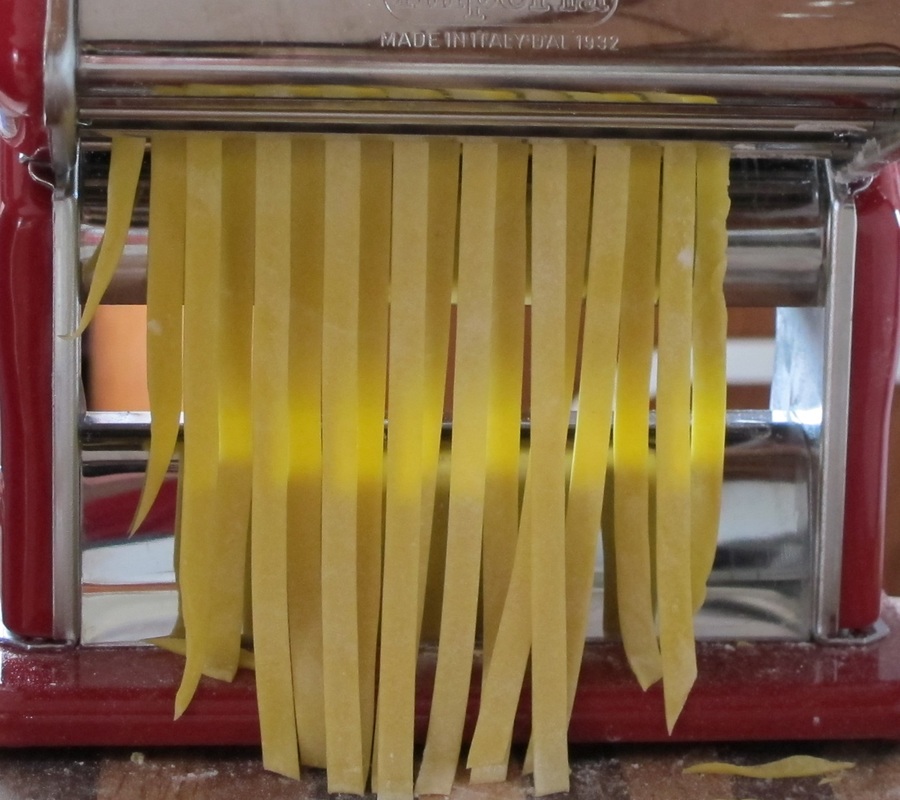
To roll the dough cut the dough into 6 pieces.  Roll out one piece at a time and keep the remaining pieces wrapped in plastic wrap in the refrigerator.  Set the pasta machine on its widest setting, lightly flour the dough and run it through the machine.  Fold the dough in half and roll through the machine again.  Repeat folding and re-rolling two more times on the widest setting. Continue to run the dough through the machine decreasing the thickness each time until you reach your desired thickness.  Lightly flour with "OO" as need.  I normally roll to 1/16 of an inch and cut into fettuccine.  Once the fettuccine is cut, dust the pasta with semolina flour and portion into nests on a sheet tray that has been dusted with semolina flour.  When all the pasta has been cut and portioned place the sheet pan in the freezer for an hour.  Remove the pasta and place into a freezer bag and store in the freezer for up to one month.  
​When you are ready to use simply remove the desired amount add to salted boiling water and cook until tender about 3 to 4 minutes.  

Picture
Picture
Picture

Angel Food Cake

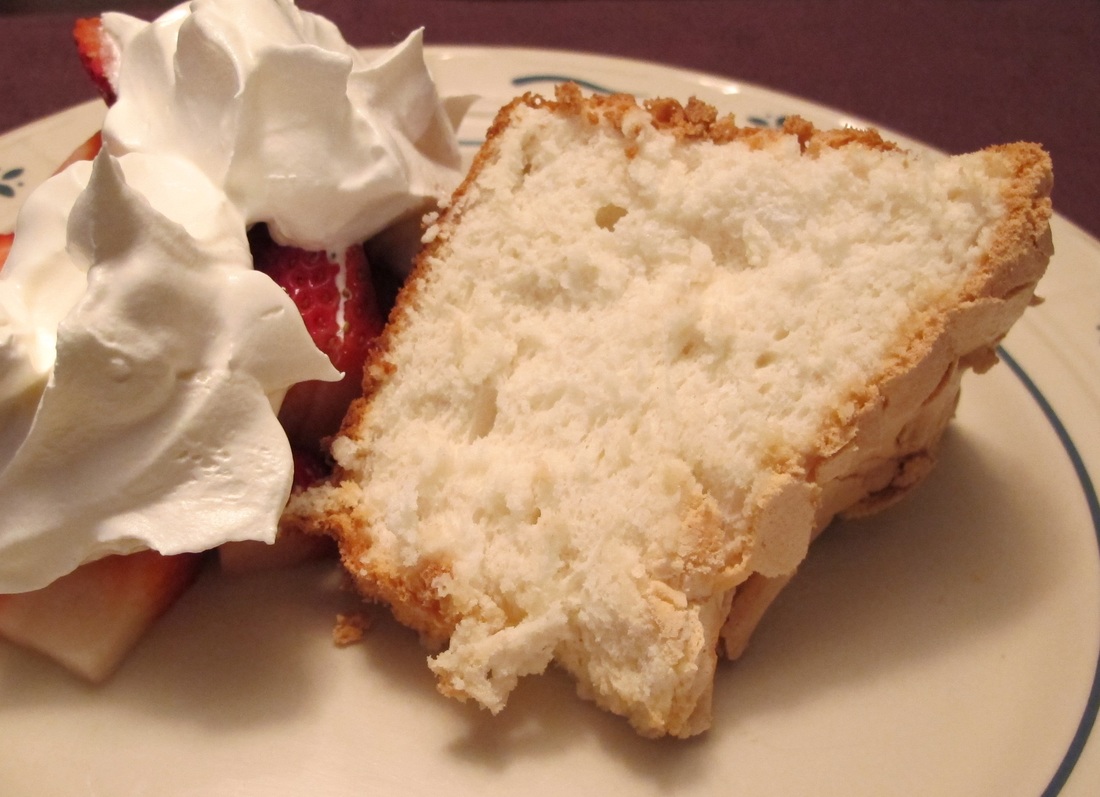
This is a great cake to make when you have a lot of egg whites left.   My fresh pasta recipe will leave you with the exact amount of egg whites to make this cake.  Serve with fresh berries and whip cream.
  • 1 1/2 cups egg whites
  • 1 tsp. vanilla
  • 1 1/2 tsp. cream of tartar
  • 1 cup granulated sugar
  • 1 1/2 cups sifted powder sugar
  • 1 cup sifted cake flour or all purpose
Picture
Picture
In the bowl of a stand mixer add the egg whites and let stand for 30 minutes. In another bowl sift the powdered sugar and flour together.  Add cream of tartar and vanilla to the egg whites and beat until soft peaks have formed.  Gradually add the granulated sugar and beat until stiff peaks form.  Sift in the powder sugar mixture in 4 additions folding in gently after each addition.  Pour into an ungreased 10 inch tube pan.  Gently cut through the batter with a knife to remove any large air pockets.  Bake on the lowest rack in a 350 degree oven for 40 to 45 minutes or until the top springs back when lightly touched.  Immediately invert cake and cool thoroughly in the pan.  Loosen cake and remove from pan.


French Omelet

Delicious, custardy french omelets are best with the freshest eggs, which you can get every week at our stand. 
  • 2 Large Fresh Eggs
  • 2 Tbs of Butter
  • Salt and Pepper to taste
  • Your perfered cheese, shredded
Picture
Whisk the eggs thoroughly make sure to incorporate your whites and yolks until you’re left with an even mixture with no whites or yolk floating around.  Heat a nonstick pan on medium to medium-low heat. Add 1 TBS butter to the pan, it shouldn’t make a sound.  You want the butter to gently melt. When you start to see bubbles forming in the butter, add your eggs.  You should not hear a sizzle when the eggs hit the pan.  Season your omelet with kosher salt and pepper in the skillet as the eggs begin to cook. Start stirring your eggs as soon as you add them to the pan to make sure nothing is sticking to the bottom. So the eggs cook evenly, vigorously shake the pan in a circular motion as you stir. Scrape down the sides of the pan to make sure the sides do not overcook. This is a slow process take your time.  Remove the pan from the heat and let it sit for one minute.  Add your cheese in a line that runs the center of the omelet.  Hold the pan at a slight angle, tilt the pan away from you and gently begin coaxing your omelet into a roll. Once you’ve made your first roll, add 1 Tbs of butter to the pan to loosen up the omelet. Once the omelet is rolled and all the way slide it on to the plate.
3 Comments

    Author

    Laura Marie is the owner of La Bella Farm.

      Want Farm Updates?​

    Subscribe to Newsletter

    Archives

    May 2017
    March 2017
    November 2016
    July 2016
    May 2016

    Categories

    All
    Chickens
    Gardening
    How To Guides
    Recipes
    Sheep

    RSS Feed

    Picture
    Picture
    Picture
© COPYRIGHT 2015. ALL RIGHTS RESERVED.
Photos by L.M. Kramer