 | Chick Days are here and I have been getting bombarded with request for the plans for my coop. I'm sorry to say that I do not have a set of plans. Our coop was based off of a coop I found online called Chez Poulet. We purchased those plans and then made changes as we built. My coop is twice as wide, a little longer and taller. With all of these request I have been thinking about what I would have changed if I had the opportunity to build my coop again and what I love about my coop. |
Construction
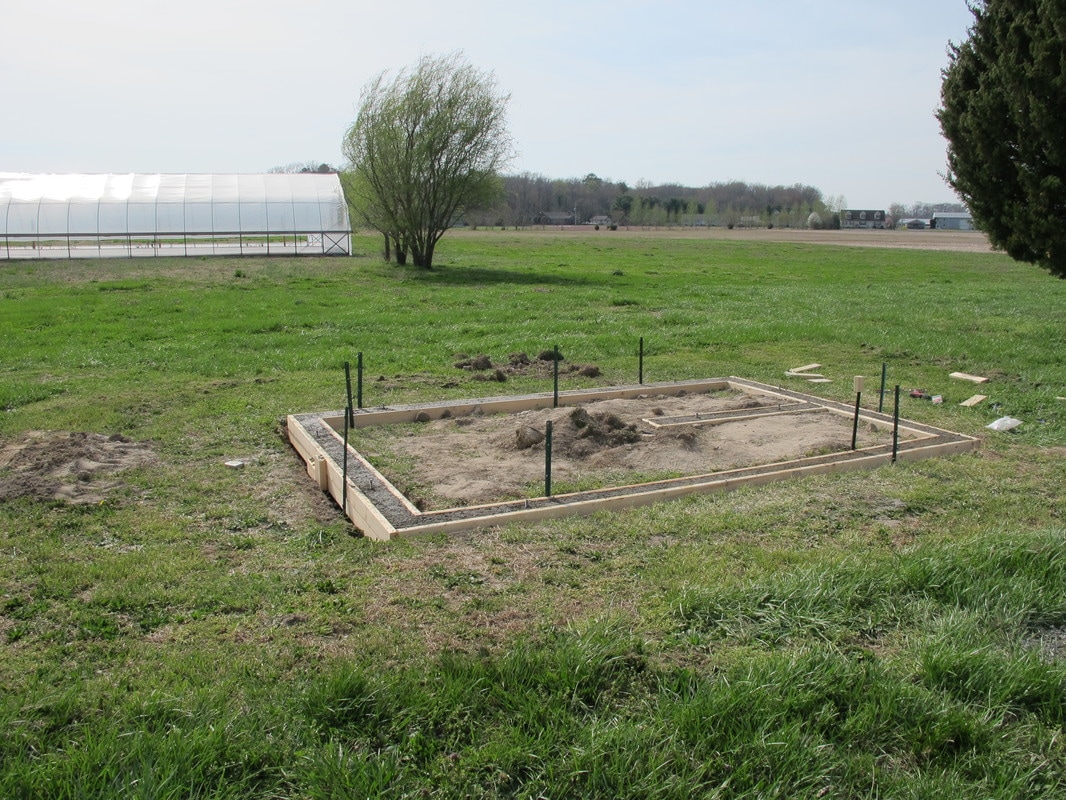
Overall all it took us a week to pour the 18 inch deep foundation, frame and roof the coop. We then spent the next two weekends making all of the doors and painting the coop. We have a large fox population in our area so I felt the foundation was a must. A friend laughed at us while we were pouring the foundation and made a comment that his coop did not have a foundation and he had never had a fox get into his coop and that very evening a fox tunneled into his coop.
 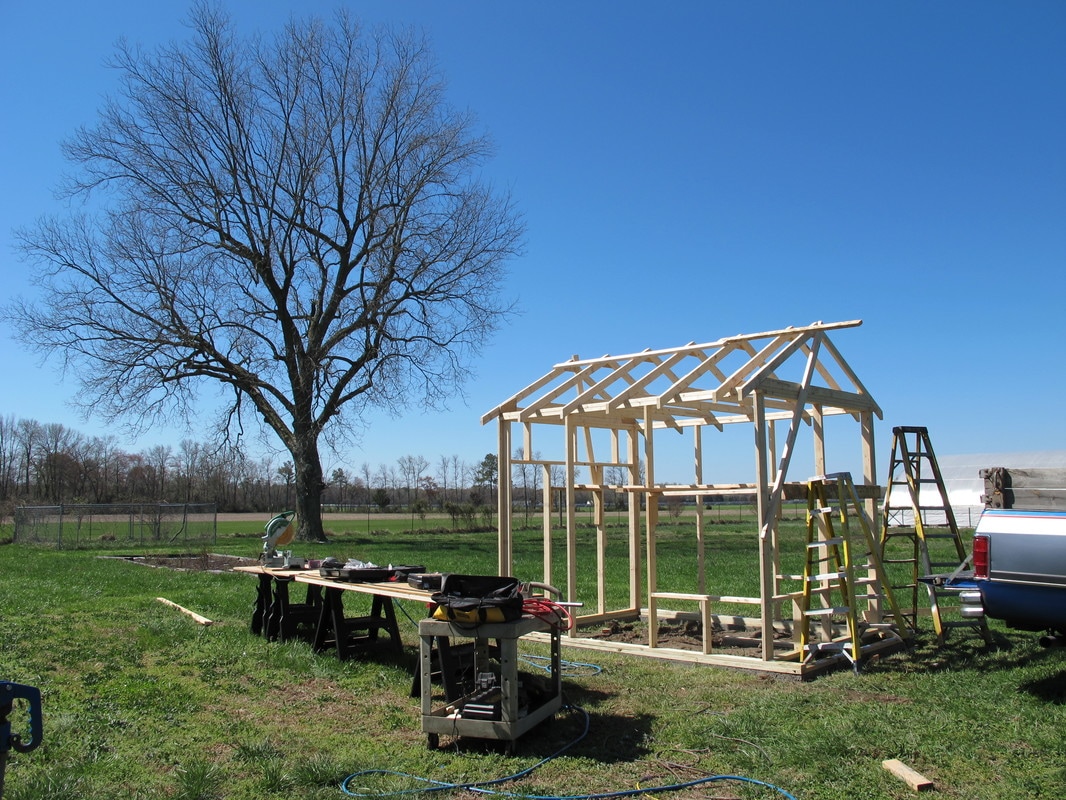 | 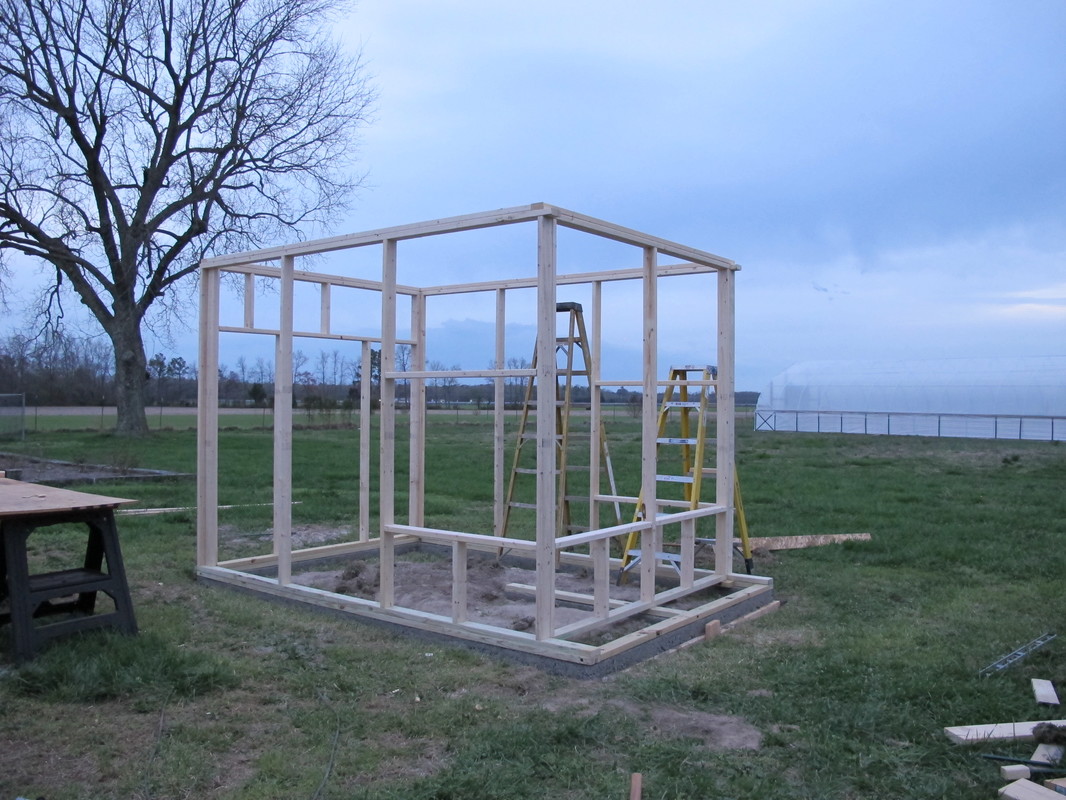 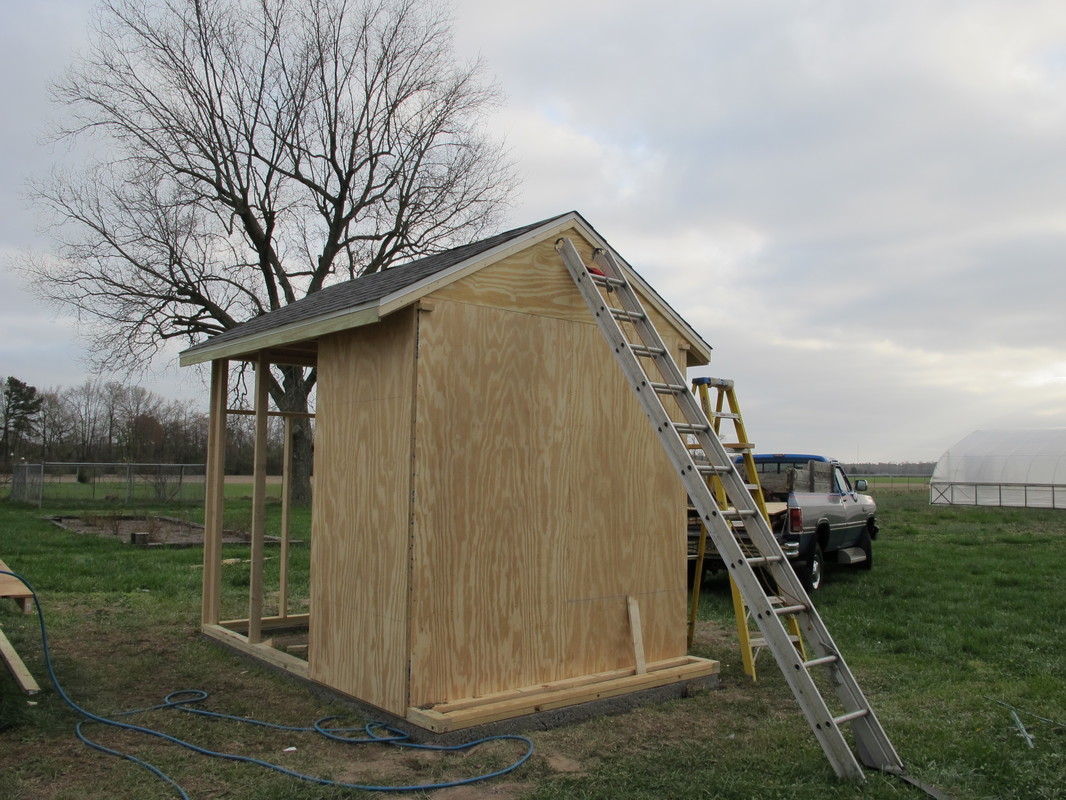 |
Our first and biggest mistake during construction was hanging the plywood to the sides of the coop before cutting out the doors. A notorious corner cuter that was helping us out that week talked my husband into hanging the plywood and cutting out the doors later. This made cutting square doors near impossible and extra plywood needed. Thanks Dad!
 | 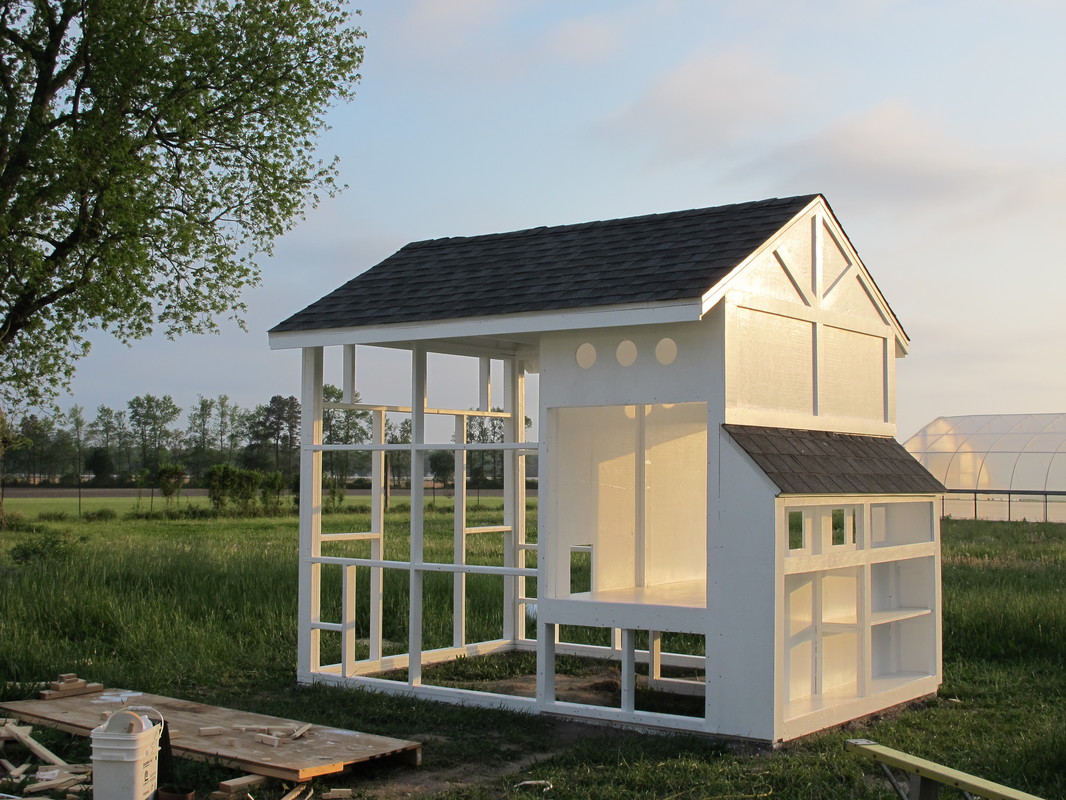 |
Painting this coop was not easy project and I am dreading the day when I have to repaint it. One change I made early on was removing the shelf from one side of the back storage area. This allows me to have a spot to store larger items. I should have installed rain gutters at this point as well. Its been 3 years since construction and I have yet to go back and install them and I think about it every time it rains.
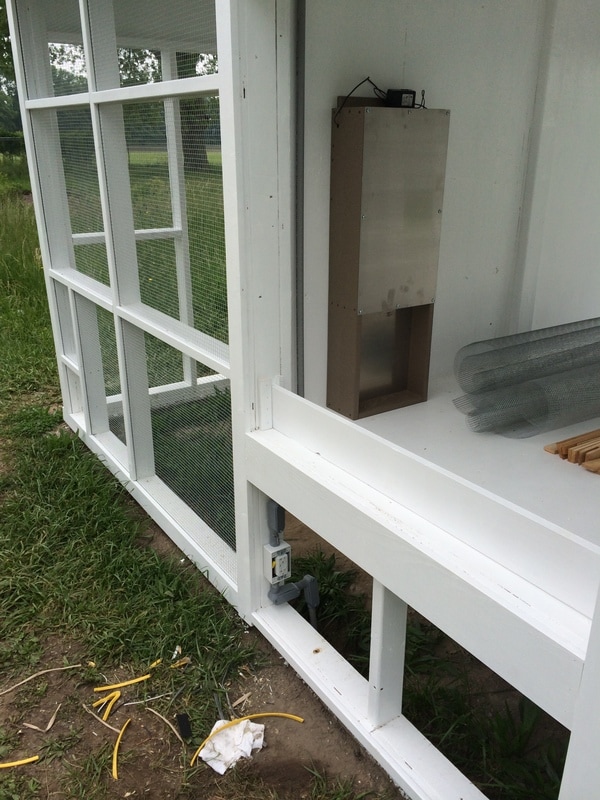 |  |
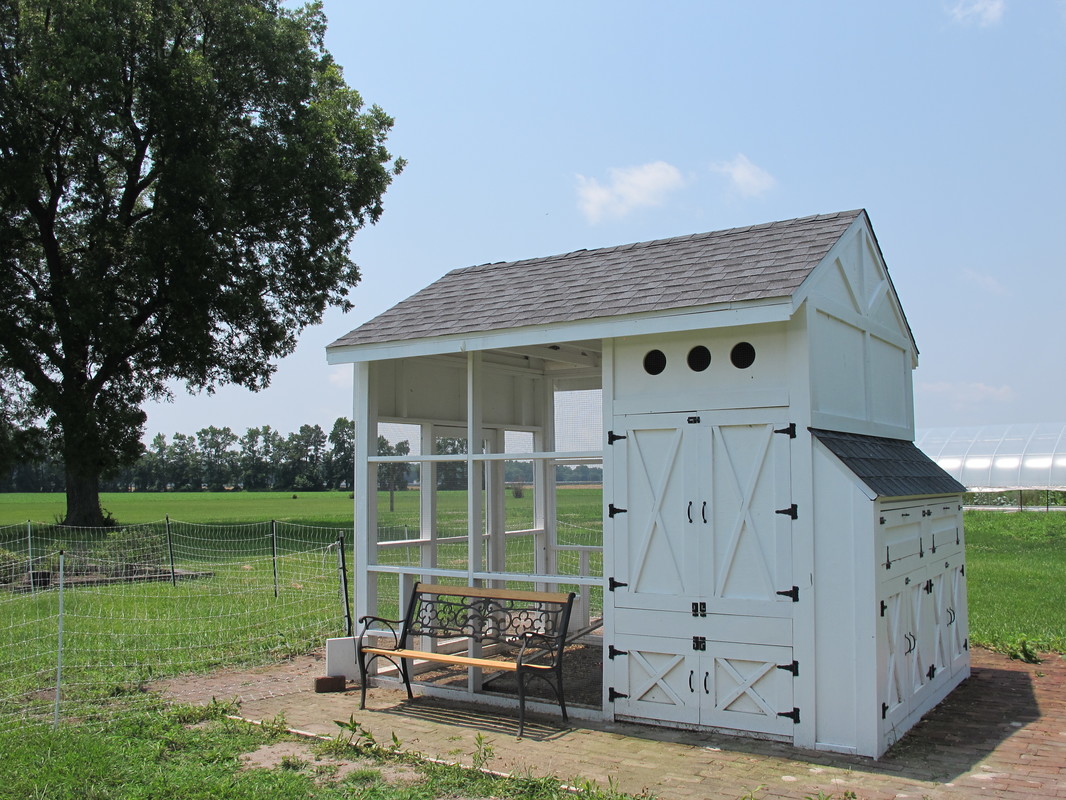
I personally think an electric door is a must for any chicken coop. This door is on a timer and opens at dawn to let the hens into the bottom of the coop and closes just after dusk. This door gives me the piece of mind if I'm out late that the hens are safely locked inside the top of the coop at night. We installed an outlet at the bottom and top of the coop. The one on the bottom is for a water heater during the winter months. The one on the top runs the door and when we first moved the hens into the coop we had to turn a night light on for them in the evening to get them to go into the coop to roost. After a week of having a night light they learned where they were supposed to roost and we were able to remove the light. We don't supplement lighting during the winter months to increase egg production and we do not heat the coop. Hardware cloth is used instead of chicken wire on the coop. My childhood coop had chicken wire and it provides no protection from hungry hawks, foxes nor my brothers Dalmatian.
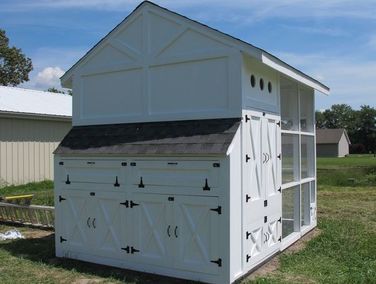 | 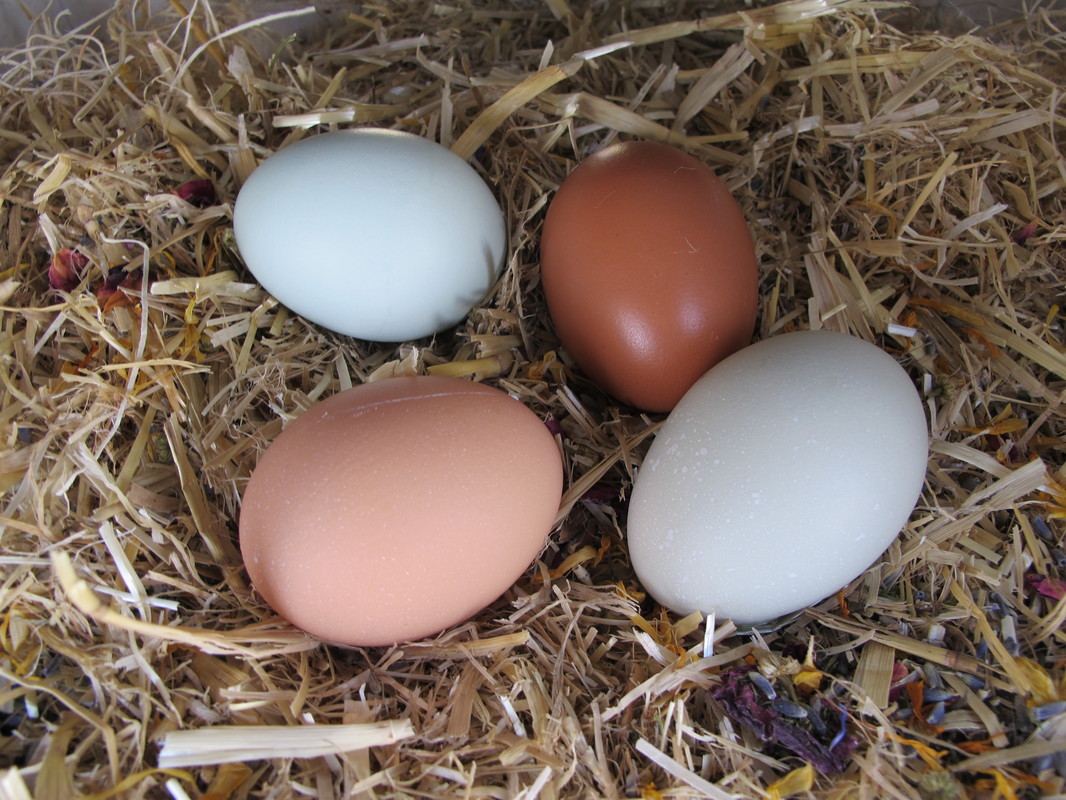 |
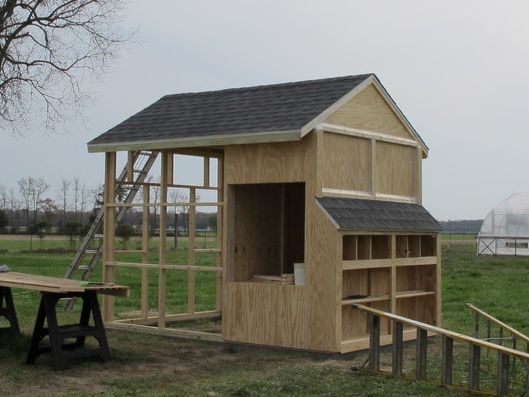
I love the rear laying boxes on this coop with the storage underneath the laying boxes. If I could do over again I would extend the roof further over the laying boxes. During extremely heavy rains water does get into the laying boxes through the top of the door. We have tried installing weather stripping but it hasn't been a workable fix to the problem. I bed my laying boxes first with a Nesting Pad, then I top with Flock Fresh which is a blend of chopped straw, zeolite and alfalfa. I then top with a sprinkle of Spruce The Coop. Our hens always had three favorite laying boxes they used and three boxes they never used. When I received my first bag of Spruce the coop I sprinkled it into the three boxes they never used and that day the hens switched to laying in the boxes with Spruce The Coop. The three favorite boxes that now had no Spruce The Coop now were being left empty. So my hens do prefer boxes with Spruce The Coop.
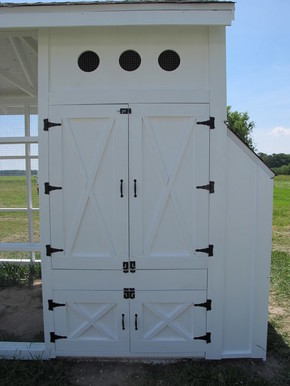 | The large side doors for the top of the coop make cleaning out the coop easy and I can climb in and out of the coop when needed. The bottom doors give me access underneath the coop and this is where I hang the feeders. 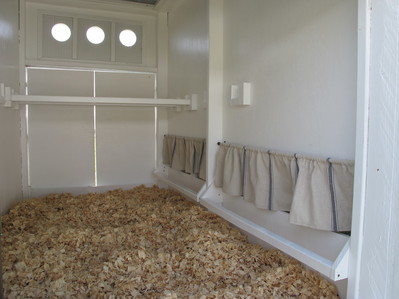 |
The interior of the coop is where I would make the majority of my changes. First what I like. We have removable boards installed at each of the doors to keep the shavings from falling out every time we open the coop up. I like that I can easily add roosts to the coop and remove them so as our flock grew we could added roosting space. My hens love the curtains, when I first installed them and posted a photo on Facebook I had a friend joke that Hens do not need curtains. Well when one fell down and I didn't replace it the hens refused to lay in those boxes. When I made a new set of curtains and hung them back up the hens went right back to laying in those boxes. They might not need them put mine sure do seem to prefer them. Now for the changes. The doors have been corrected so they fit tight now and don't have a gaping hole. I would change the position of the roosts so they are not over the laying boxes if I could do over again or I should say if I ever got around to correcting this. Having them directly over the laying boxes I ended up with piles of droppings in front of the back laying boxes the hens have to walk through.
I had wished I would have installed a droppings board in the coop. I did eventually install one but after a few months removed it. I did find the droppings board kept the bedding cleaner and the bedding lasted longer. The daily cleaning became difficult while I was on business trips. Some of flock started roosting on the board instead of the roost leading them to get covered in droppings from the hens they were roosting behind. Finally standing outside in the pouring down rain with the wind blowing the doors shut on me was the final straw and the board was removed. I have seen other coops that are set up differently than mine that the dropping boards seem to function very well.
I had wished I would have installed a droppings board in the coop. I did eventually install one but after a few months removed it. I did find the droppings board kept the bedding cleaner and the bedding lasted longer. The daily cleaning became difficult while I was on business trips. Some of flock started roosting on the board instead of the roost leading them to get covered in droppings from the hens they were roosting behind. Finally standing outside in the pouring down rain with the wind blowing the doors shut on me was the final straw and the board was removed. I have seen other coops that are set up differently than mine that the dropping boards seem to function very well.
 | 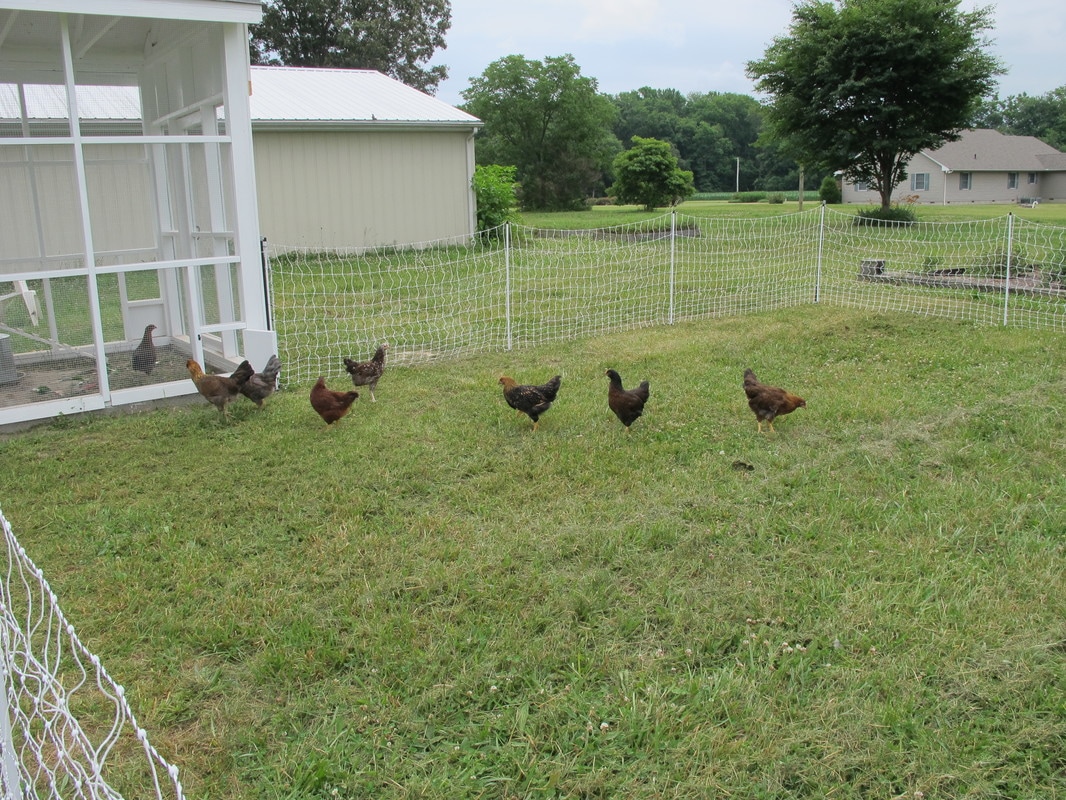 |
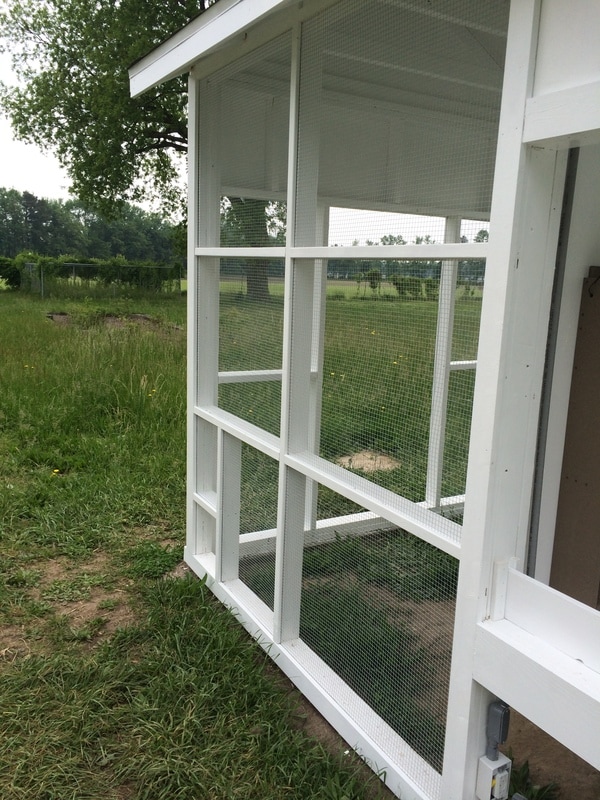
We have two small chicken doors on each side of the run. We like have two, this allows us to open one door that allows the hens to free range the whole farm and a second door that leads to a large fenced pasture. We use two 100 foot sections of Premier 1 Poultry Fencing. We like this style of fencing because it allows us to easily move the fencing to new pasture. I'm sure your wondering why we like having a fenced in pasture in addition to allowing the hens to free range the farm. On days that we are away from the farm this allows us the peace of mind that the hens are protected by a fence from predators and our hens also tend to get under foot so days we need the hens safely out of the way they can still be on pasture and having fun chasing bugs. We use the solar charger to charge the fence when we are concerned about predators.
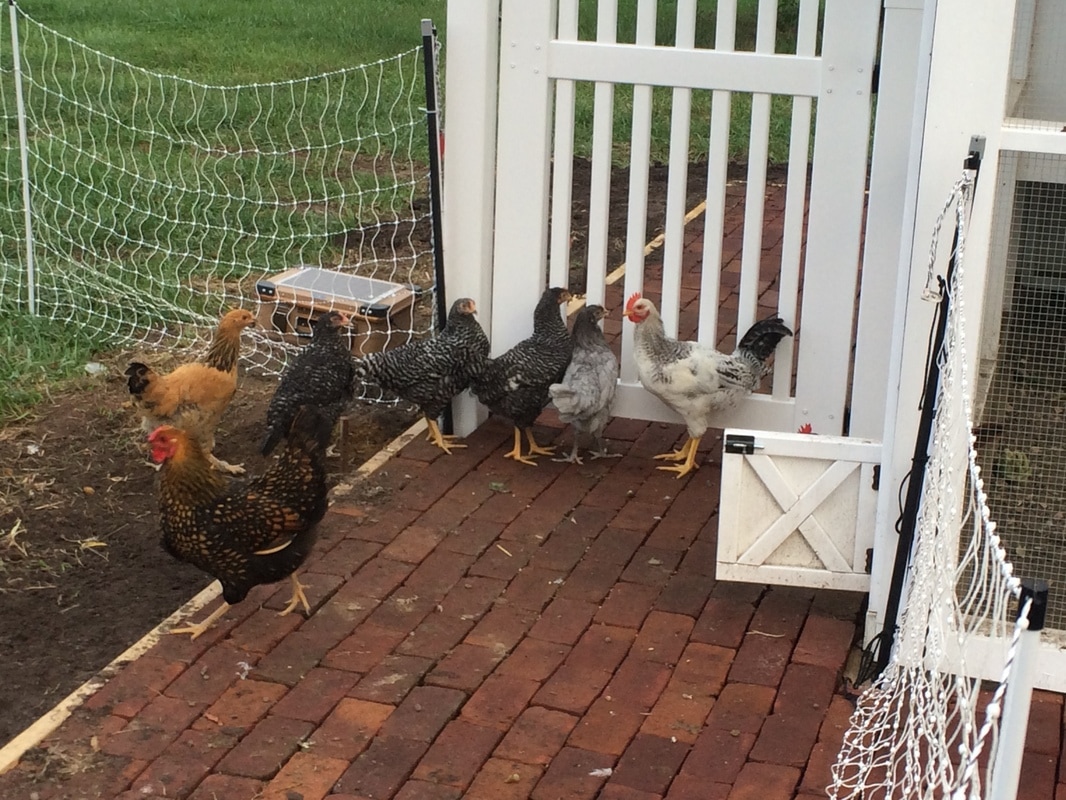 |  |
Next we installed a brick sidewalk that goes all the way around the coop. The sidewalk was a great addition, its easy to spray off and keeps you from standing in mud when the hens have decided to scratch up all the grass in a particular area. The down side is the amount of weeds that seem to pop up in between the bricks. We also installed a gate on one side of the fence to attach the poultry fencing to. My short legs couldn't handle jumping over the fence every time I needed to open the chicken door to let them into the pasture.
 RSS Feed