La Bella Farm
  • Home
  • The Farm
    • The Crops
    • The Ladies
    • The Sheep
    • The Kitchen
  • Find Us
  • Blog

Homemade Mozzarella

5/31/2017

2 Comments

 
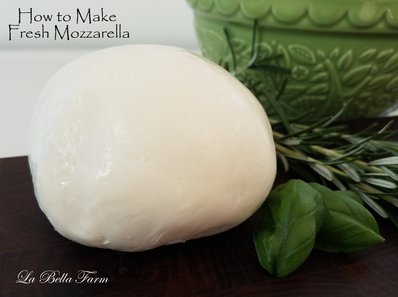
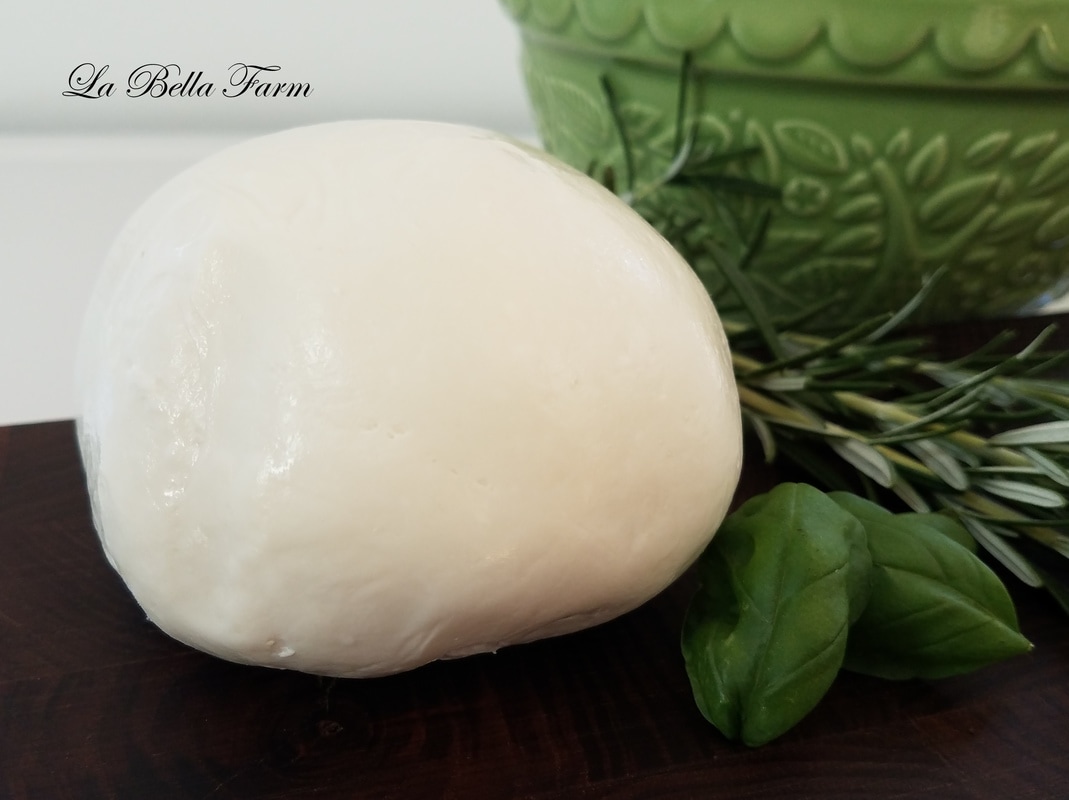
During my early twenties I spent time in Italy milking on different dairy farms.  One of the farms I milked on was a Water Buffalo farm and after milking we would make batch after batch of the very best 'Mozzarella di Bufala' or Buffalo Mozzarella.  I fell in love with Water Buffalo that summer and dreamed of one day having my own buffalo dairy.  This recipe is made with cows milk that you can buy right at the grocery stores. Though its not as yummy as Mozzarella di Bufala its still very good. 
Picture
Equipment:
  • Thermometer
  • Rubber Gloves
  • Measuring Spoons
  • 2-1 Cup Measuring Cups
  • Slotted Spoon
  • Large Spoon
  • 1 quart Microwavable Bowl
  • Colander
  • Cheese Cloth
  • 6 quart Stainless Steel Stock Pot
Ingredients:
  • 1 Gallon Whole Milk as fresh as possible (at least 10 days out from its expiration date and Not Ultra Pasteurized)
  • 1 1/2 tsp Citric Acid
  • 1/4 Rennet Tablet
  • 1 1/2 tsp Cheese Salt
  • Water ( Not Chlorinated)
Note- Ultra Pasteurized Milk has been heated to high temperatures and the cultures natural in milk has been killed by the high temps and the milk will not make cheese.
Preparation:
Sterilize all equipment this can be done by running it through your dishwasher.  
Mix 1/4 of a rennet tablet with 1/4 cup of cold water in a measuring cup
Mix 1 1/2 tsp of citric acid with 1 cup of cold water in your second measuring cup
Picture
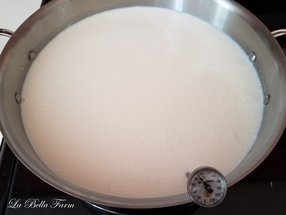
Heating the Milk to 85 Degrees
Picture
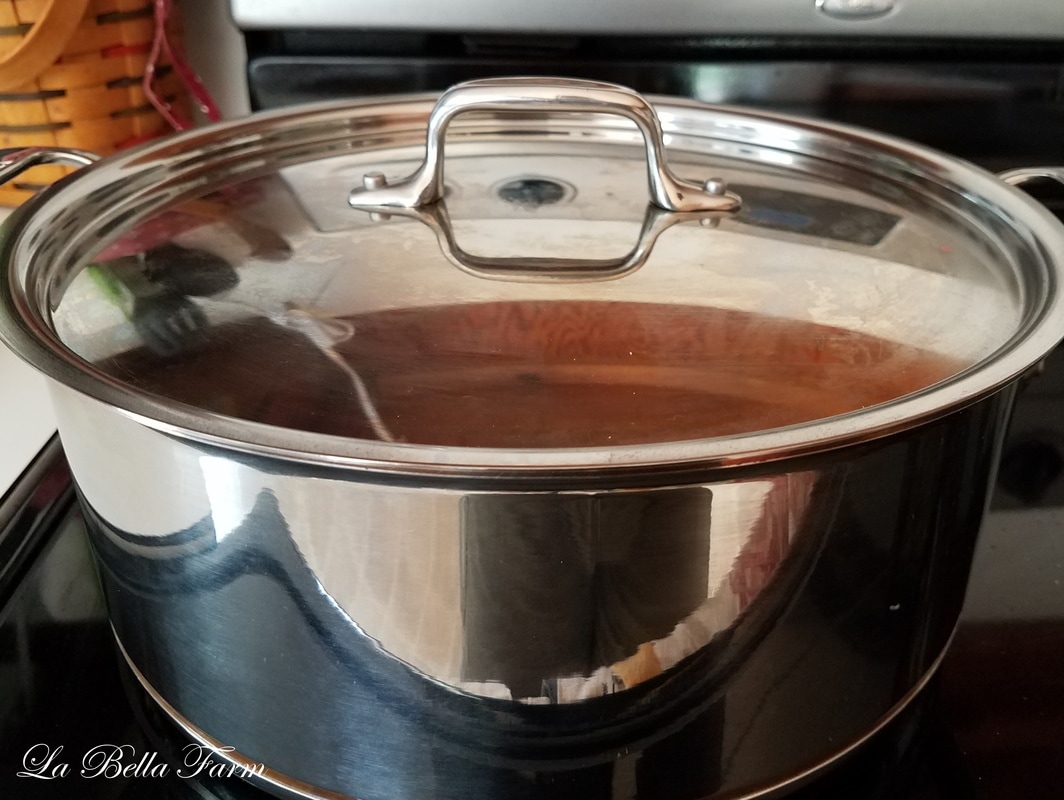
After the Addition of Rennet
Picture
Resting
Picture
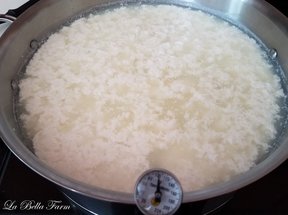
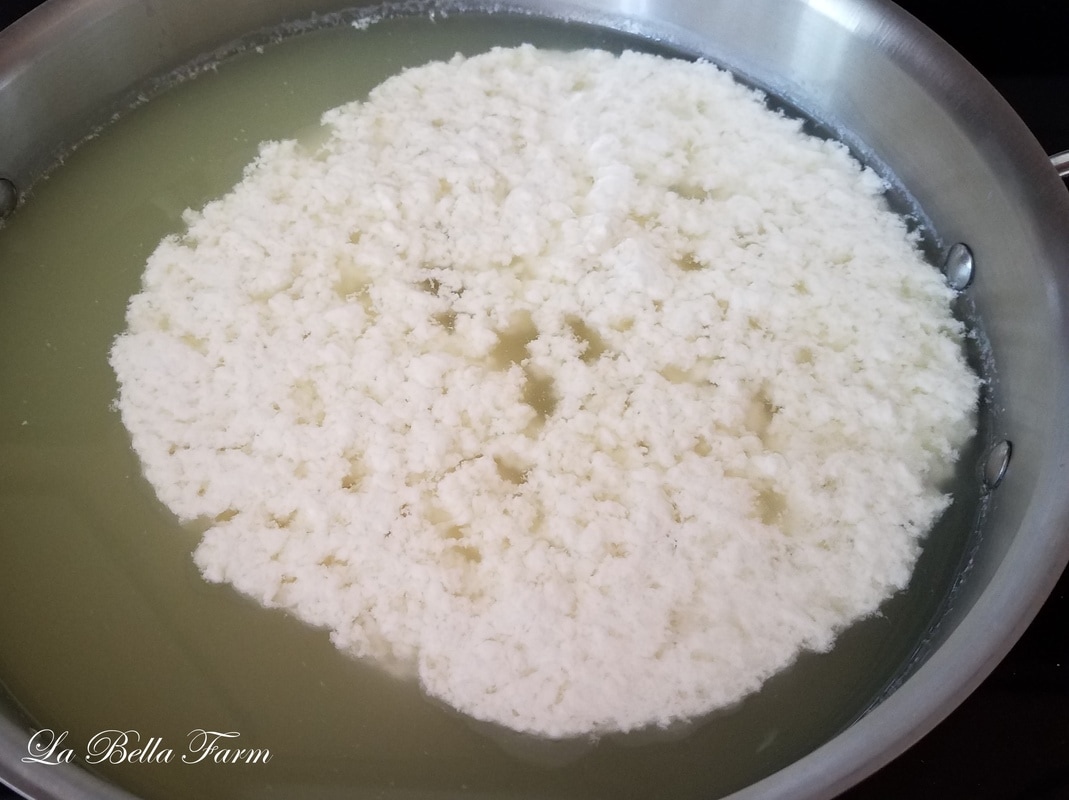
Post Rest
Picture
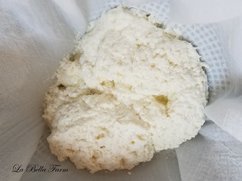
Drained Curds
Picture
Lifting the Curds to Drain Whey
Picture
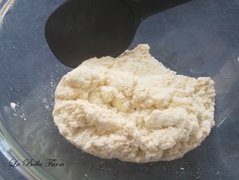
Curds after Whey has been Drained
Picture
Folding and Kneading the Curds
Picture
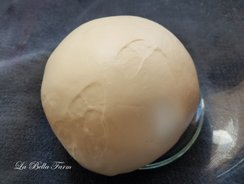
Formed Ball
Picture
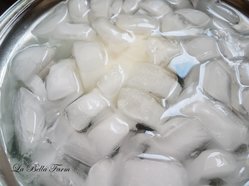
Ice Bath

Heating the Milk and Developing the Curds

Step 1- Pour the Milk into your pot and slowly over a medium low heat, heat the milk to 85 degrees.  This will take about 10 minutes.
Step 2- When the Milk has reached 85 degrees pour in the citric acid water mix.  With your slotted spoon slowly stir the milk for 20 seconds
Step 3- When the milk reaches 100 degrees (this will take about 5 minutes) stir in the rennet water mix.  Using your slotted spoon gently stir for 30 seconds.
Step 4- Continue to heat the milk until you reach 105 degrees.  Then turn off the heat and cover.  Let the milk sit for 10 minutes. 

Draining the Curds

Step 1- Line your colander with your cheese cloth and pour your curds and whey into the cheese cloth lined colander
Step 2- Lift up the cheese cloth and allow the whey to drain from the curds.  This may take a few minutes.  You can gently press the curds to remove excess whey.  

Kneading the Curds

Step 1- Transfer the curds to a microwave safe bowl.  Microwave for 1 minutes.
Step 2- With a pair of rubber gloves to protect your hands from the heat gently fold the curds.  If whey comes out of the curds simply drain the whey from the bowl. Continue to fold and kneaded the curds.  You can use a large spoon if the curds are to hot to handle.  Microwave the curds for 30 seconds at a time folding a kneading each time you microwave the cheese.  The goal is to reach 135 degrees and for the cheese to start to look smooth, shiny and start to firm up.   

Stretching and Forming the cheese

Step 1- The cheese must be at 135 degrees to stretch.  If its not hot enough microwave it for another 30 seconds.  Add 1 1/2 tsp of cheese salt to the cheese and work it into the cheese by folding and stretching the cheese.  
Step 2- Holding the cheese up letting it fall and then pulling the bottom back up to join the top.  Like stretching salt water taffy.  The more you stretch the cheese the firmer it will be.  
Step 3- Form a ball by pulling the edges of the cheese and tucking underneath to form a smooth top and sides.
Step 4- Place the cheese ball into an ice water bath for 15 minutes.  Remove pat dry and wrap tightly with plastic wrap.  Refrigerate.
Picture
2 Comments

Strawberry Harvest

5/30/2017

3 Comments

 
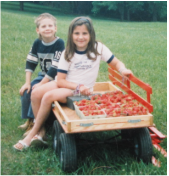
PictureWith my Brother
Few things in life can truly compare to the taste of the first ripe strawberries of the season.  Strawberries were the first crop I ever grew and sold on my own.  They own a special place in my heart, I'm sure that's what makes them taste that much sweeter to me.  When I was 6 years old with the help of my father and brothers I planted my first patch of strawberries with the goal to sell enough strawberries to take a family vacation to Disney.  I used my little brothers red wagon to set up a produce stand at the end of our farm lane to market my berries to the neighbors.  I could be found on the weekends peddling strawberries at my brother little league ball games much like the Beer Man at the O's games.  When I think of Disney I will always think of the Strawberries that got us there.

Picture
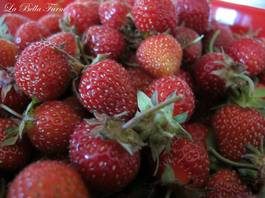
Earliglow Strawberries were my favorite berry when I was 6 and they still are today.  They are a June bearing variety meaning they produce one large crop of berries in the spring.  I find in Delaware mine are ready to pick mid May.  The berries are smaller then the varieties that you find in the grocery store but packed with so much flavor they are well worth the smaller size.  This variety is normally ending its harvest about the same time other June bearing varieties start to ripen, you can extend your harvest by planting a second June bearing variety.  I like to use Jewel as my second variety.  I personally have never had luck with Day Neutral Strawberries (they produce all summer) so I stick with June bearing.


​Strawberry  Jam

Picture
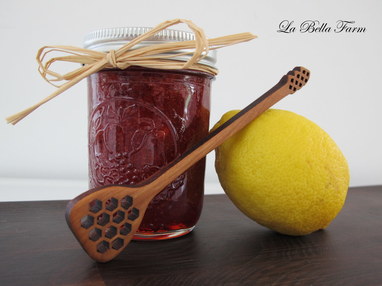
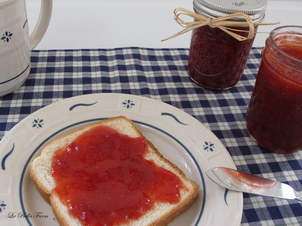
This is an old Strawberry Jam recipe my father made that was taught to him by his Grandmother Anne.  My father swears that to make good jam you must make it in small batches.  I break this rule all the time and triple the recipe, so go ahead.  Back in Great Grandmothers day the peels of green apples were used instead of commercially produced pectin, I find store bought pectin to be easier to deal with and more consistent.  Strawberries must be picked ripe and have no white tips this is a must to make good jam.  Strawberries from the grocery store will not make the best jam so if you don't grow your own strawberries buy them from a local farm that picks them ripe.  The amount of sugar is a range. I find with my own Earliglow strawberries I can use a lot less sugar.  Slowly added the sugar and give it a few minutes to dissolve, taste and added more until you get the sweetness you prefer.  I added Balsamic Vinegar to brighten the flavor of the berries.  If your unsure about adding it, leave it out you will still have a great jam.  When I make jam to sell I make it both ways, with and without but I prefer the batches with.

Picture
  • 2 Quarts of Strawberries Rinsed and Hulled
  • 1/4 Cup Lemon Juice 
  • 6 Tablespoons Classic Pectin (I like Ball Brand)
  • 3.5 to 7 Cups Sugar
  • 1 Tablespoon high quality Balsamic Vinegar or Strawberry Balsamic Vinegar (optional)
Add the Strawberries to a heavy bottom 4 quart pot. Crush the berries with a potato masher.  Mix in lemon juice and bring to a simmer, stir constantly.  Add the pectin and bring to a boil, stir constantly.  Start adding the sugar slowly and taste after each addition until you have found your desired level of sweetness.  Bring to a rolling boil for 1 minute, continue to stir.  Check the gel on a cold plate.  Stir in the Balsamic Vinegar and remove from heat. Do a quick check to make sure you are still happy with the flavor of your jam, you can still place it back on the heat and add sugar if needed.  You will have foam and don't toss it out, skim it off the top and refrigerate for future use.  Ladle hot jam into hot jars leaving 1/4" head space and process for 10 minutes in a boiling-water canner.

Need ideas on what to do with the foam?  Toss in a blender with Ice, Rum and Strawberries for a Daiquiri.  Add it to a fruit smoothie or top plain yogurt with it.


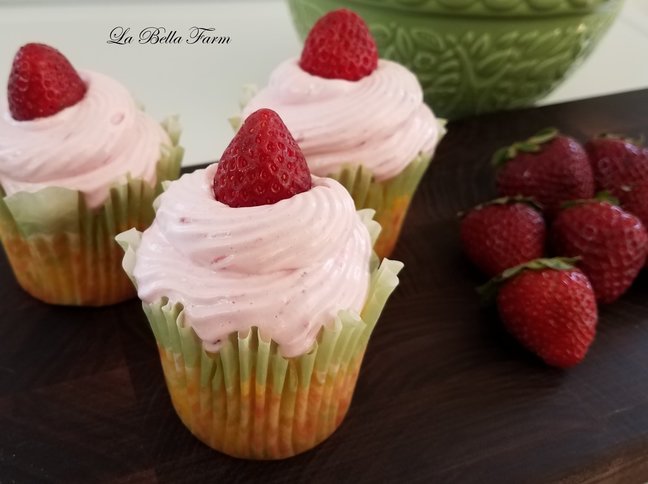
Grandma Mary Jane's Strawberry Frosting

Picture
My Grandma Mary Jane always made this frosting during strawberry season with fresh picked strawberries from her garden.  The recipe was passed down to her from her Aunt Mame. Throughout May and June this cake could be found in my moms refrigerator in a metal 9 by 13" baking pan that had a metal lid that slid open and closed.  A butter knife was always left in with the cake so we could sneak into the fridge at anytime and cut off a piece.  My brothers birthday is right at the end of the strawberry season and my mother would make a white layer cake with this as the frosting for his birthday cake.  
​This is frosting great on white, yellow, chocolate or lemon cake.   
  • 1 Cup of Hulled and Sliced Strawberries
  • 1 Egg White
  • 1 Cup Sugar
  • 1 tsp Vanilla
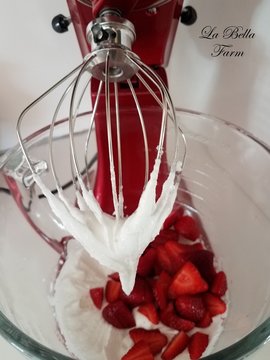
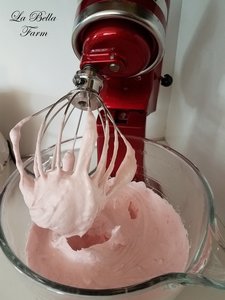
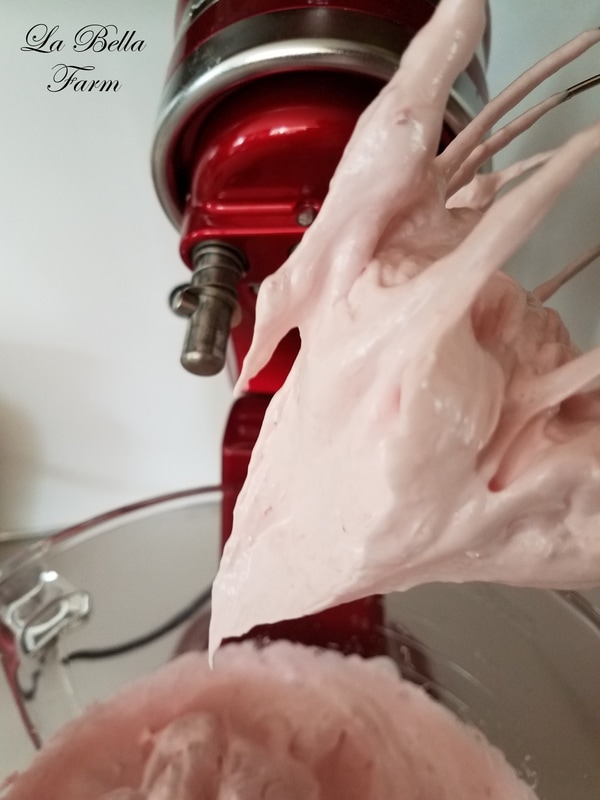
I like to start by whipping the sugar and egg whites together for a few minutes, then tossing in the berries and vanilla.  You will need to beat for a very long time until stiff peaks form. At some point you will think this is not going to turn into a frosting but don't give up keep whipping it. Frost your cake and refrigerate.
A Note about Raw Egg Whites:  The FDA recommends only cooking foods containing eggs thoroughly to prevent illness from bacteria.  Pasteurized in shell eggs can be substituted for the raw egg white.   
Picture
Picture
Picture

3 Comments

Notes from La Bella Farm

5/24/2017

4 Comments

 
What a week!  Sheep have been sheared, new lambs were born, spring harvest is underway along with all the other daily farm chores!

Shearing

If you ever watch a professional sheep shearer shear its pretty amazing they can shear a sheep in minutes and make it look easy and painless.  The truth is for a novice shearer its a slow, painful process and I chose to leave the shearing to the professionals and hired a shearer.  With the 90 degree weather leading up to shearing day the Ewes were hot and ready to lose the wool.  Getting ready for shearing was an easy process we simply had to catch the sheep in the morning and let them fast for 12 hours.  Empty bellies makes it more comfortable for the ewes while they are sheared.  
Picture
Picture
Picture
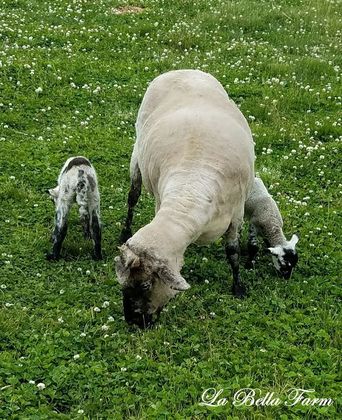
Shearing went fast, easy and stress free for the Ewes!  Post shear the girls were very happy to get back in the field and graze.  The lambs were happy to be reunited after being separated from the ewes for 30 minutes.
Picture
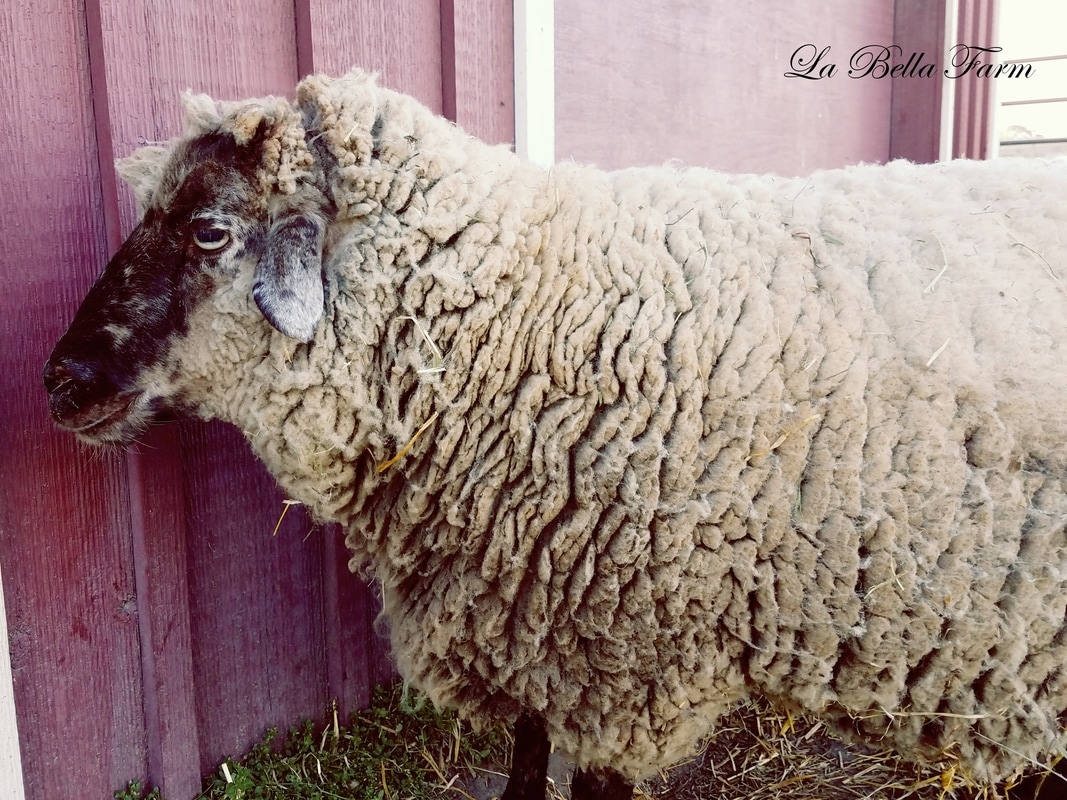
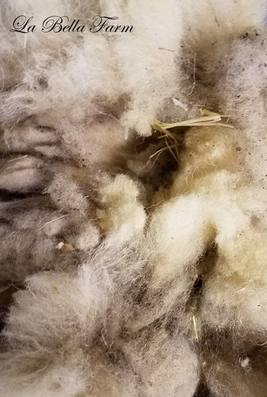
​Hog Island wool varies from medium to medium-course.  The fleeces are easy to card and can be spun or felted. Wool from Hog Island Sheep is very nice for hand spinners.  Raw fleeces are available for a limited time.
Picture
The first four lambs born are now two months old!  While the Ewes were being sheared the lambs all got vaccinated.  Washington is always begging for attention, he lined up first to receive his shot and kept rejoining the cue after.  We vaccinate for Clostridium perfringens (a bacteria disease) and tetanus.  Lambs can die suddenly from Clostridium and treatment of sick lambs is generally not successful so we believe vaccinating is important to the health and well being of our flock.

Spring Harvest

Picture
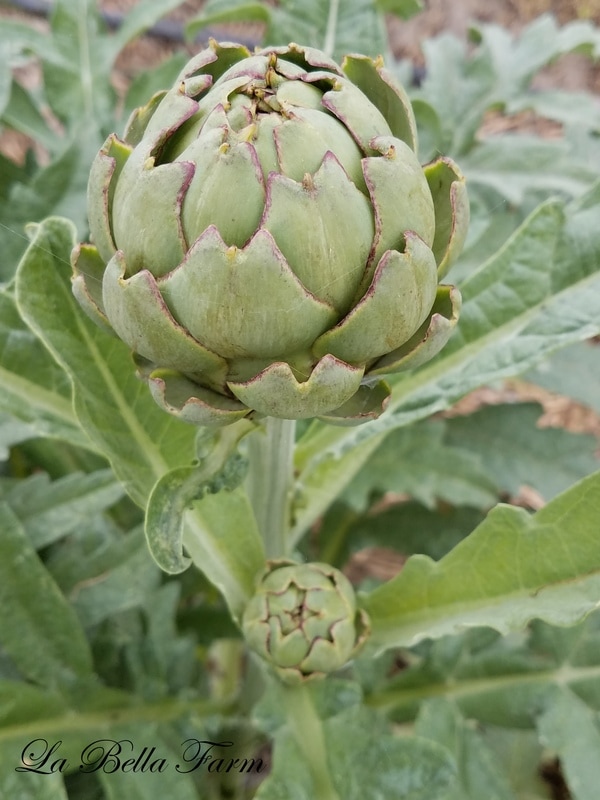
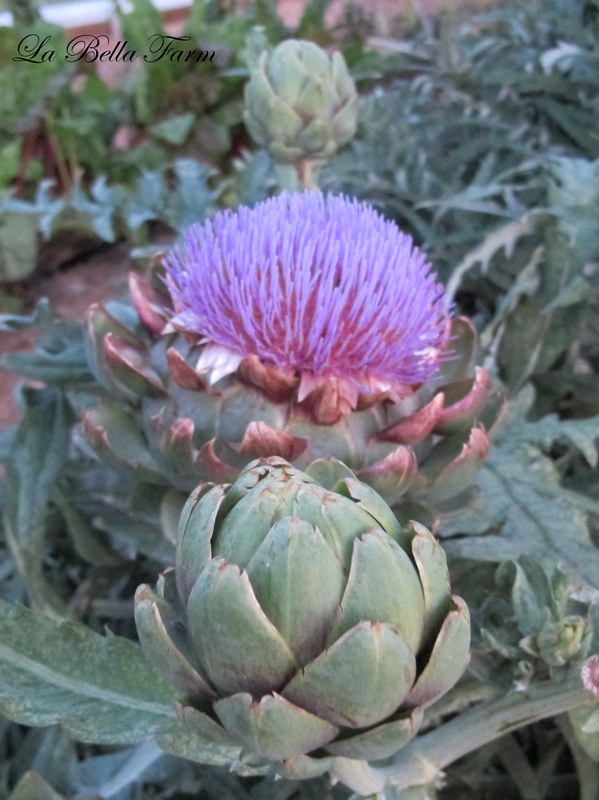
We are very spoiled with being able to grow produce year round and always having our own fresh veggies and fruit to eat. Spring harvest is underway and the young greens, peas and strawberries have been such a treat this past week.  We are making room for summer plantings of zucchini, cucumbers, string beans and winter squash.  With this weeks rain the potatoes are growing fast and are ready for hilling.   The first artichoke of the season is ready to be picked, I always have such a tough time deciding should I eat it or let it bloom.  Spring flowers are in full bloom and new seedlings are popping up that will be our summer cut flowers.

Picture
Picture
Picture
We grow Imperial Star Artichokes each plant typically produce 6 to 9 small artichokes.  They are perennial to zone 7 and will produce artichokes the first year during late summer/fall and then during the spring each year after.  I find artichokes to be fussy to get started but very hardy once they are established.  If you start them from seed, start at least double the number you want. I seem to have half of them die when I transplant from plug trays to pots.  We live in zone 7 so we mulch the plants heavily in the fall and do occasionally lose a plant over the winter.    

Mila's Lambs 

Picture
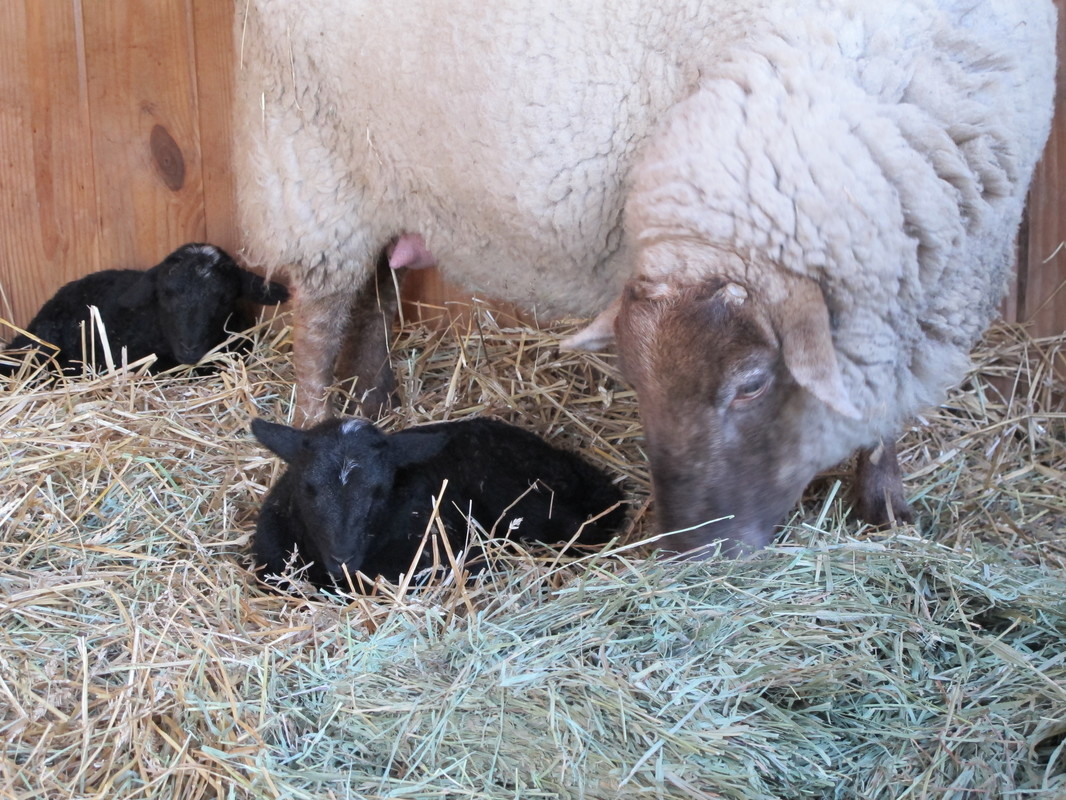
At last Mila had her lambs.  She has been impatiently waiting for her lambs to be born, so impatient we thought she might steal a lamb from Topanga.  Topanga has been a very laid back mother letting her lambs run wild and often wondering off and leaving her lambs behind.  Aunt Mila came to the rescue several times and reunited lost lambs to an unconcerned Topanga.  Mila went into labor late in the evening.  Our sheep are normally very quite so a baa during the night means something is wrong.  We headed out with flashlights in hand to check on her and just our luck it was a difficult lambing. Mila's first born Abigail was very small only 6.3lbs and wasn't moving, our smallest lamb to date was 10 lbs at birth.  As Mila continued to try to get Abigail up and nursing she was also struggling to give birth to another lamb.  You don't realize how much you miss electricity until you have to pull a lamb in a pitch black barn while trying to hold a flashlight.  Mila's second lamb was an even smaller 5 lb male lamb that we named Adams.  Adams may have been small but he was very strong and started trying to stand shortly after Mila cleaned him off while his older sister was still laying limp on the ground.  In the end I had to hand feed colostrum to Abigail and after several feedings she was able to stand on her own.  

Picture
Picture
Picture
Mila, Abigail and Adams could only go out on supervised visits to the pasture the first two days.  A hawk took notice of the small size of the lamb and he quickly got the idea they would make an easy to catch for lunch.  After two days of chasing off the hawk he finally gave up and moved on.  Mila was still nervous to leave the lambing jug and would not leave the barn at all.  She would go straight back to the lambing jug after only a few minutes of freedom.  Finally this weekend Mila must have decided she was tired of hiding in the barn and came out into the pasture with the rest of the flock.  The other lambs were excited to meet Abigail and Adams and they received a few good headbutts from Mila when they got to rough with her lambs.
Picture
4 Comments

Lambs!

3/31/2017

5 Comments

 
This has been a busy week on La Bella Farm.  Not only are we in full swing getting spring produce planted and seeds started but four Hog Island lambs were born a week early!  
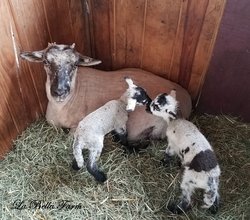
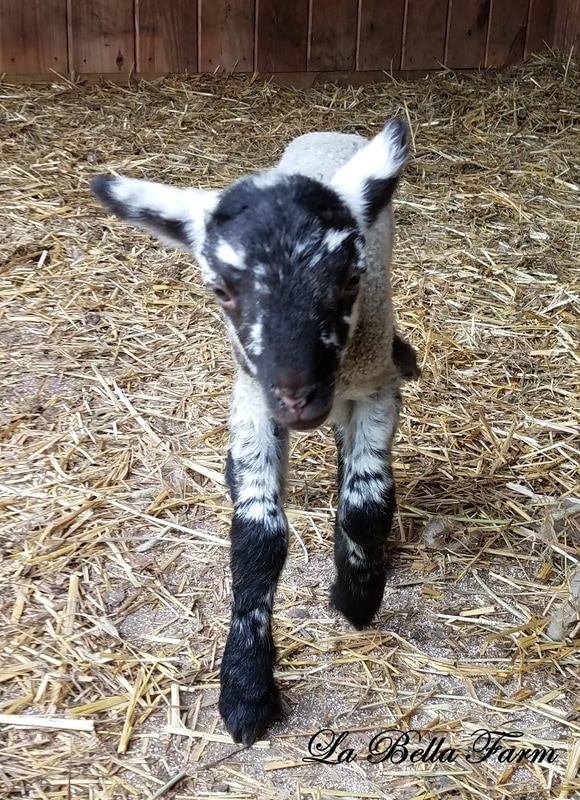
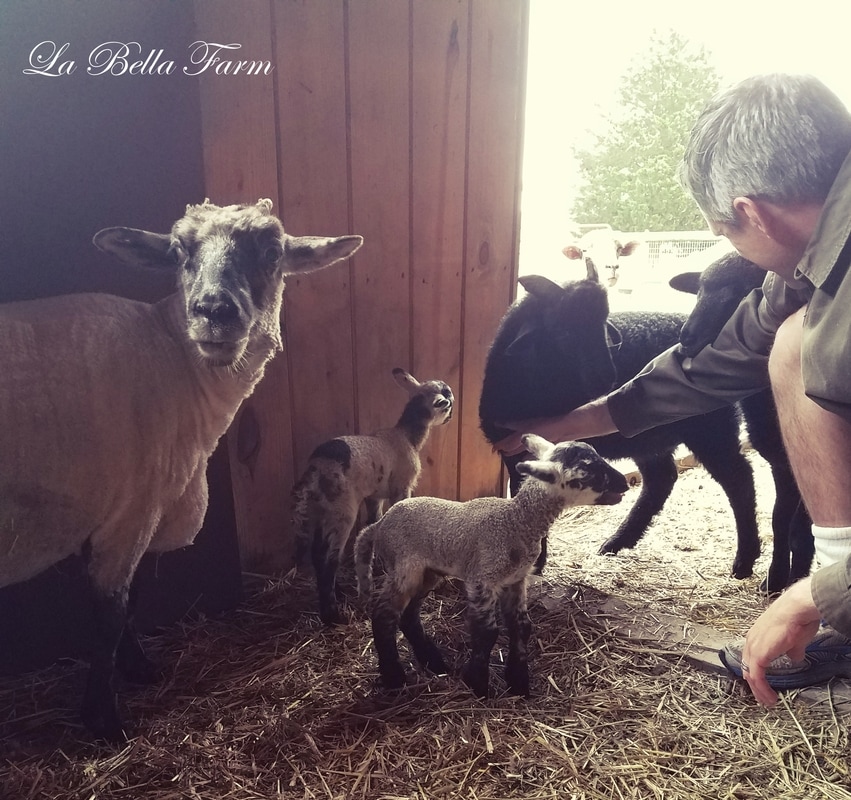
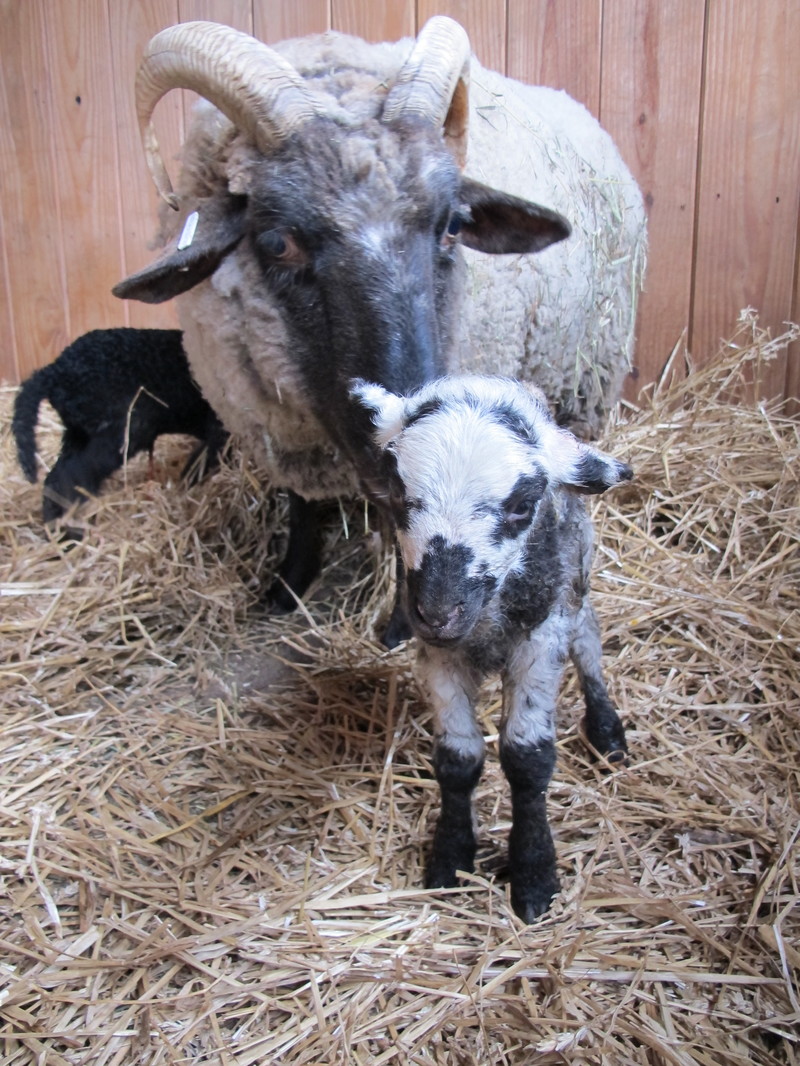
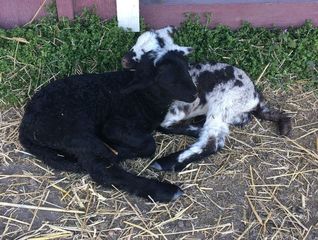
Sedona gave birth to two lambs on Sunday.  We named them Leslie Lee and Washington.  Sedona is an old pro at raising lambs, this is her 7th pregnancy and she needed no assistance.  On her own she found a cozy spot in the barn and gave birth, cleaned up the lambs and fed them with no help from us.  She is a strict mother with her lambs and always has them close by and in line.  Washington is constantly pushing the limits and getting himself into trouble.  He likes to explore, clime on things and is constantly testing the fence line and try to wriggle under the gate.  He is also a lover and is the first one to try to clime in our laps.  Leslie Lee is very serious and she mimics everything her mother is doing.  
Picture
Picture
Picture
Topanga gave birth Tuesday afternoon to twins Jefferson and Martha.  This is her second pregnancy. During her first pregnancy she only had one lamb and struggled to take care of it on her own and was given assistance in caring for her lamb.  Topanga gave birth to both lambs with no problem but in a less than ideal spot in the pasture.  She started caring for her first born right away and then gave birth to her second lamb and quickly abandoned him to care for her first born.  It appeared that she was rejecting Jefferson.  By this time she had cleaned Martha off and fed her. We stepped in and moved Jefferson in front of her and each time she ran off and left Jefferson.  Fearing Jefferson would suffer from Hypothermia we stepped in and cleaned him off.  We wrapped him in blankets and rubbed him to get him warm.  We then made one last attempt to get Topanga to accept Jefferson.  This time we placed a halter on Topanga and led her back over to Jefferson with Martha tagging behind.  Jefferson started to baa and at last Topanga started to sniff him and accepted him as her own.  It's been 3 days and Topanga is carrying for and feeding both lambs but she does't appear to have a rule book for her lambs and they run wild.  Often Sedona and Mila have to step in and discipline Topangas lambs.   
Picture
Picture
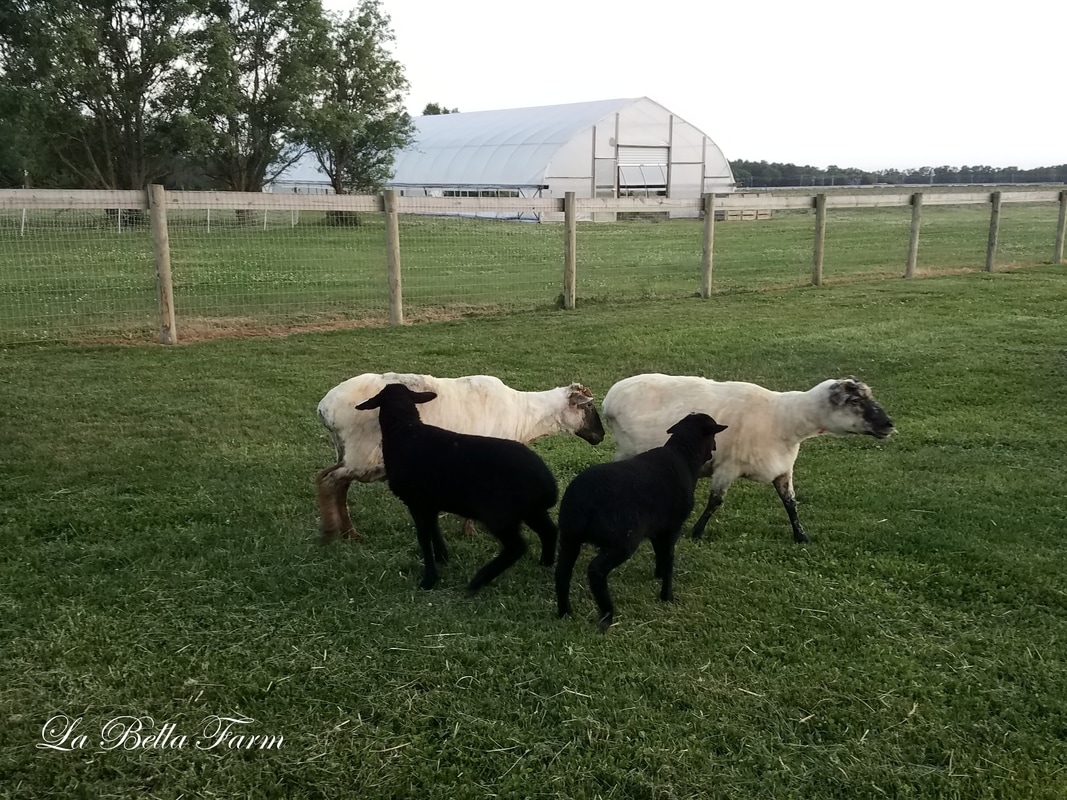
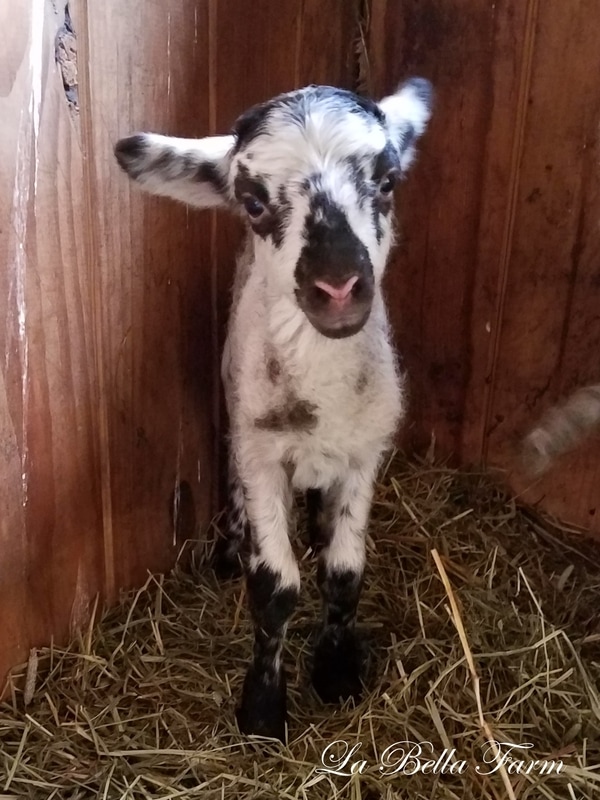
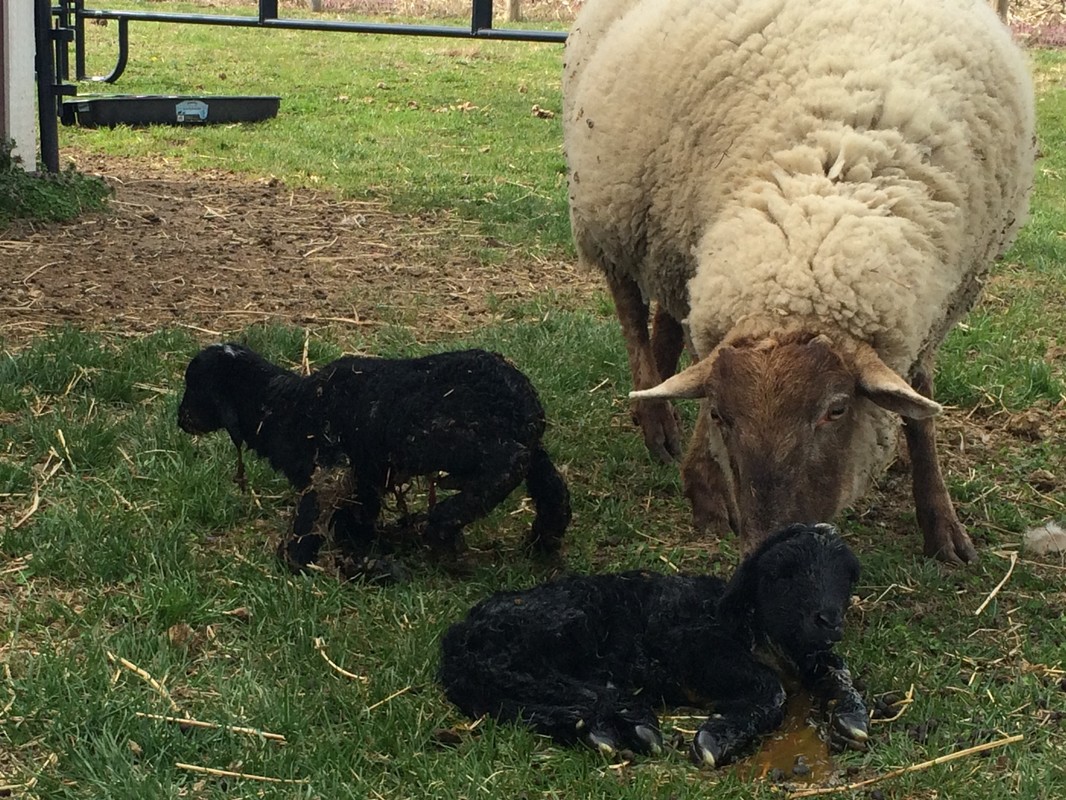
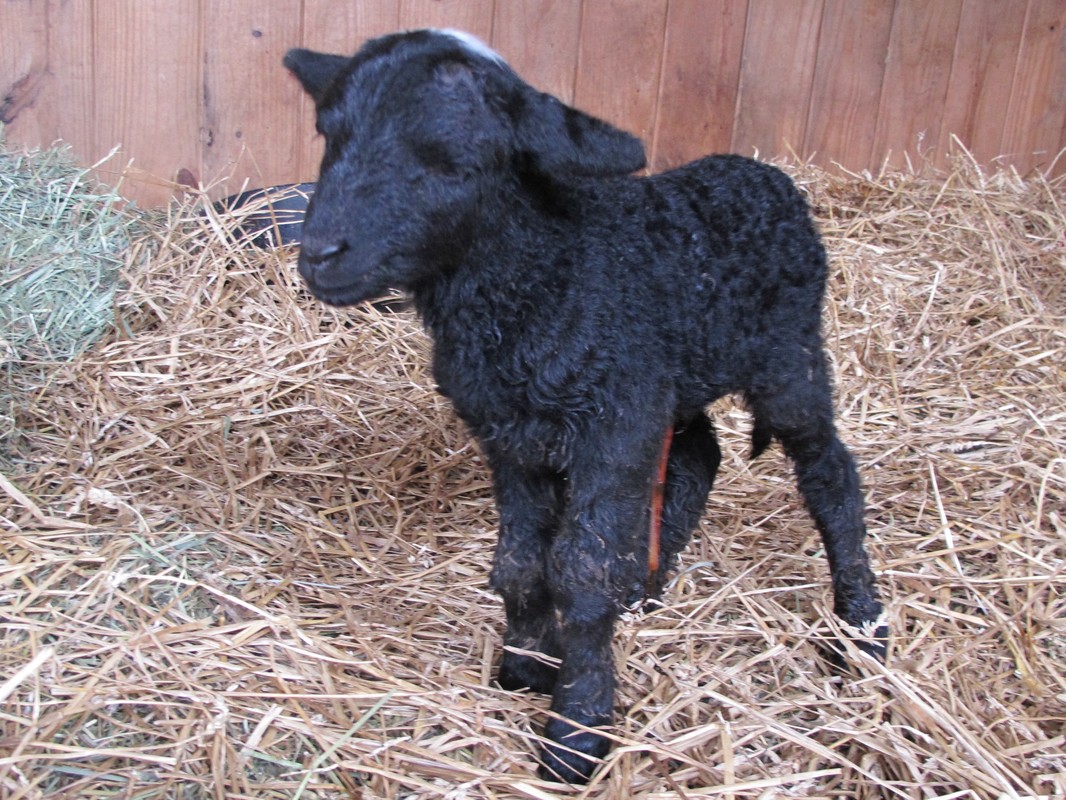
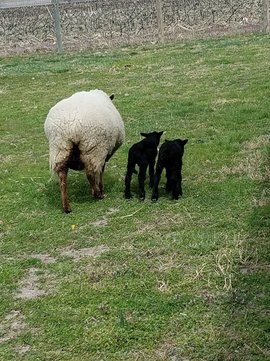
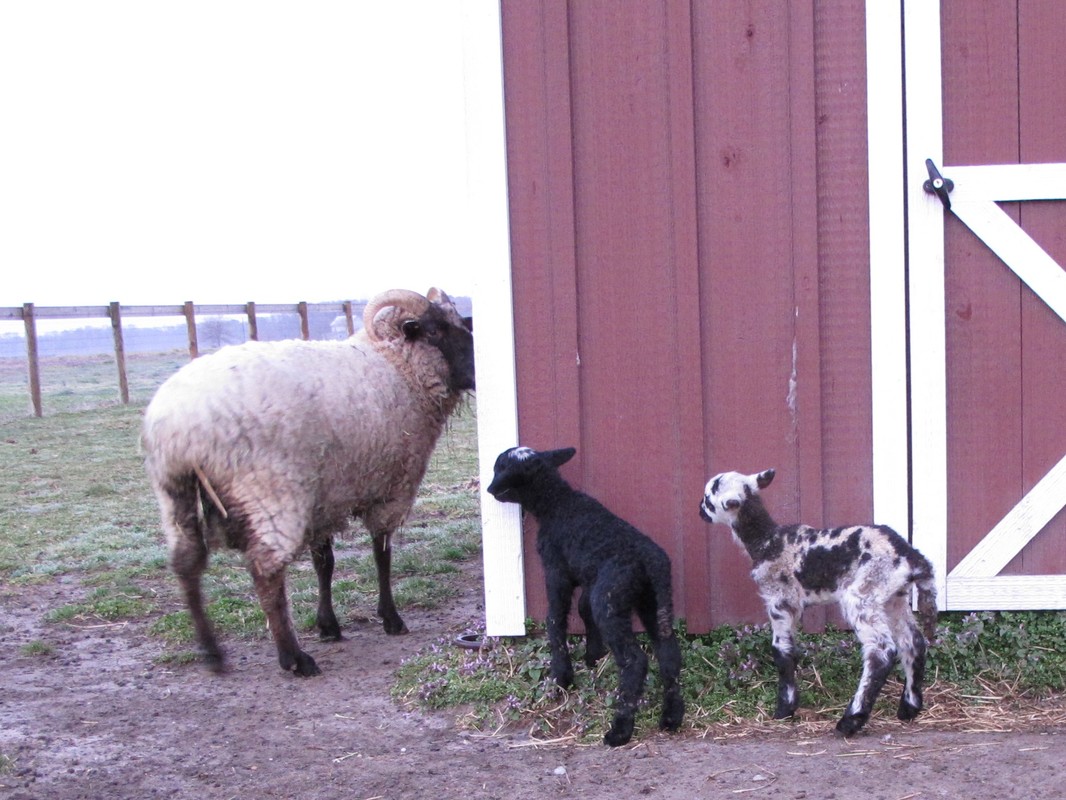
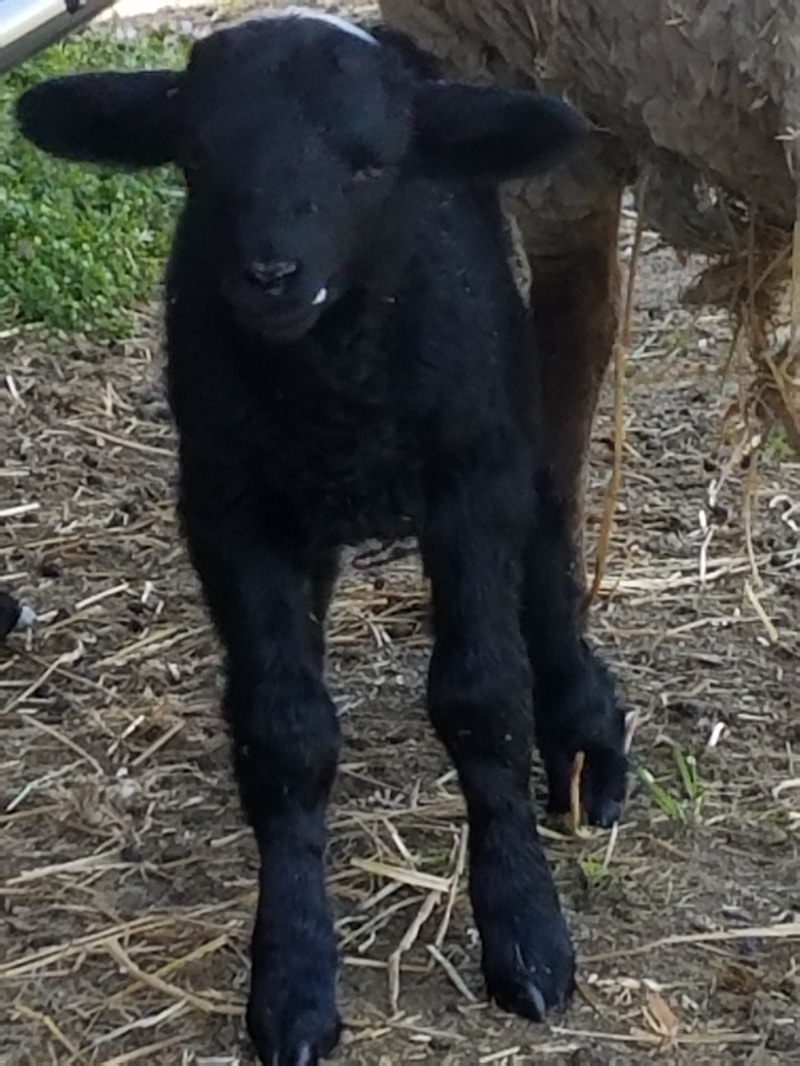
Only 10% of Hog Island Sheep are black, so far 3 out of 4 are black.  Even though white is the preferred wool color we love natural wool and are very happy that we had three born black.  
Picture
Picture
Brother and Sister, Washington and Leslie Lee are always near each other.  Leslie Lee will lose her spots as she grows and turn white like Sedona.
Picture
Picture
Sedona and Topanga taking the lambs out for their first walks around the barn.  
Picture
During the first week the lambs had to have their tails docked and we did this on Thursday.  I know it sounds horrible but if the tails are not docked flies will lay eggs under the tails and maggots will hatch and cause the sheep significantly more pain. Research has shown that docked tails greatly reduces the chance of maggots developing under the tail, making docking more humane than leaving the tail on.  I know people will say 'but its not natural' keep in mind sheep were domesticated over 10,000 years ago and no longer resemble their wild ancestors.  After much research and discussions with our vet we decided to dock by banding.  The lambs only showed discomfort for a few minutes then happily went back to playing with their siblings.
Mila is due the end of May.  She has been taking the role of Aunt seriously and helps keeps Jefferson and Martha out of trouble.
Picture
Picture
5 Comments

My Coop- What I love, what I would change

3/23/2017

15 Comments

 
Picture
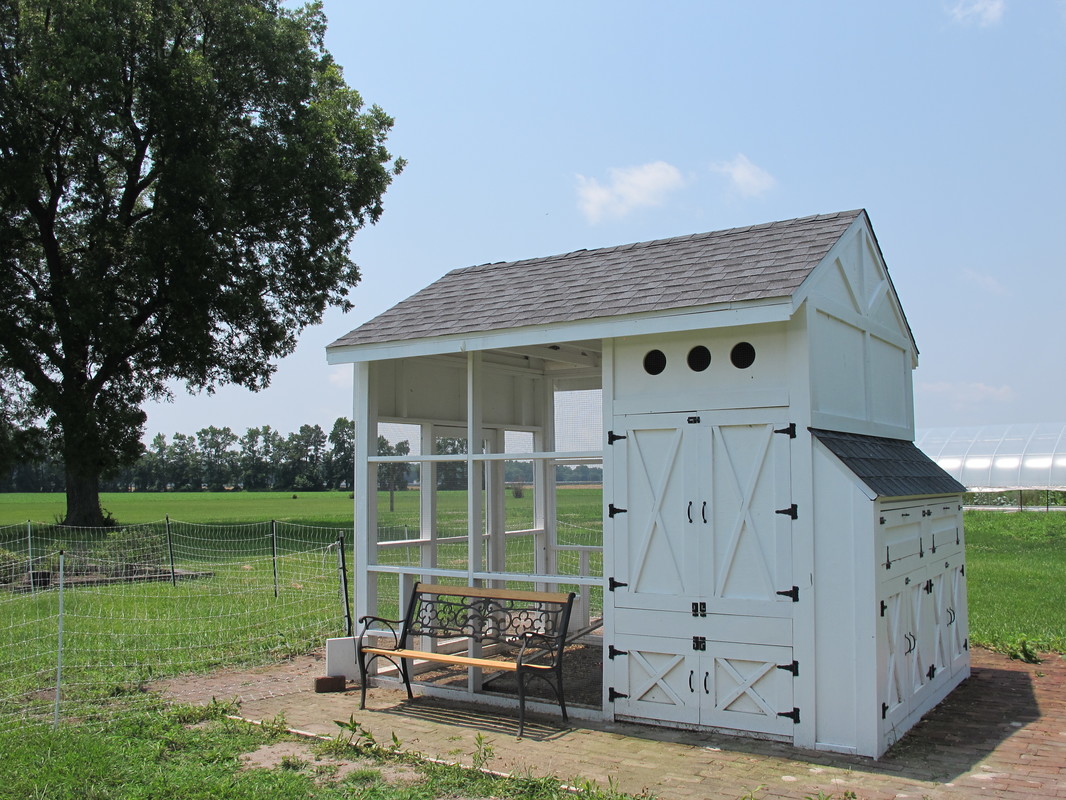
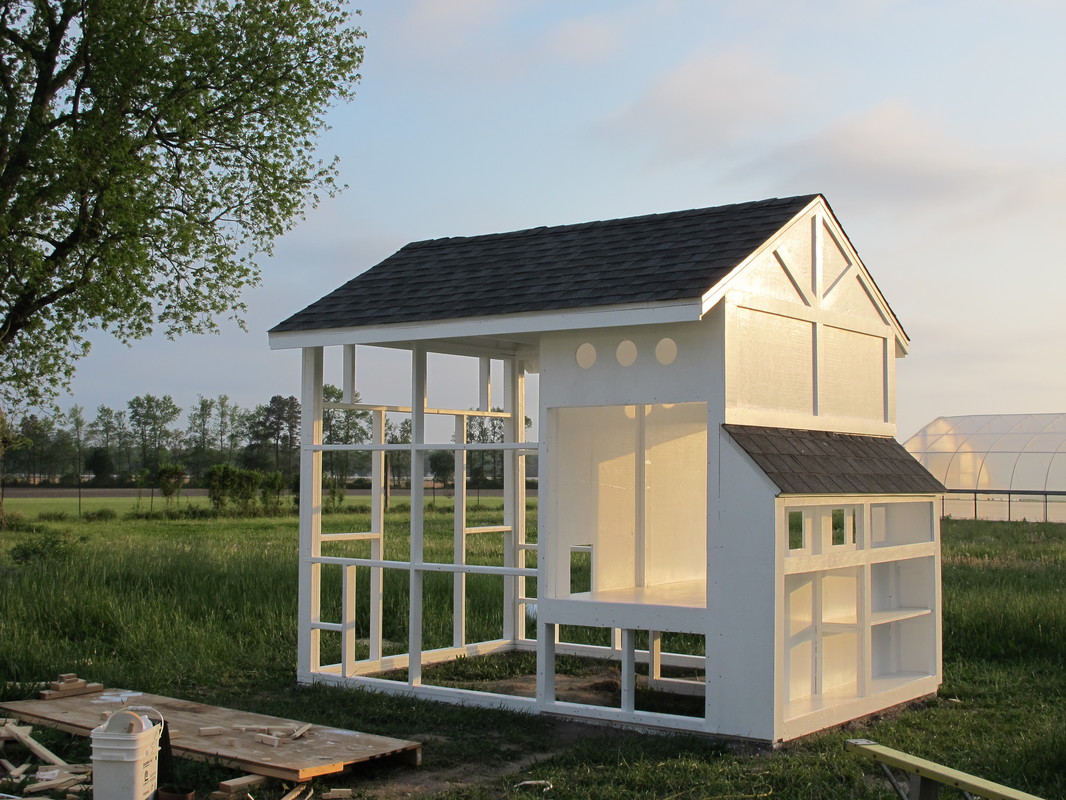
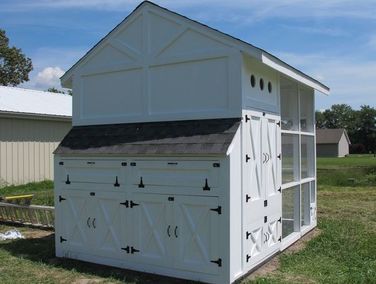
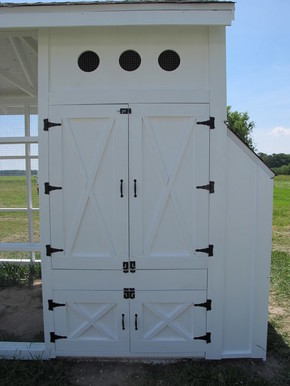
Chick Days are here and I have been getting bombarded with request for the plans for my coop.  I'm sorry to say that I do not have a set of plans.  Our coop was based off of a coop I found online called Chez Poulet.  We purchased those plans and then made changes as we built.  My coop is twice as wide, a little longer and taller.  With all of these request I have been thinking about what I would have changed if I had the opportunity to build my coop again and what I love about my coop.   

Construction 

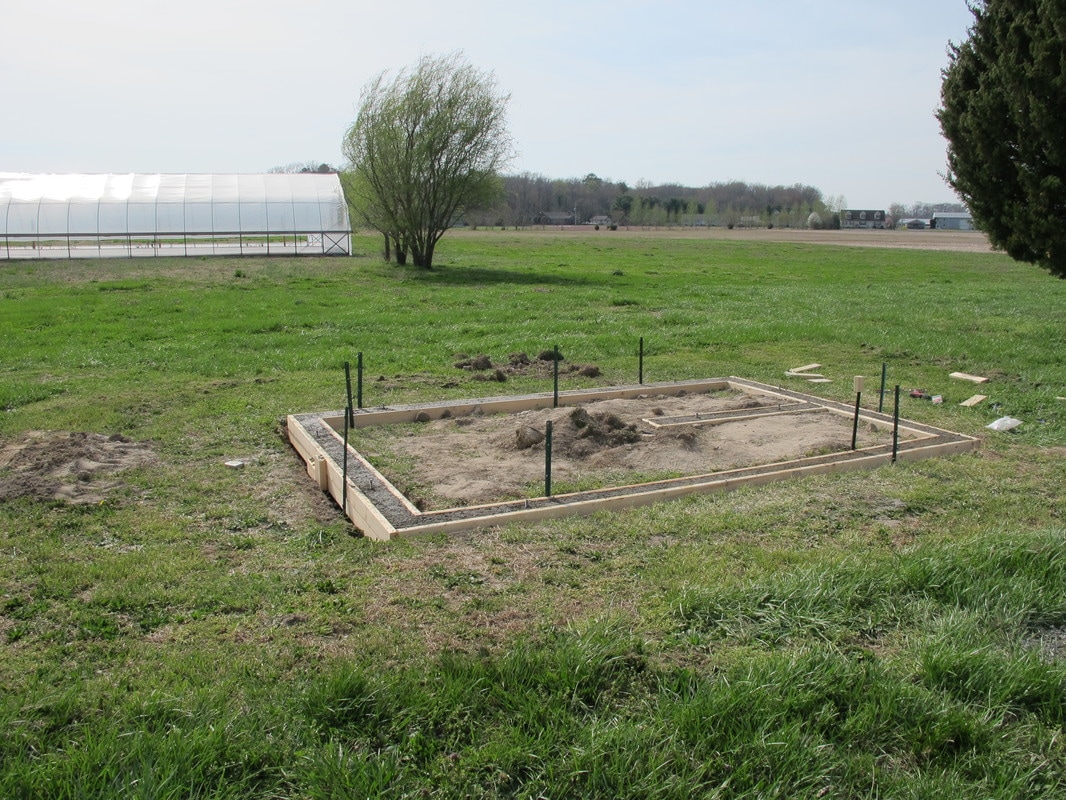
Overall all it took us a week to pour the 18 inch deep foundation, frame and roof the coop.  We then spent the next two weekends making all of the doors and painting the coop.  We have a large fox population in our area so I felt the foundation was a must.  A friend laughed at us while we were pouring the foundation and made a comment that his coop did not have a foundation and he had never had a fox get into his coop and that very evening a fox tunneled into his coop.
Picture
Picture
Picture
Picture
Our first and biggest mistake during construction was hanging the plywood to the sides of the coop before cutting out the doors.  A notorious corner cuter that was helping us out that week talked my husband into hanging the plywood and cutting out the doors later.  This made cutting square doors near impossible and extra plywood needed.  Thanks Dad!
Picture
Picture
Painting this coop was not easy project and I am dreading the day when I have to repaint it.  One change I made early on was removing the shelf from one side of the back storage area.  This allows me to have a spot to store larger items.  I should have installed rain gutters at this point as well.  Its been 3 years since construction and I have yet to go back and install them and I think about it every time it rains.
Picture
Picture
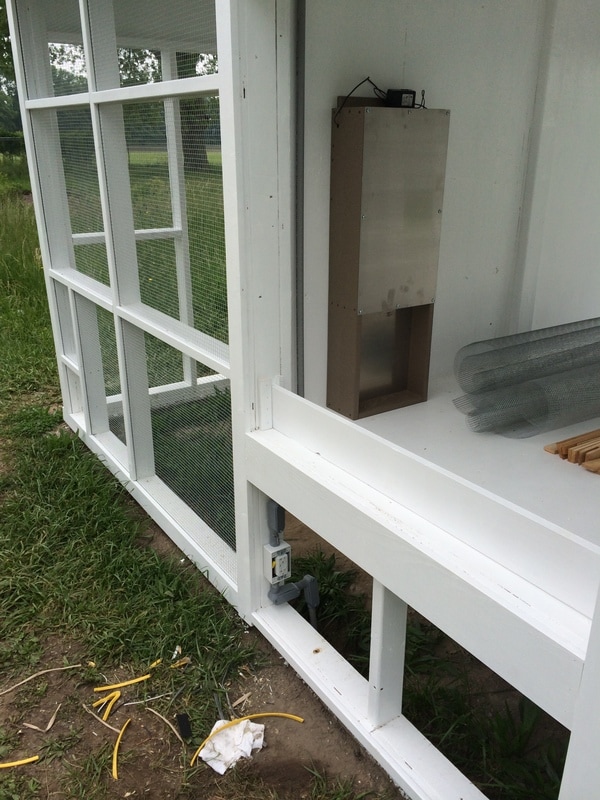
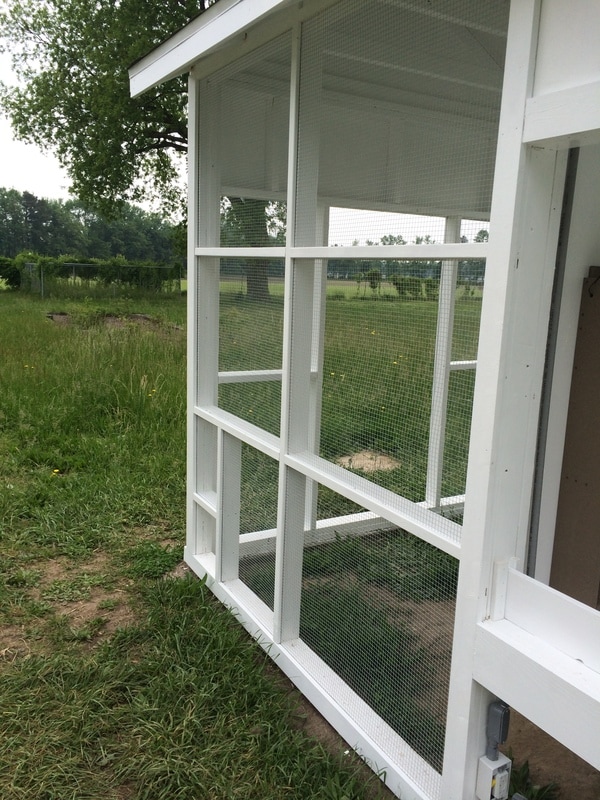
I personally think an electric door is a must for any chicken coop.  This door is on a timer and opens at dawn to let the hens into the bottom of the coop and closes just after dusk.  This door gives me the piece of mind if I'm out late that the hens are safely locked inside the top of the coop at night. We installed an outlet at the bottom and top of the coop.  The one on the bottom is for a water heater during the winter months.  The one on the top runs the door and when we first moved the hens into the coop we had to turn a night light on for them in the evening to get them to go into the coop to roost.  After a week of having a night light they learned where they were supposed to roost and we were able to remove the light.  We don't supplement lighting during the winter months to increase egg production and we do not heat the coop. Hardware cloth is used instead of chicken wire on the coop.  My childhood coop had chicken wire and it provides no protection from hungry hawks, foxes nor my brothers Dalmatian.
Picture
Picture
I love the rear laying boxes on this coop with the storage underneath the laying boxes.  If I could do over again I would extend the roof further over the laying boxes.  During extremely heavy rains water does get into the laying boxes through the top of the door.  We have tried installing weather stripping but it hasn't been a workable fix to the problem.  I bed my laying boxes first with a Nesting Pad, then I top with Flock Fresh which is a blend of chopped straw, zeolite and alfalfa.  I then top with a sprinkle of Spruce The Coop.  Our hens always had three favorite laying boxes they used and three boxes they never used.  When I received my first bag of Spruce the coop I sprinkled it into the three boxes they never used and that day the hens switched to laying in the boxes with Spruce The Coop.  The three favorite boxes that now had no Spruce The Coop now were being left empty.  So my hens do prefer boxes with Spruce The Coop.
Picture
​The large side doors for the top of the coop make cleaning out the coop easy and I can climb in and out of the coop when needed.  The bottom doors give me access underneath the coop and this is where I hang the feeders.
Picture
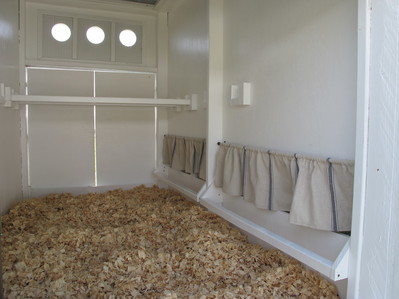
The interior of the coop is where I would make the majority of my changes.  First what I like. We have removable boards installed at each of the doors to keep the shavings from falling out every time we open the coop up.  I like that I can easily add roosts to the coop and remove them so as our flock grew we could added roosting space.  My hens love the curtains, when I first installed them and posted a photo on Facebook I had a friend joke that Hens do not need curtains.  Well when one fell down and I didn't replace it the hens refused to lay in those boxes.  When I made a new set of curtains and hung them back up the hens went right back to laying in those boxes.  They might not need them put mine sure do seem to prefer them.  Now for the changes.  The doors have been corrected so they fit tight now and don't have a gaping hole.  I would change the position of the roosts so they are not over the laying boxes if I could do over again or I should say if I ever got around to correcting this.  Having them directly over the laying boxes I ended up with piles of droppings in front of the back laying boxes the hens have to walk through.  
I had wished I would have installed a droppings board in the coop.  I did eventually install one but after a few months removed it.  I did find the droppings board kept the bedding cleaner and the bedding lasted longer.  The daily cleaning became difficult while I was on business trips.  Some of flock started roosting on the board instead of the roost leading them to get covered in droppings from the hens they were roosting behind.  Finally standing outside in the pouring down rain with the wind blowing the doors shut on me was the final straw and the board was removed.  I have seen other coops that are set up differently than mine that the dropping boards seem to function very well.    
Picture
Picture
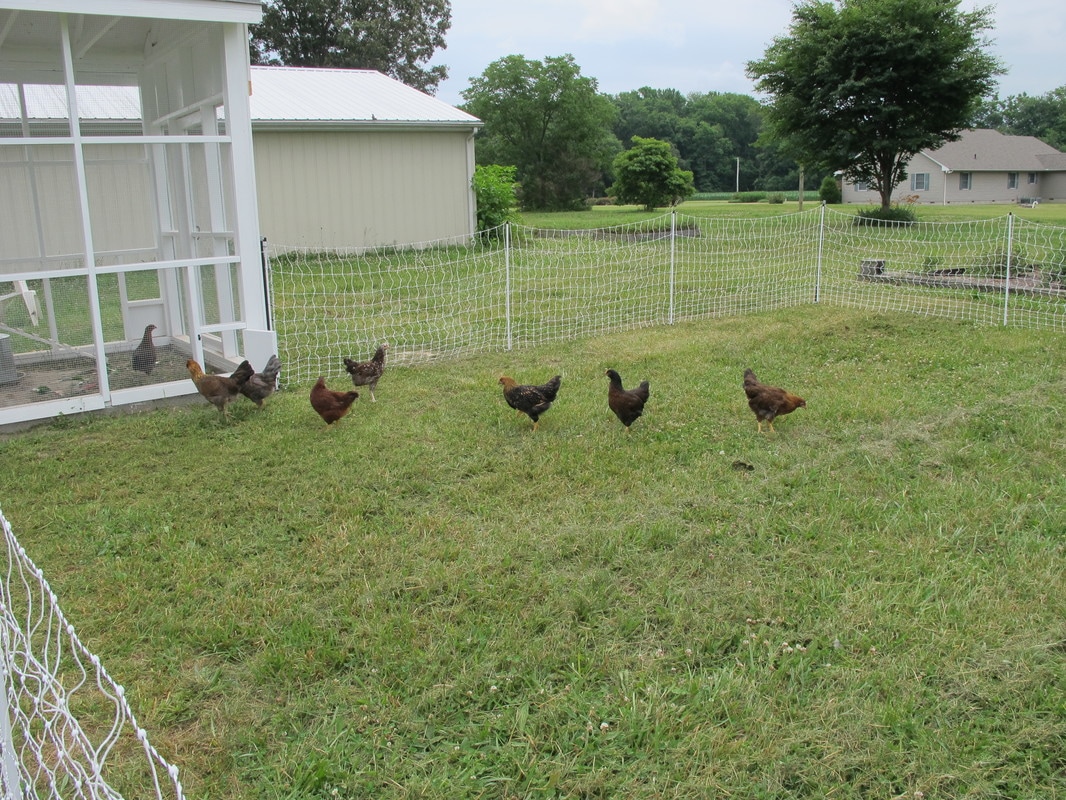
We have two small chicken doors on each side of the run.  We like have two, this allows us to open one door that allows the hens to free range the whole farm and a second door that leads to a large fenced pasture.  We use two 100 foot sections of Premier 1 Poultry Fencing.  We like this style of fencing because it allows us to easily move the fencing to new pasture.   I'm sure your wondering why we like having a fenced in pasture in addition to allowing the hens to free range the farm.  On days that we are away from the farm this allows us the peace of mind that the hens are protected by a fence from predators and our hens also tend to get under foot so days we need the hens safely out of the way they can still be on pasture and having fun chasing bugs.  We use the solar charger to charge the fence when we are concerned about predators.
Picture
Picture
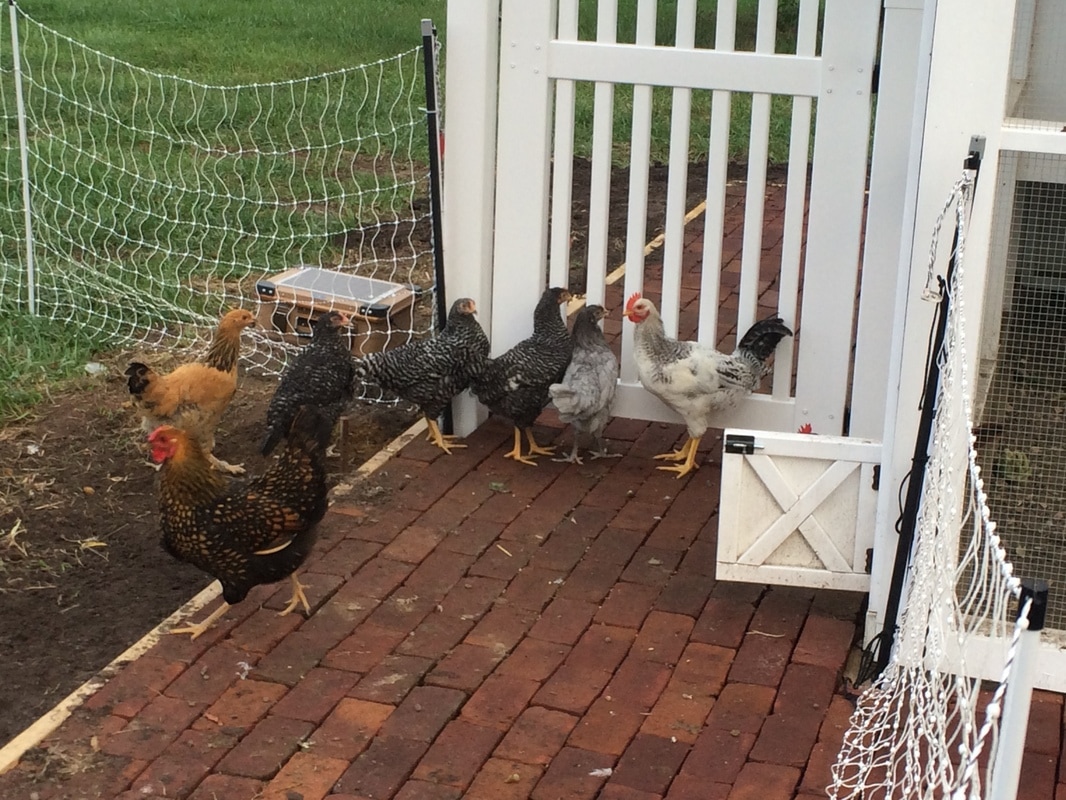
Next we installed a brick sidewalk that goes all the way around the coop.  The sidewalk was a great addition, its easy to spray off and keeps you from standing in mud when the hens have decided to scratch up all the grass in a particular area.  The down side is the amount of weeds that seem to pop up in between the bricks.  We also installed a gate on one side of the fence to attach the poultry fencing to.  My short legs couldn't handle jumping over the fence every time I needed to open the chicken door to let them into the pasture.  
15 Comments

So You Bought a Winter Squash... Now What???

11/22/2016

2 Comments


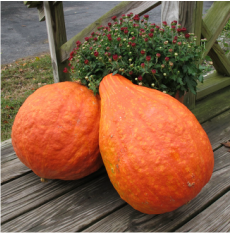
What to do with that Boston Marrow Squash.

Picture
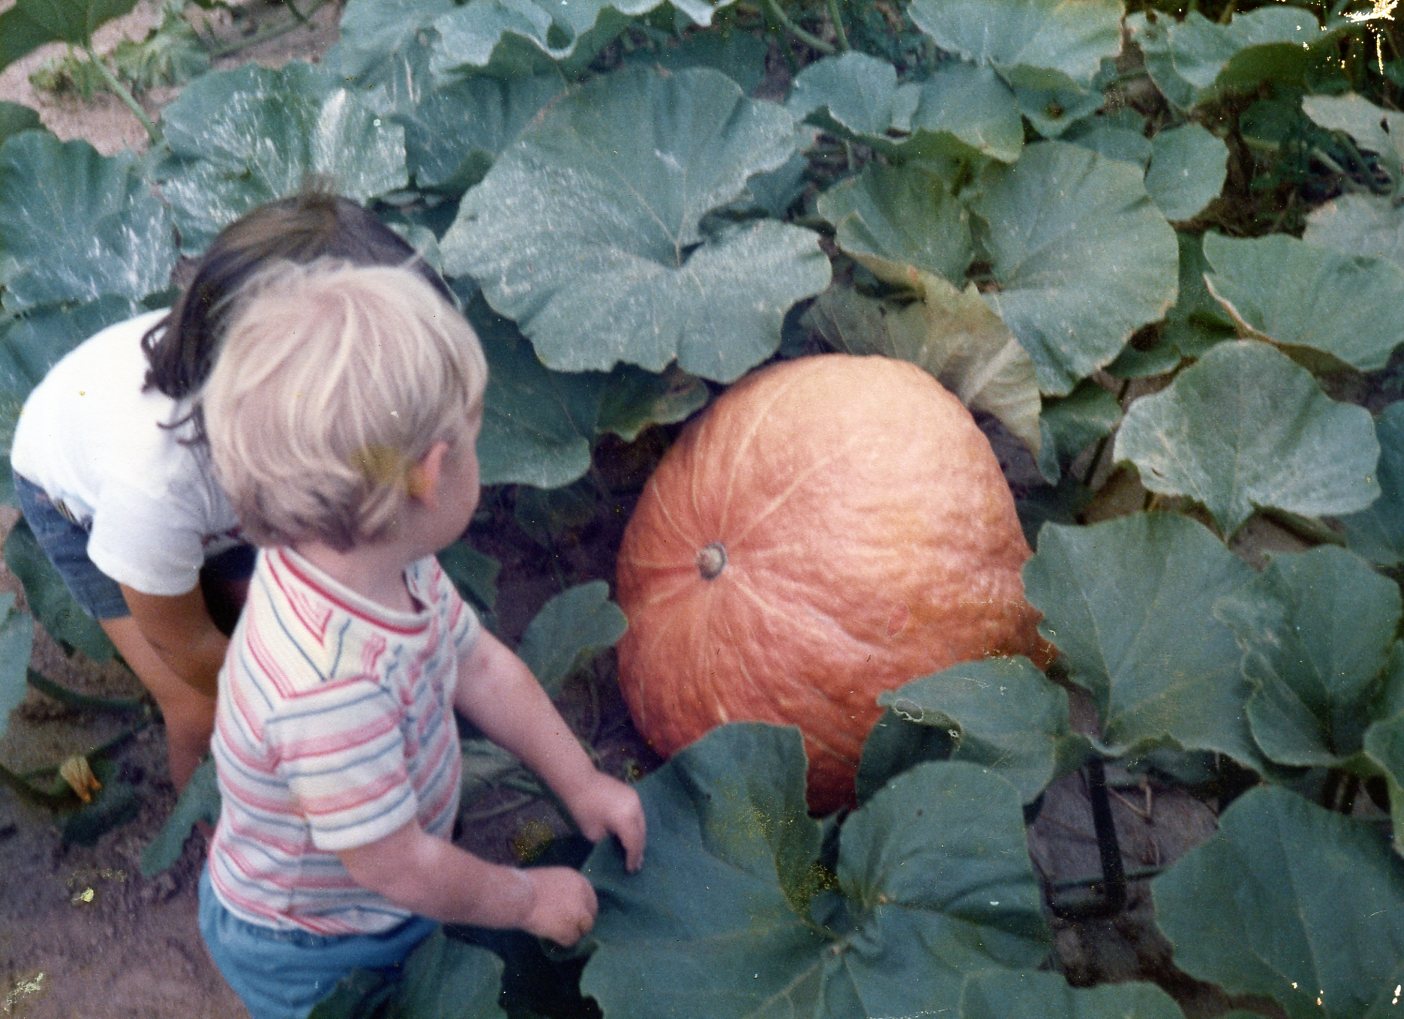
My earliest memory in the kitchen is of helping my father peel and cut up Boston Marrow Squash to make his squash pies.  Now that I think of it my earliest memory in the garden is growing these beauties as well.  My family has grown Boston Marrows for generations passing the seeds down to each generation.  The Boston Marrow Squash that we sell at the farmers market come from my late fathers seeds that were passed on to me.  
Boston Marrow Squash is an heirloom rich in history. In the 1830's this squash was a popular variety in New England and New York. The seeds are believed to originate from a Native American tribe. For next 150 years this squash became one of the most popular commercial squashes, but by the 21st century nearly every seed company had dropped the Boston Marrow in favor of newer varieties. In 1881 D.M. Ferry's catalog said, "Very dry, fine-grained, and for sweetness and excellence, unsurpassed; a very popular variety in the Boston market."
Picture
My brother and I checking on the 1985 Squash Crop.

How to process  a  winter squash​

Picture
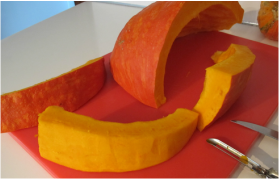
Pick a squash that is heavy for its size. Wash the  squash first and give it a light scrubbing to get off any dirt that may be left from the field.  
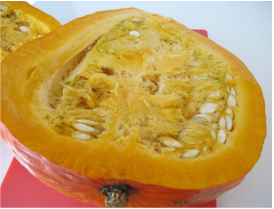
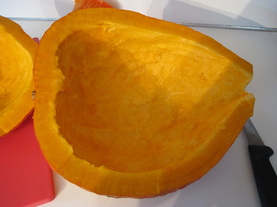
After washing, cut the squash in half, I like to use a boning knife to do this.  Next scoop out the seeds with a large metal spoon.  Be sure to scrape out any stringy placental tissue that is clinging to the flesh of the squash.  Yes that stringing stuff is actually called placental tissue... I have my seed science class to thank for that bit of knowledge.

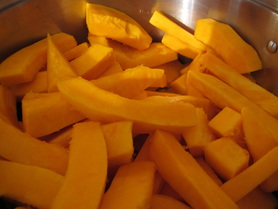
​Now its time to get out the biggest stock pot you have, I like to use my canning pot.  Add about 2 inches of water to the bottom of your pot, these squash release a lot of water as they cook so you don't need to add a lot of water but don't worry if you added to much you will be removing the excess water in a later step.  
I prefer to cut my squash into strips I find it makes peeling them quicker and more manageable.   Don't worry about the size you cut the squash to, just find a size that's manageable for you to easily peel.  As you peel the squash add it to your stock pot.  Once all of your squash is peeled turn your burner on to medium high and place the lid on your stock pot. 

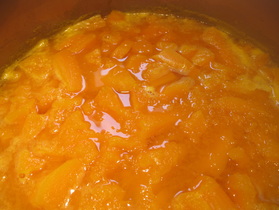
Occasionally give the squash a stir, once it comes to a simmer turn the heat down and simmer for 20 to 30 minutes until the squash is fork tender.  Now it's time to turn the heat off. ​
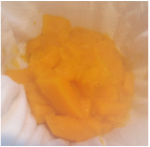
Drape a cheese cloth over a colander.  Once the squash has cooled enough for you to be able to handle it, ladle a portion of the squash into your cheese cloth.  Pulling the ends of the cheese cloth together squeeze out the excess water.  Repeat with the rest of the squash.
This next step is  optional. I like to put the squash through a food mill before I freeze it for later use.  I find this gives me a more consistent product to work with later when I go to bake with it.  My father never did this, just keep in mind your squash will be chunky when you go to use it if you skip this step.  I use a medium disk in my food mill and follow the manufactures directions.  Once you have passed the squash through the food mill simply portion the squash for your favorite recipes and freeze or get baking!
Picture
Picture
Picture
Picture
Picture
Picture
Picture
Picture
Picture

Picture
2 Comments

New Additions!  Hog Island Sheep!

7/26/2016

4 Comments

 
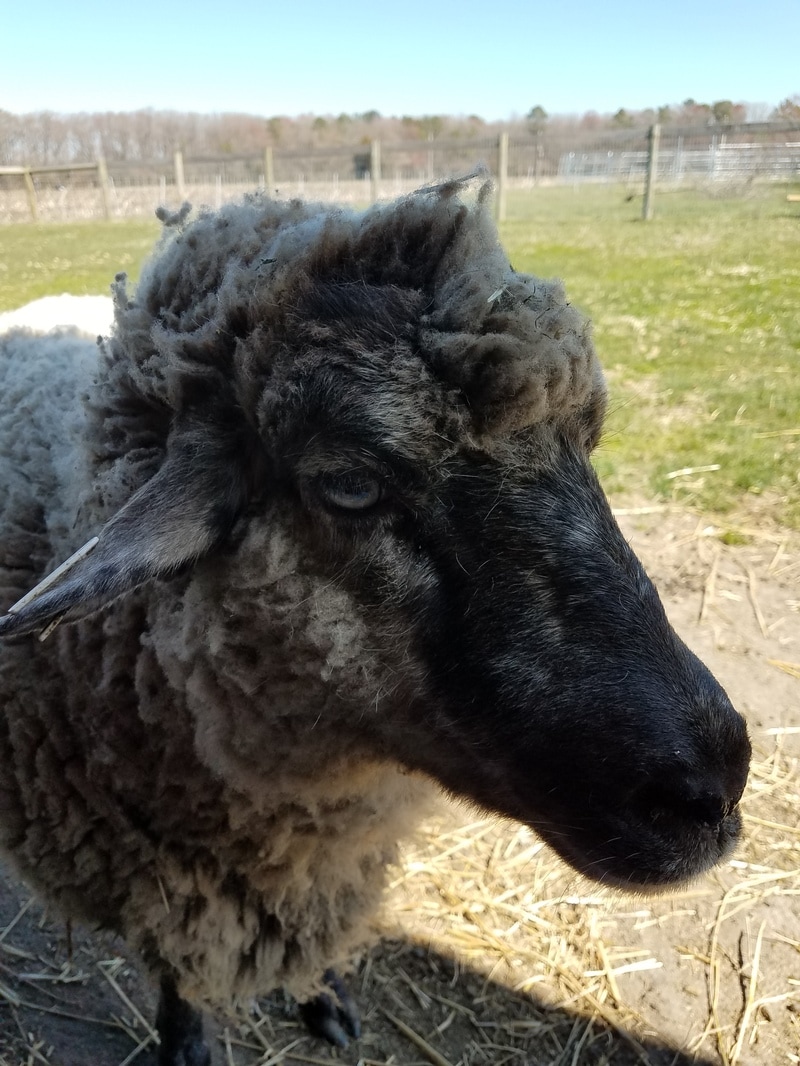
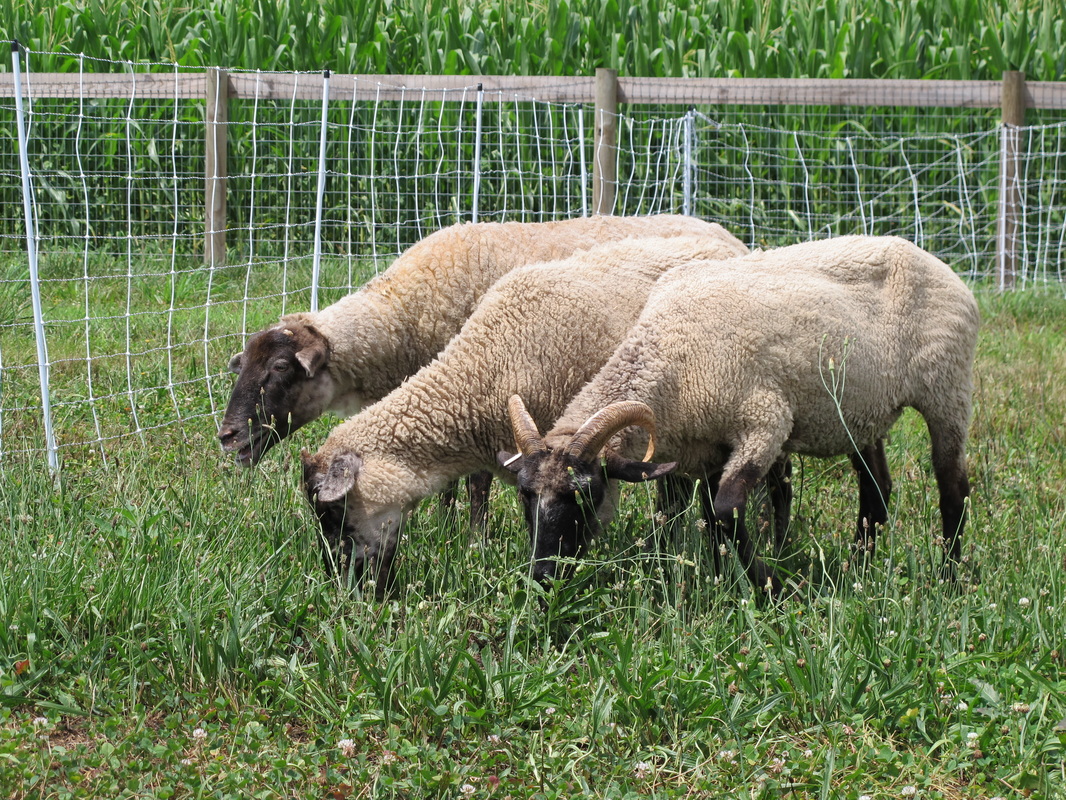
Today we took a drive down to George Washington's Mount Vernon to pick up the newest addition to our farm, three Hog Island Ewes.  Mila, Sedona and Topanga will be the foundation Ewes for our breeding program to help increase the population of this breed. The American Livestock Breeds Conservancy characterizes the status of Hog Island sheep as critical, meaning that less then 200 Hog Island Sheep are registered in the USA and only concentrated and sustained effort can save them from extinction.
​
Picture
Picture
​During the 1700's colonist brought a flock of sheep to Hog Island, a barrier island off the coast of the Delmarva Peninsula.  Over time the sheep of Hog Island evolved in response to the island’s natural selection for hardiness, foraging ability, and reproductive efficiency shaping the sheep of Hog Island into a distinct breed. 
During the 1930’s a string of hurricanes washed across the island destroying much of the island.  By 1945 all of the residents had left Hog Island leaving the flock of sheep behind.  The sheep that were left behind continued to thrive on the island.  
During the 1970's the Nature Conservancy purchased the island and relocated the sheep to Mount Vernon and Colonial Williamsburg.  


Picture
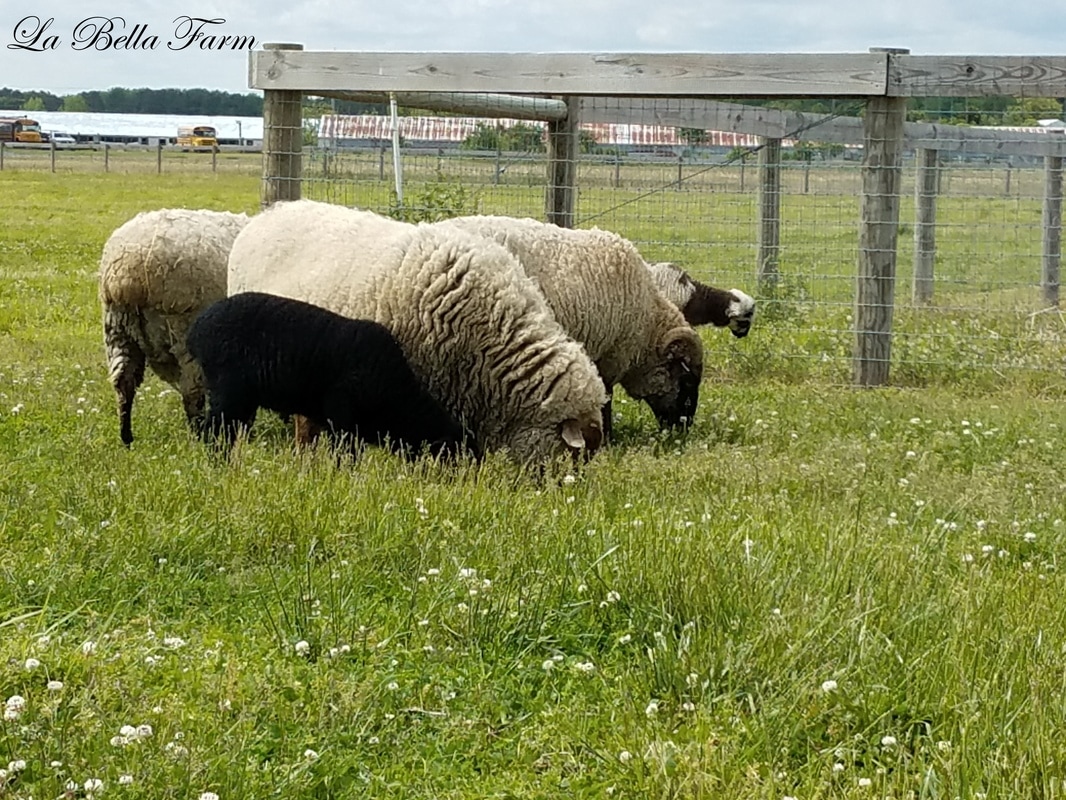
Hog Island Sheep are classified as a wool and meat breed.  
We will be shearing the sheep during the spring and offering wool products at that time.  The wool is medium-fine to medium-coarse. The wool is easily carded and can be felted or spun. With the variety of wool color this wool is great for hand spinners.
We will offer a limited amount of frozen lamb each year.  All ewes born will be added to the breeding flock to help increase the population.  Ram lambs that are not needed for breeding stock will be finished and sold as frozen lamb.  Hog Island lamb is a real treat, it's tender and flavorful with a cleaner taste then most lamb.  It has a sweet grassy finish. 

4 Comments

Rain and Eggs?

5/7/2016

3 Comments

 
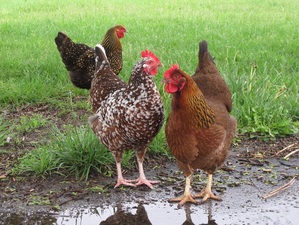
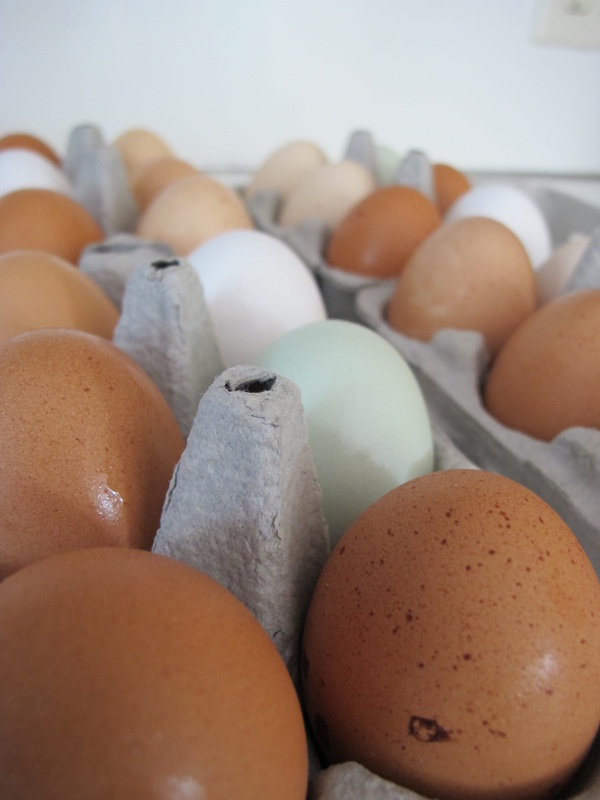
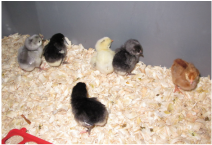
This week marks the third week of the Milton DE Farms Market and the third Friday in a row its rained.  This weeks market was canceled due to the rain leaving us with a fridge full of eggs and the question what to do with all the eggs. The ladies have been busy free ranging the farm and playing in all the puddles left from the rain.  They welcomed 6 new chicks to the flock on Wednesday.  This weeks eggs were hopefully going to end up in Mothers Day brunches all over Milton but with no market to sell them at and a full fridge I need to use them to make room for new eggs that will be laid this week.  Fresh pasta, an angel food cake and of course perfect French omelets for Mothers Day should make room.

Picture
Picture
Picture

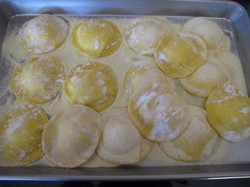
Fresh Pasta

This recipe makes about 3 pounds of pasta.  Don't worry about the large amount just portion it after you cut it and freeze for up to a month.  
  • 3 cups "OO" flour, plus extra if needed for the dough and for dusting
  • 1 1/2 tsp kosher salt
  • 3 large eggs
  • 11 large egg yolks
  • 2 TBS extra-virgin olive oil
  • Semolina flour for dusting
Picture
Picture
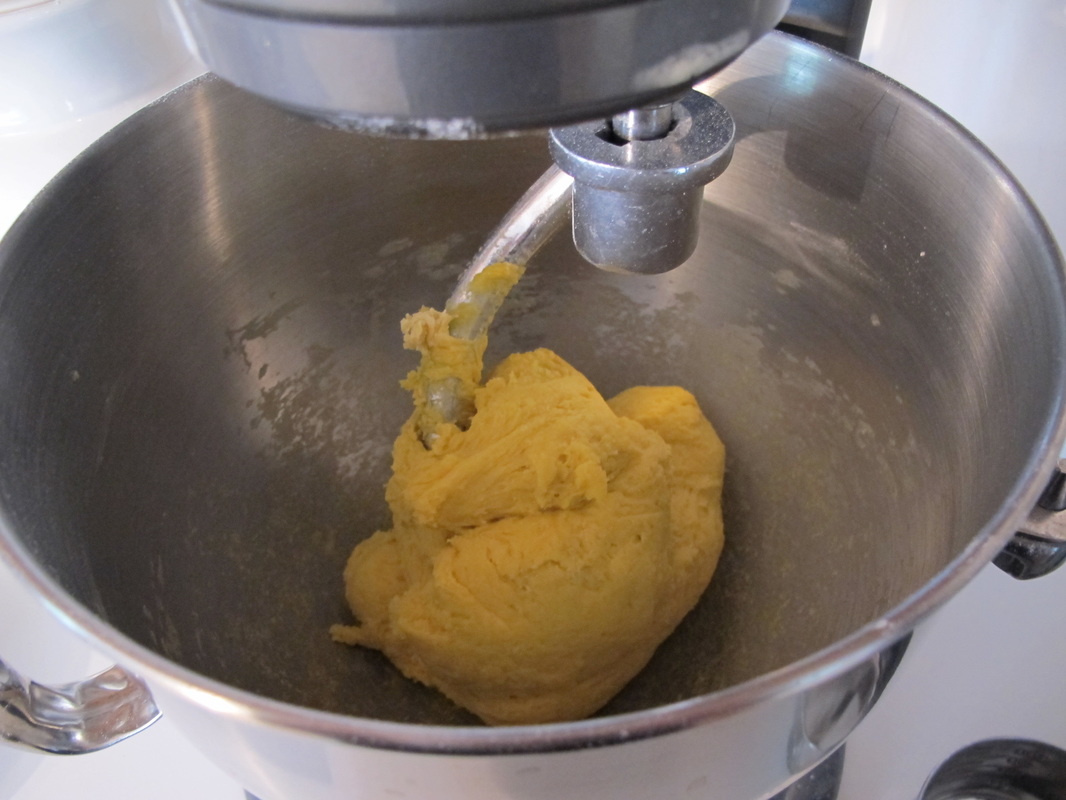
In a stand mixer with dough hook, combine the flour and salt on low speed.  Fold in the eggs, yolks and olive oil.  Kneed on medium-low speed for 5 minutes.  If the dough is sticking add additional flour until a dry dough has formed, depending on the time of year you may need to add as much as an additional cup.  If the dough is too dry and falling apart add another egg yolk.  Wrap the dough in plastic wrap and refrigerate for at least 1 hour or up to 24 hours.  This will allow the flour to fully hydrate and form a smooth tender dough.  
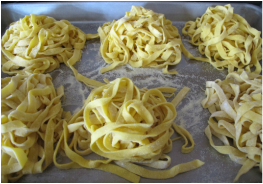
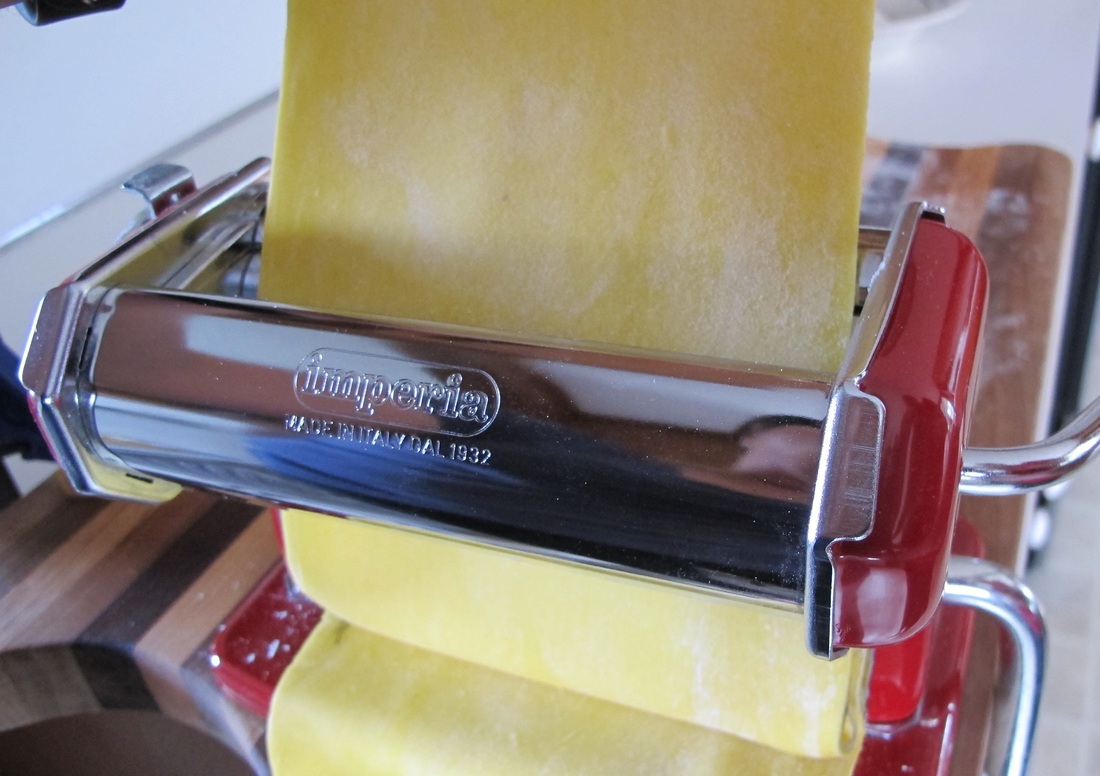
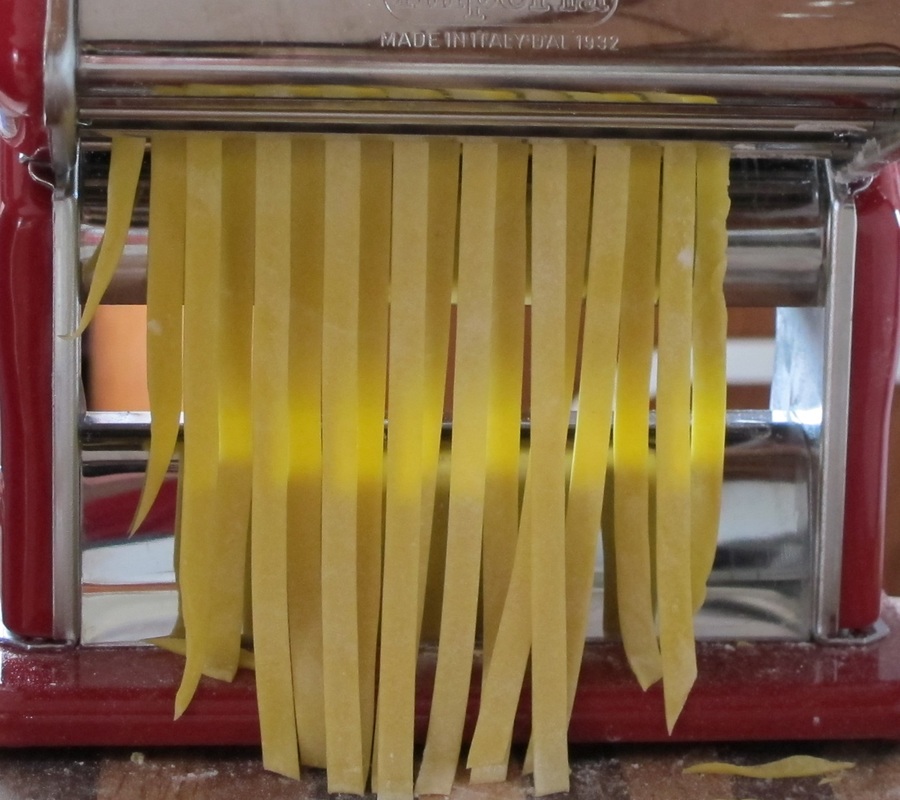
To roll the dough cut the dough into 6 pieces.  Roll out one piece at a time and keep the remaining pieces wrapped in plastic wrap in the refrigerator.  Set the pasta machine on its widest setting, lightly flour the dough and run it through the machine.  Fold the dough in half and roll through the machine again.  Repeat folding and re-rolling two more times on the widest setting. Continue to run the dough through the machine decreasing the thickness each time until you reach your desired thickness.  Lightly flour with "OO" as need.  I normally roll to 1/16 of an inch and cut into fettuccine.  Once the fettuccine is cut, dust the pasta with semolina flour and portion into nests on a sheet tray that has been dusted with semolina flour.  When all the pasta has been cut and portioned place the sheet pan in the freezer for an hour.  Remove the pasta and place into a freezer bag and store in the freezer for up to one month.  
​When you are ready to use simply remove the desired amount add to salted boiling water and cook until tender about 3 to 4 minutes.  

Picture
Picture
Picture

Angel Food Cake

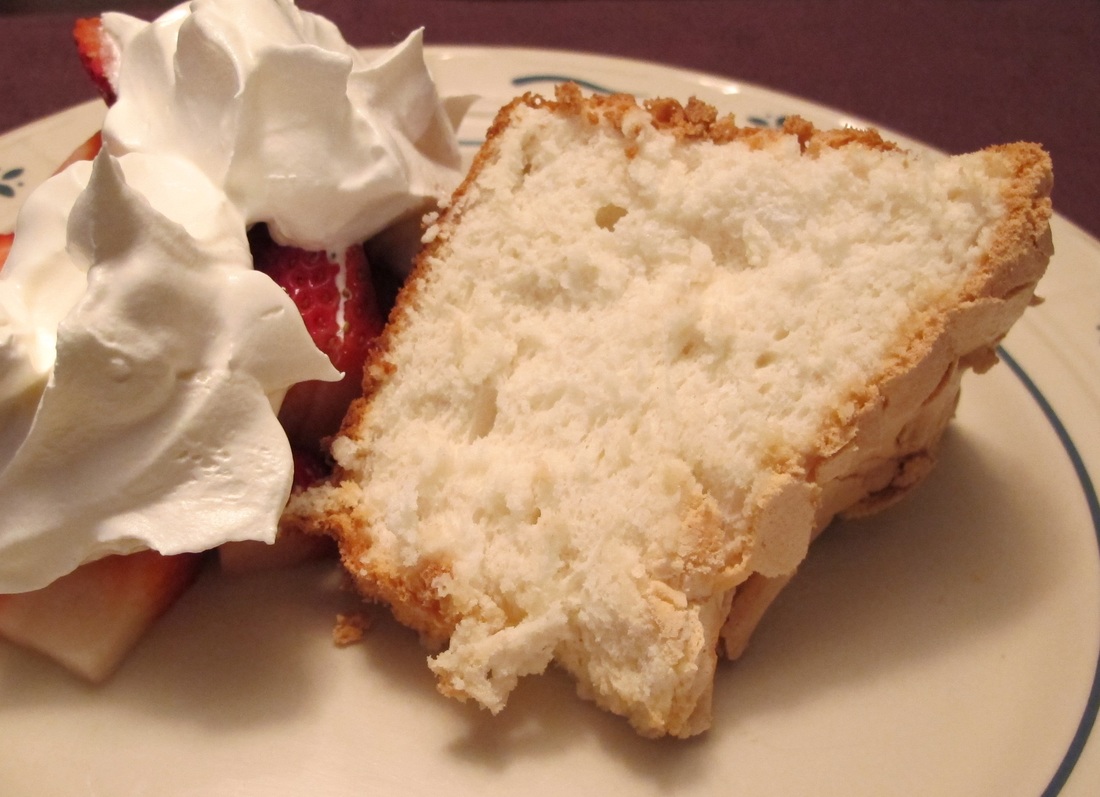
This is a great cake to make when you have a lot of egg whites left.   My fresh pasta recipe will leave you with the exact amount of egg whites to make this cake.  Serve with fresh berries and whip cream.
  • 1 1/2 cups egg whites
  • 1 tsp. vanilla
  • 1 1/2 tsp. cream of tartar
  • 1 cup granulated sugar
  • 1 1/2 cups sifted powder sugar
  • 1 cup sifted cake flour or all purpose
Picture
Picture
In the bowl of a stand mixer add the egg whites and let stand for 30 minutes. In another bowl sift the powdered sugar and flour together.  Add cream of tartar and vanilla to the egg whites and beat until soft peaks have formed.  Gradually add the granulated sugar and beat until stiff peaks form.  Sift in the powder sugar mixture in 4 additions folding in gently after each addition.  Pour into an ungreased 10 inch tube pan.  Gently cut through the batter with a knife to remove any large air pockets.  Bake on the lowest rack in a 350 degree oven for 40 to 45 minutes or until the top springs back when lightly touched.  Immediately invert cake and cool thoroughly in the pan.  Loosen cake and remove from pan.


French Omelet

Delicious, custardy french omelets are best with the freshest eggs, which you can get every week at our stand. 
  • 2 Large Fresh Eggs
  • 2 Tbs of Butter
  • Salt and Pepper to taste
  • Your perfered cheese, shredded
Picture
Whisk the eggs thoroughly make sure to incorporate your whites and yolks until you’re left with an even mixture with no whites or yolk floating around.  Heat a nonstick pan on medium to medium-low heat. Add 1 TBS butter to the pan, it shouldn’t make a sound.  You want the butter to gently melt. When you start to see bubbles forming in the butter, add your eggs.  You should not hear a sizzle when the eggs hit the pan.  Season your omelet with kosher salt and pepper in the skillet as the eggs begin to cook. Start stirring your eggs as soon as you add them to the pan to make sure nothing is sticking to the bottom. So the eggs cook evenly, vigorously shake the pan in a circular motion as you stir. Scrape down the sides of the pan to make sure the sides do not overcook. This is a slow process take your time.  Remove the pan from the heat and let it sit for one minute.  Add your cheese in a line that runs the center of the omelet.  Hold the pan at a slight angle, tilt the pan away from you and gently begin coaxing your omelet into a roll. Once you’ve made your first roll, add 1 Tbs of butter to the pan to loosen up the omelet. Once the omelet is rolled and all the way slide it on to the plate.
3 Comments

    Author

    Laura Marie is the owner of La Bella Farm.

      Want Farm Updates?​

    Subscribe to Newsletter

    Archives

    May 2017
    March 2017
    November 2016
    July 2016
    May 2016

    Categories

    All
    Chickens
    Gardening
    How To Guides
    Recipes
    Sheep

    RSS Feed

    Picture
    Picture
    Picture
© COPYRIGHT 2015. ALL RIGHTS RESERVED.
Photos by L.M. Kramer