What to do with that Boston Marrow Squash.
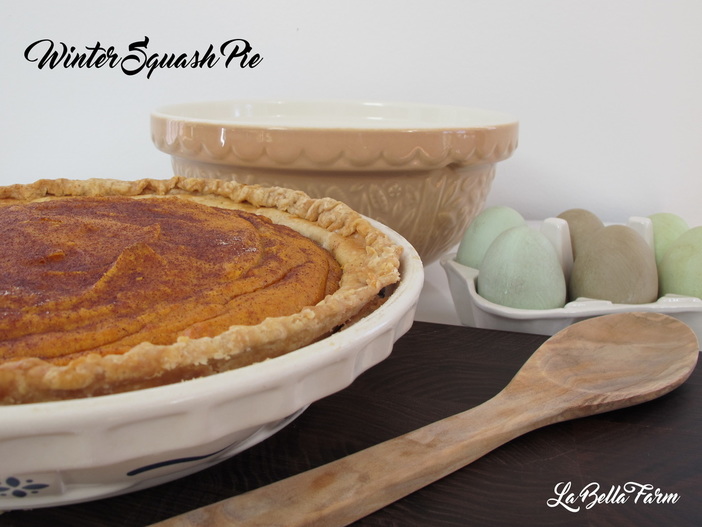
 | My earliest memory in the kitchen is of helping my father peel and cut up Boston Marrow Squash to make his squash pies. Now that I think of it my earliest memory in the garden is growing these beauties as well. My family has grown Boston Marrows for generations passing the seeds down to each generation. The Boston Marrow Squash that we sell at the farmers market come from my late fathers seeds that were passed on to me. |
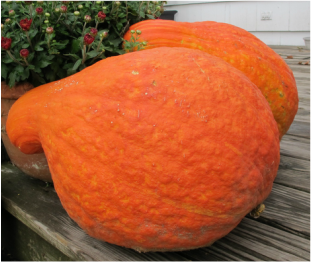
| Boston Marrow Squash is an heirloom rich in history. In the 1830's this squash was a popular variety in New England and New York. The seeds are believed to originate from a Native American tribe. For next 150 years this squash became one of the most popular commercial squashes, but by the 21st century nearly every seed company had dropped the Boston Marrow in favor of newer varieties. In 1881 D.M. Ferry's catalog said, "Very dry, fine-grained, and for sweetness and excellence, unsurpassed; a very popular variety in the Boston market." | 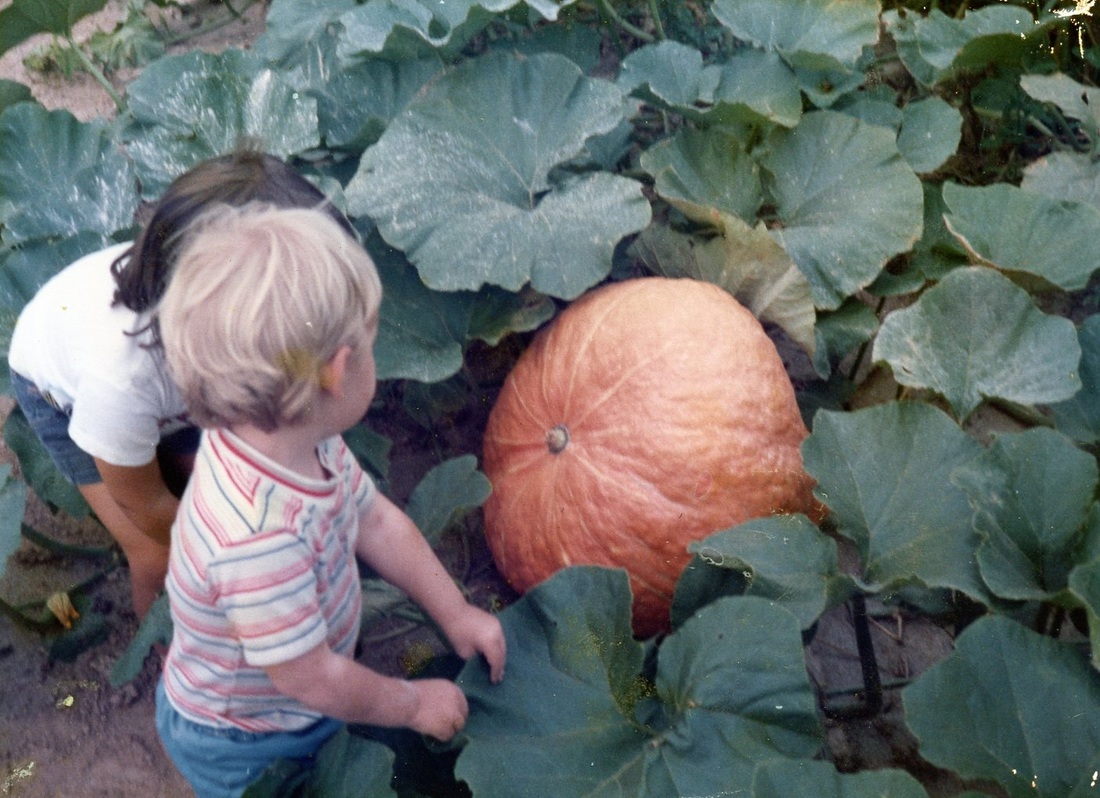 My brother and I checking on the 1985 Squash Crop. |
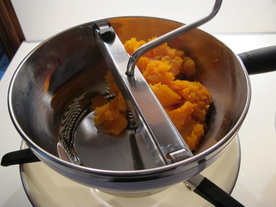
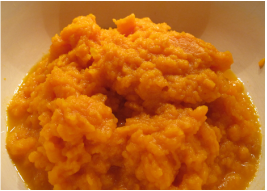
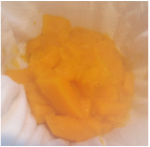
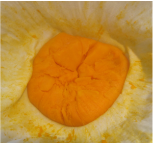
How to process a winter squash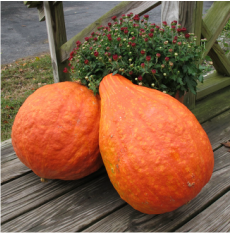 Pick a squash that is heavy for its size. Wash the squash first and give it a light scrubbing to get off any dirt that may be left from the field. After washing, cut the squash in half, I like to use a boning knife to do this. Next scoop out the seeds with a large metal spoon. Be sure to scrape out any stringy placental tissue that is clinging to the flesh of the squash. Yes that stringing stuff is actually called placental tissue... I have my seed science class to thank for that bit of knowledge. Now its time to get out the biggest stock pot you have, I like to use my canning pot. Add about 2 inches of water to the bottom of your pot, these squash release a lot of water as they cook so you don't need to add a lot of water but don't worry if you added to much you will be removing the excess water in a later step. I prefer to cut my squash into strips I find it makes peeling them quicker and more manageable. Don't worry about the size you cut the squash to, just find a size that's manageable for you to easily peel. As you peel the squash add it to your stock pot. Once all of your squash is peeled turn your burner on to medium high and place the lid on your stock pot. Occasionally give the squash a stir, once it comes to a simmer turn the heat down and simmer for 20 to 30 minutes until the squash is fork tender. Now it's time to turn the heat off. Drape a cheese cloth over a colander. Once the squash has cooled enough for you to be able to handle it, ladle a portion of the squash into your cheese cloth. Pulling the ends of the cheese cloth together squeeze out the excess water. Repeat with the rest of the squash. This next step is optional. I like to put the squash through a food mill before I freeze it for later use. I find this gives me a more consistent product to work with later when I go to bake with it. My father never did this, just keep in mind your squash will be chunky when you go to use it if you skip this step. I use a medium disk in my food mill and follow the manufactures directions. Once you have passed the squash through the food mill simply portion the squash for your favorite recipes and freeze or get baking! |  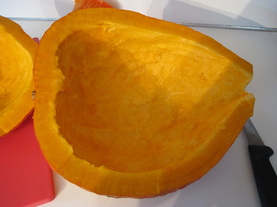 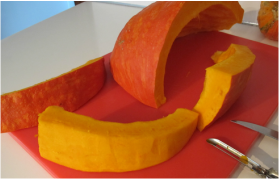 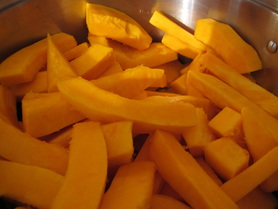 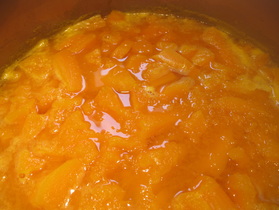
  |
 RSS Feed